I made public tonight a repo I’ve had for a while that contains BeamNG experiments.
Before you ask "why" I'm going to go ahead and ask "why not". #Arduino #RaspberryPi pic.twitter.com/MVTJNCD7Ek
— Tanner Stokes (@TannerStokes) August 18, 2018
I was looking for a way to segment some IoT devices from my main network and disable their network connections on demand programmatically. The Guest Network feature on the router does a good job of segmenting the network, so I wanted a way to turn the guest network’s interface off and on based upon conditions.
Example scenario: You have cloud-based IoT cameras and want to cease all traffic when you’re home.
This puts toggling any interface on the router behind an HTTP endpoint. Since an interface is created when a guest network is enabled, we can now enable and disable that network whenever we want.
It was fun learning some ARKit, SceneKit, and SpriteKit the past few days… I used it to announce a thing!
Using #ARKit image tracking to make a special announcement! pic.twitter.com/ZzFN03cesb
— Tanner Stokes (@TannerStokes) June 24, 2018
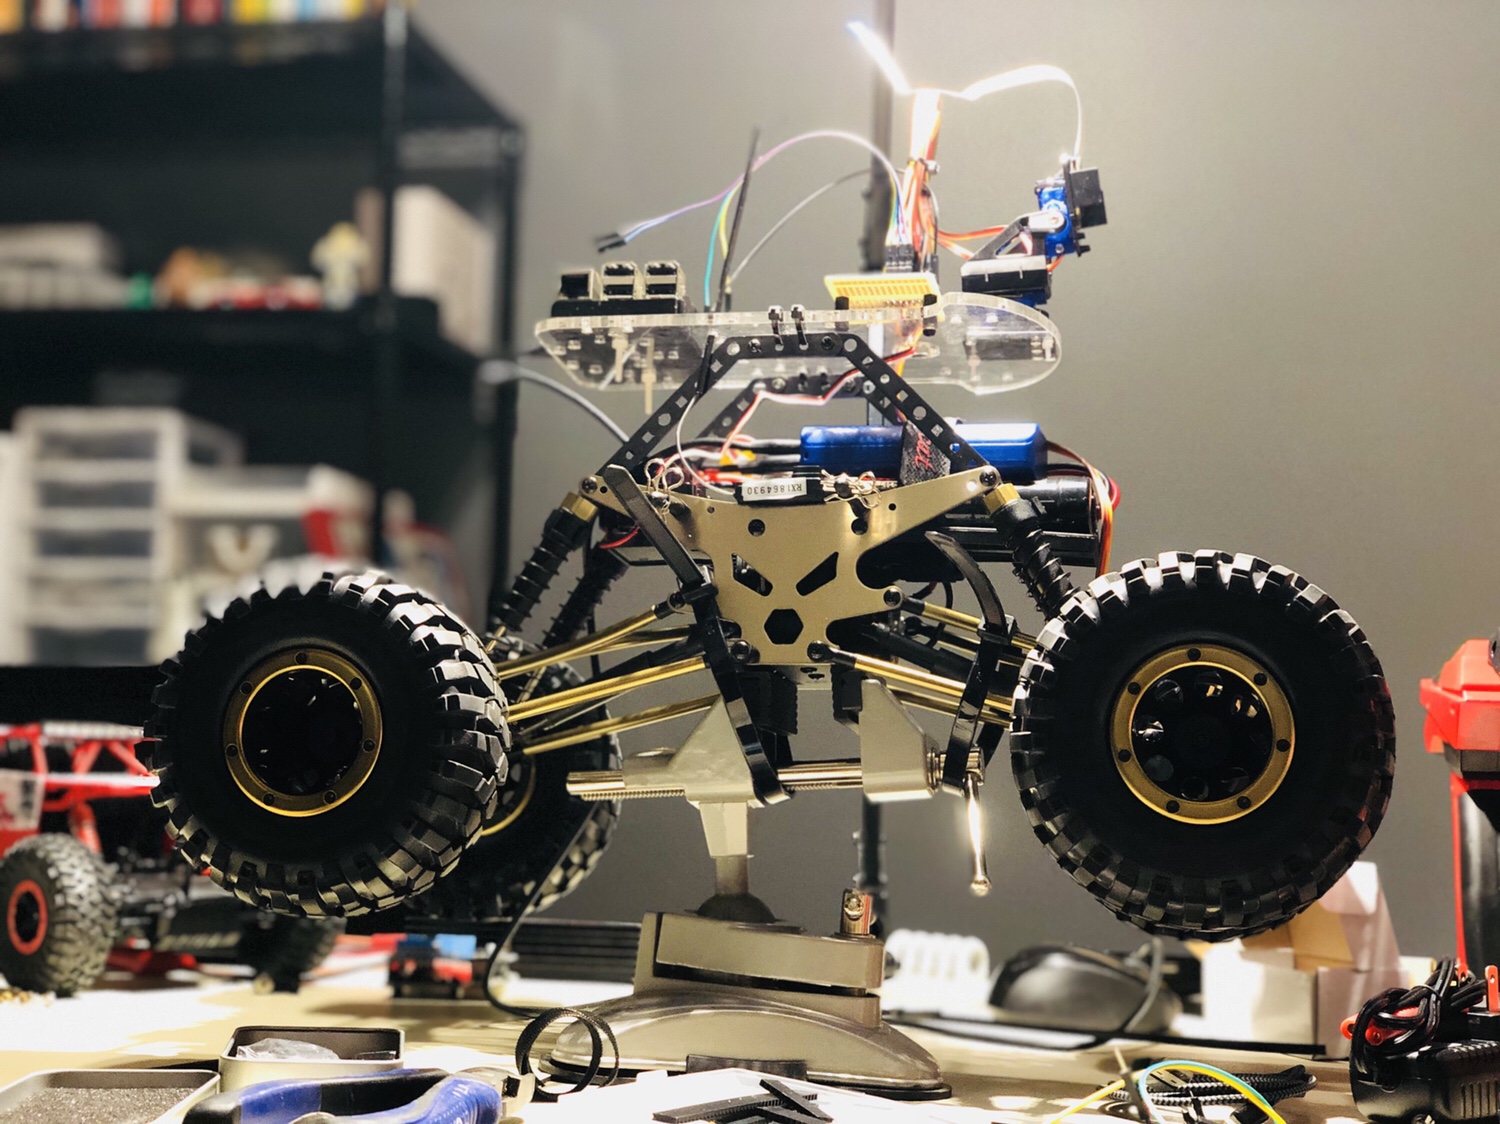
Rover progress
Once I win the lottery this will be all I do all day long. pic.twitter.com/F0TAEJDyEP
— Tanner Stokes (@TannerStokes) March 27, 2018
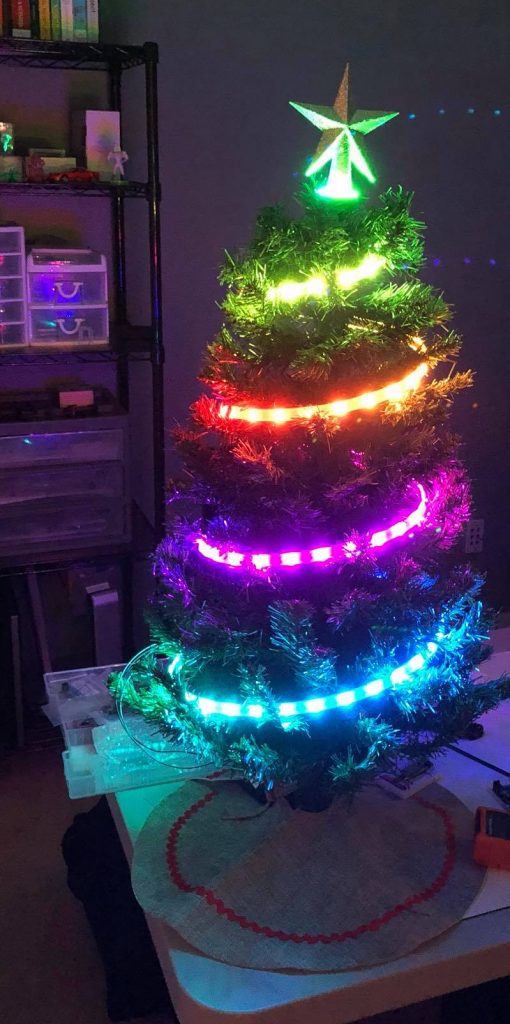
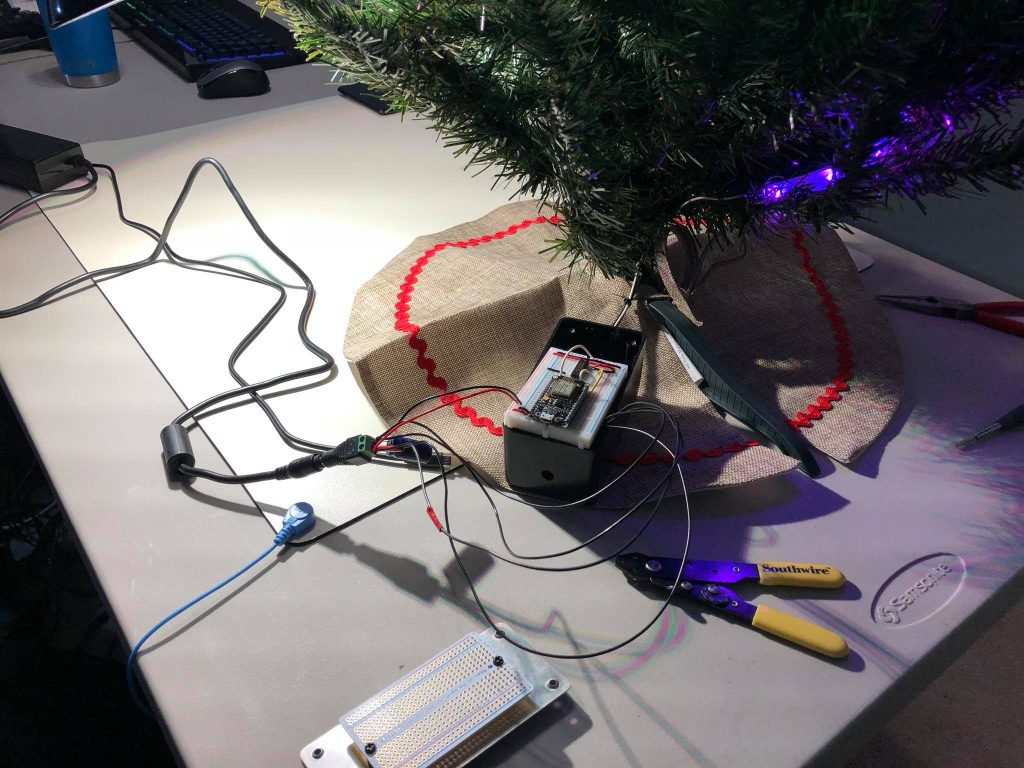
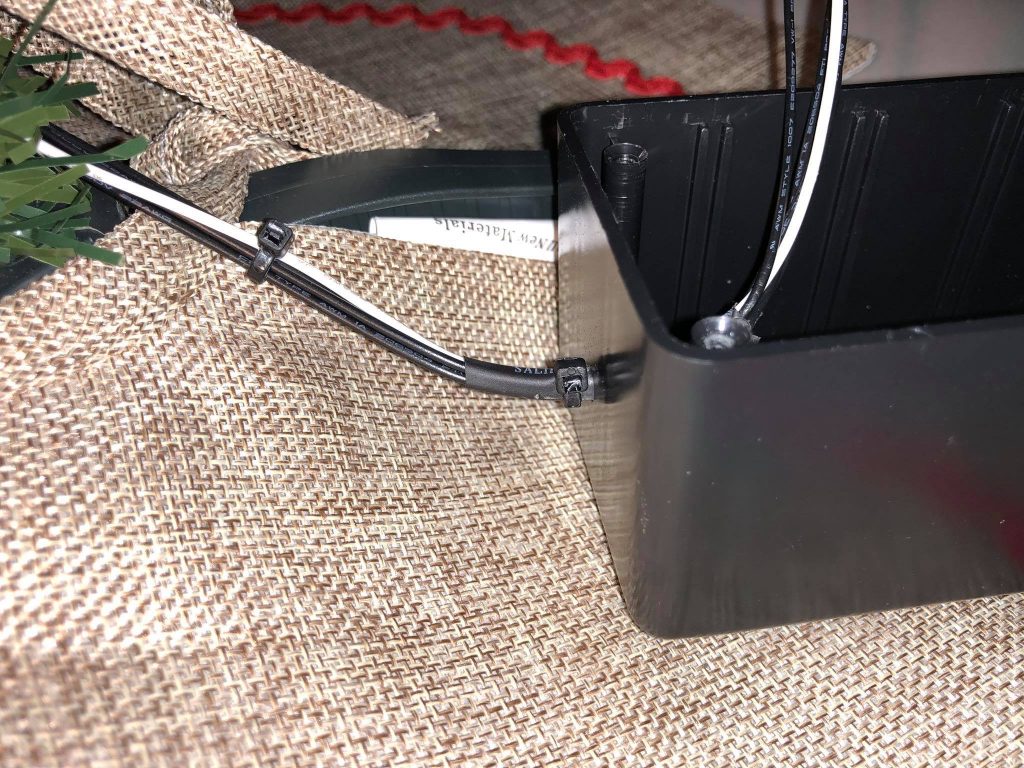
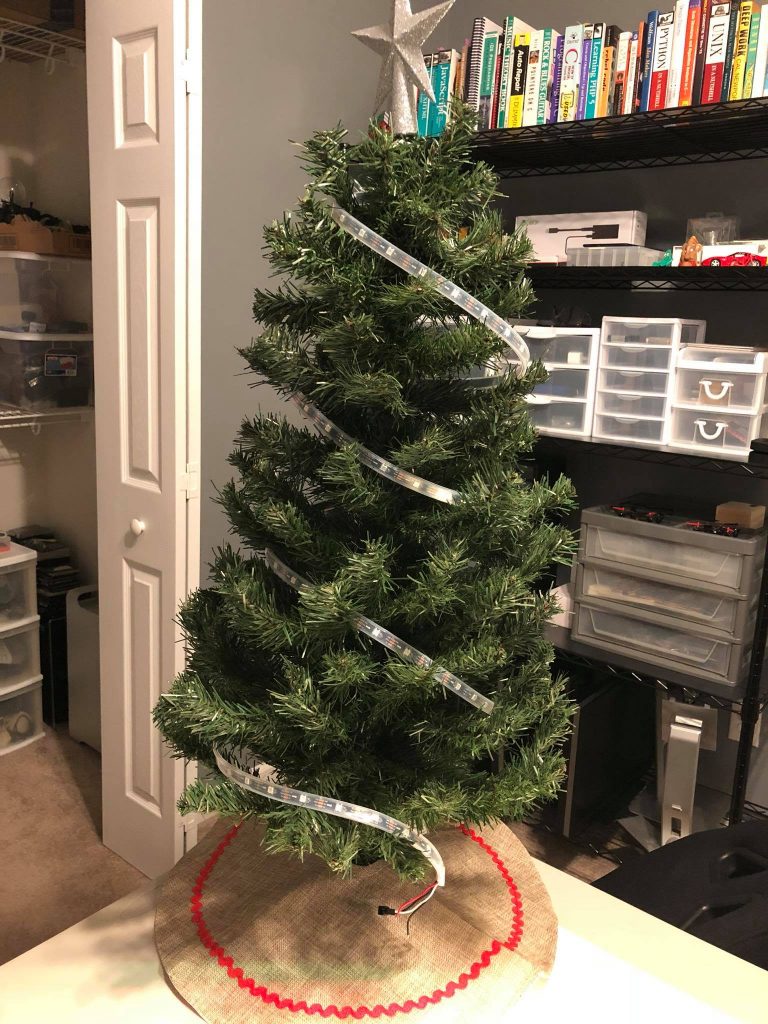
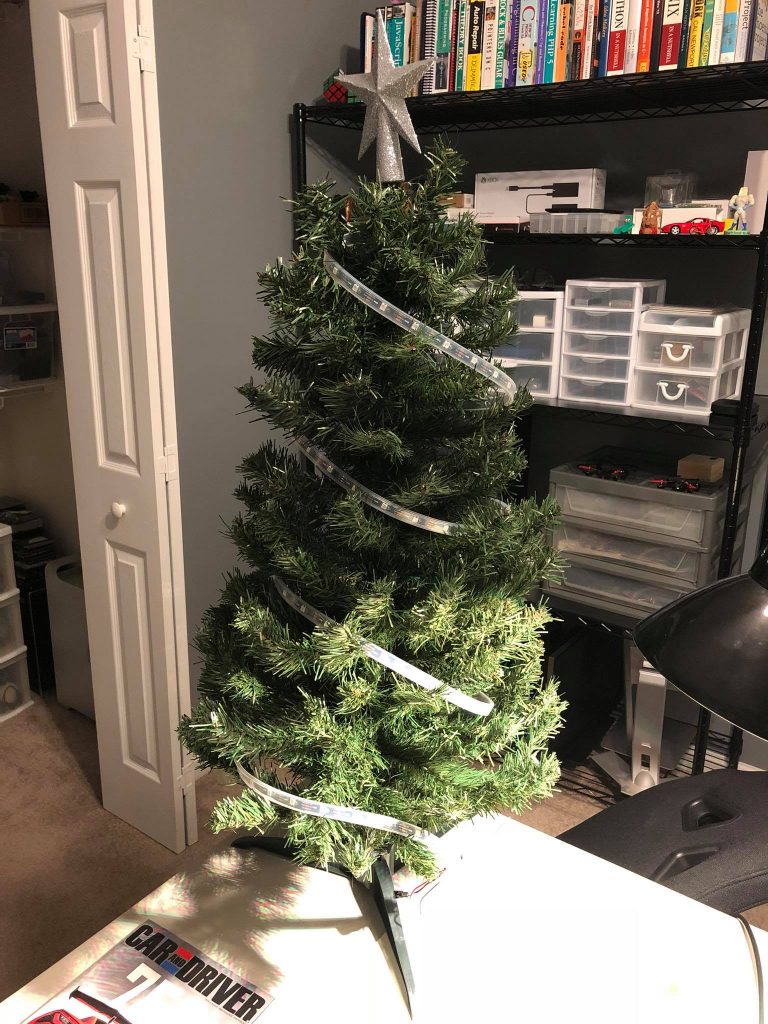
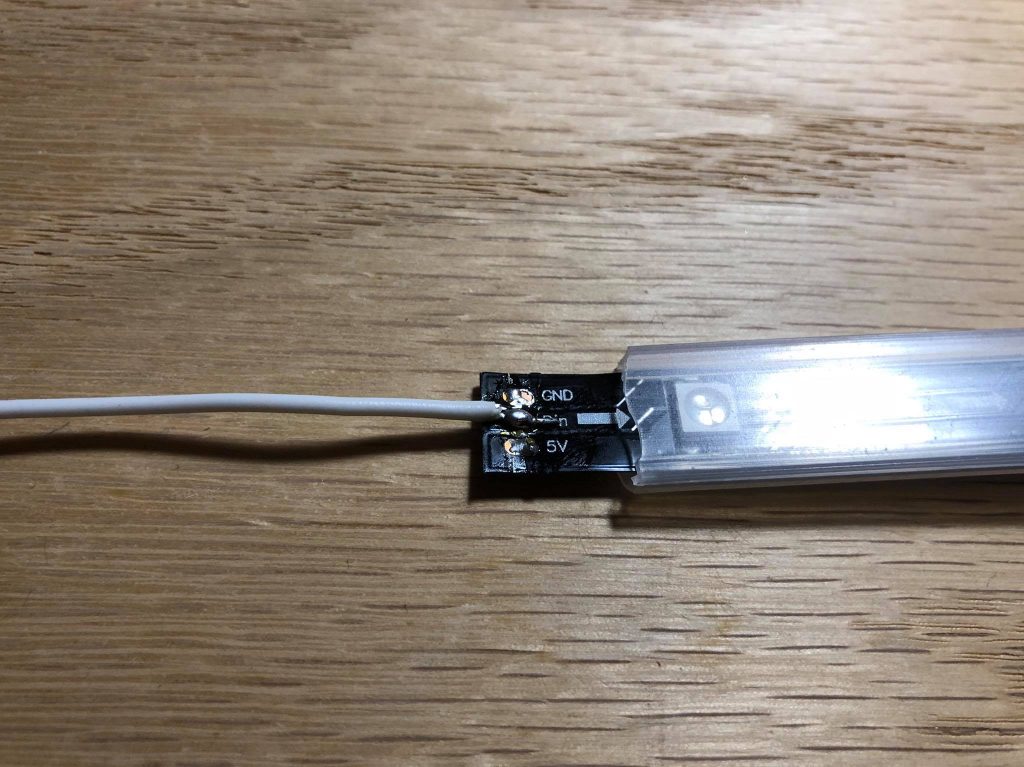
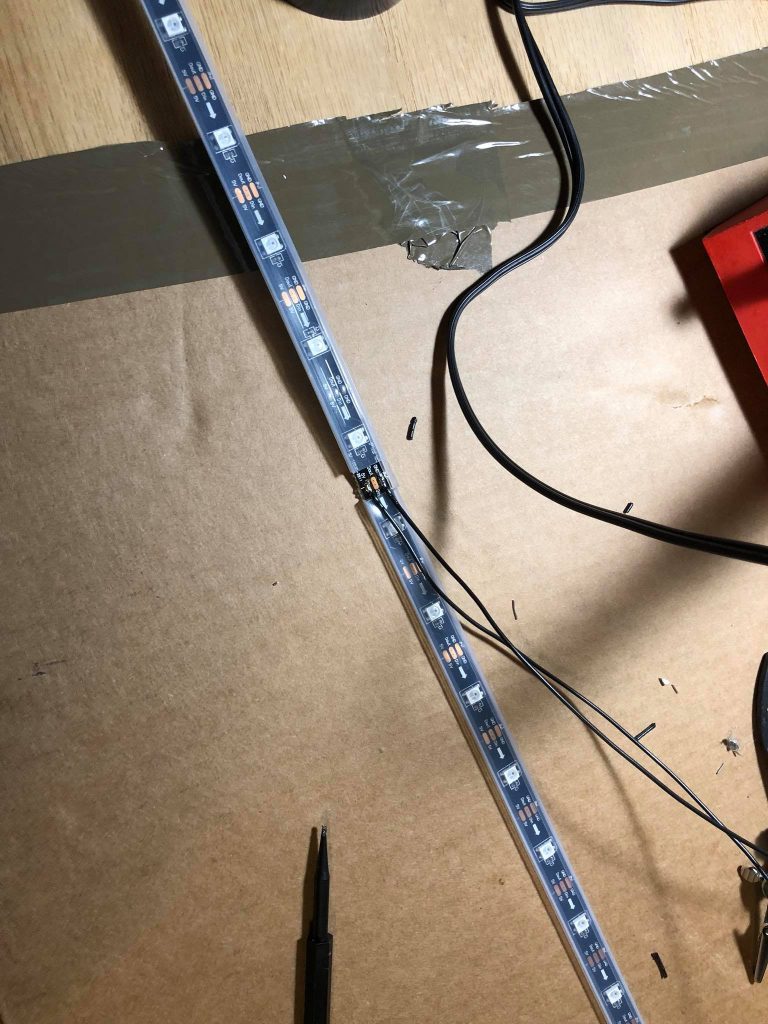
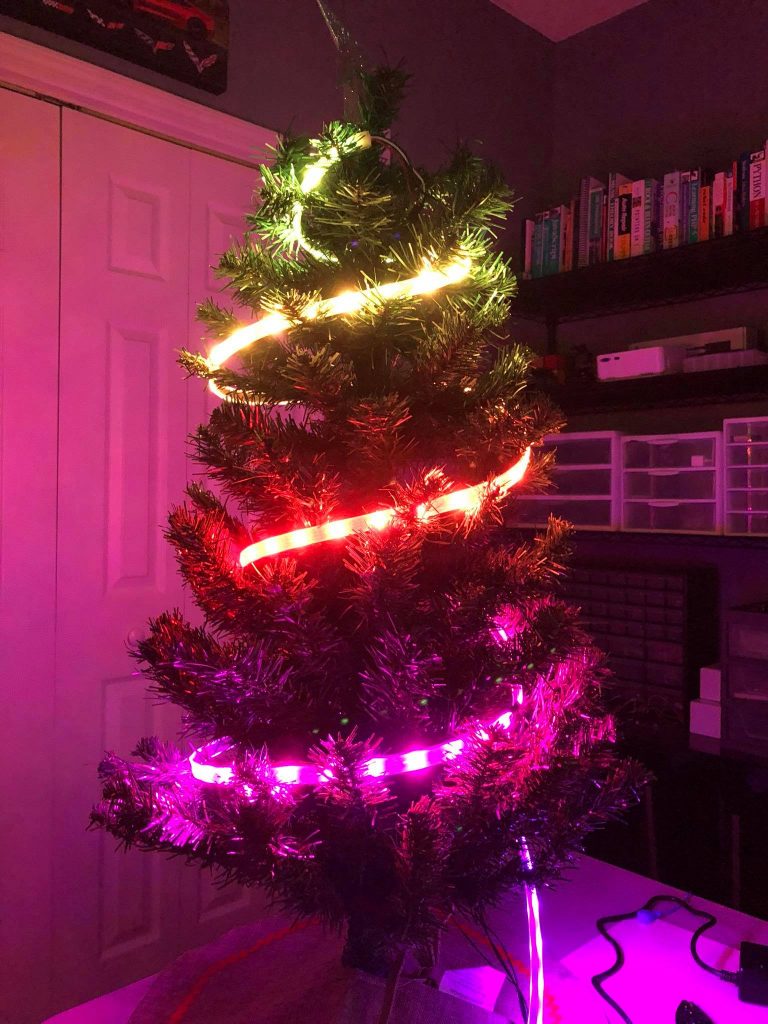
The latest obsession
See the GitHub repo for a parts list, wiring diagram, and Arduino code.
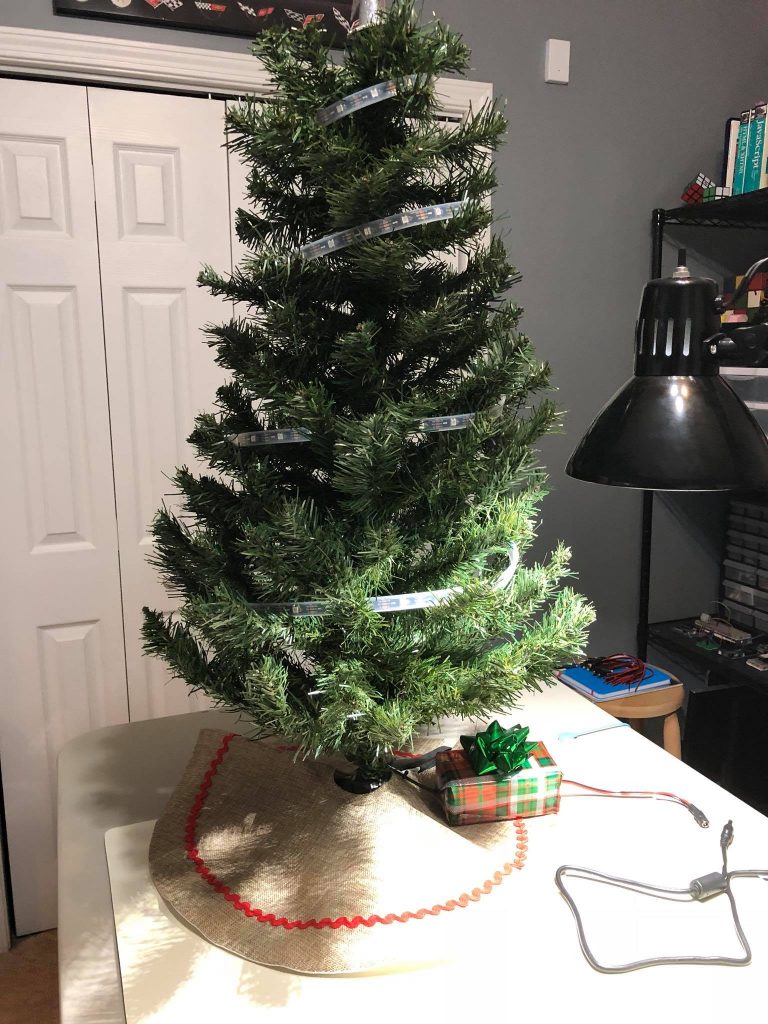
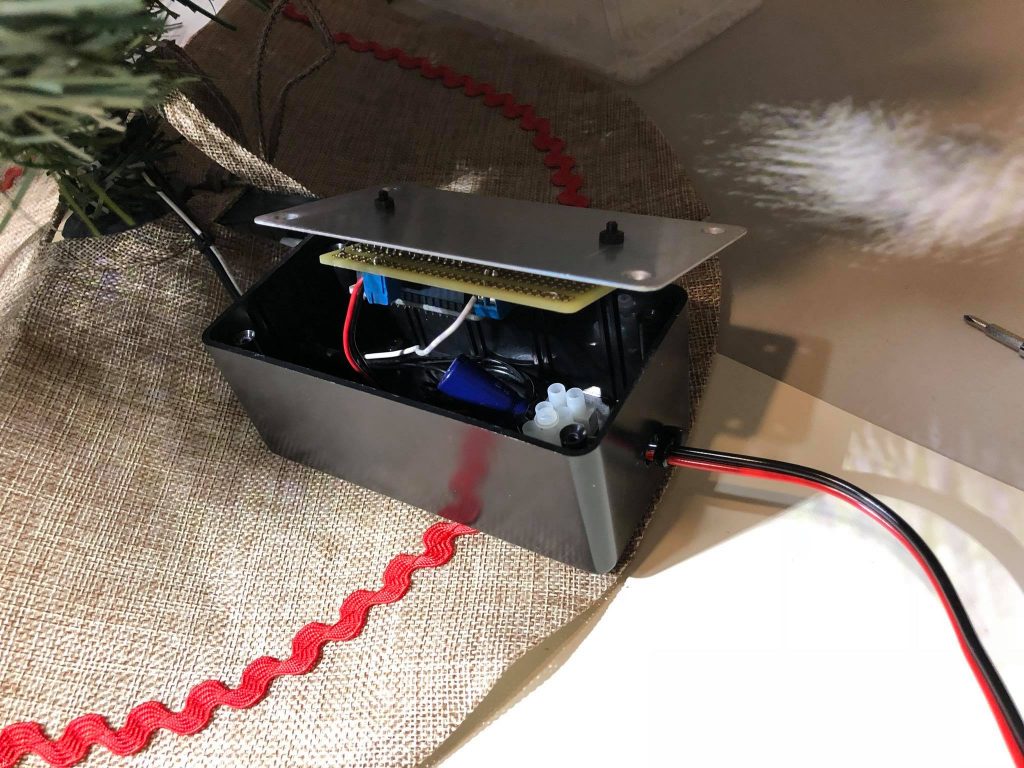
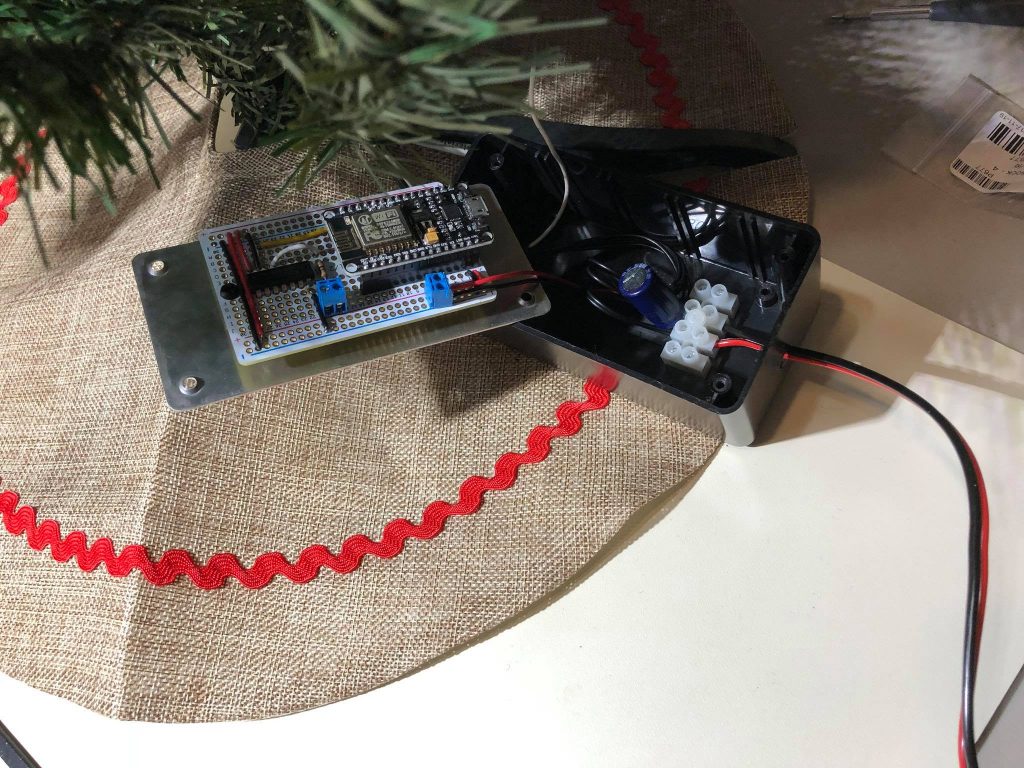
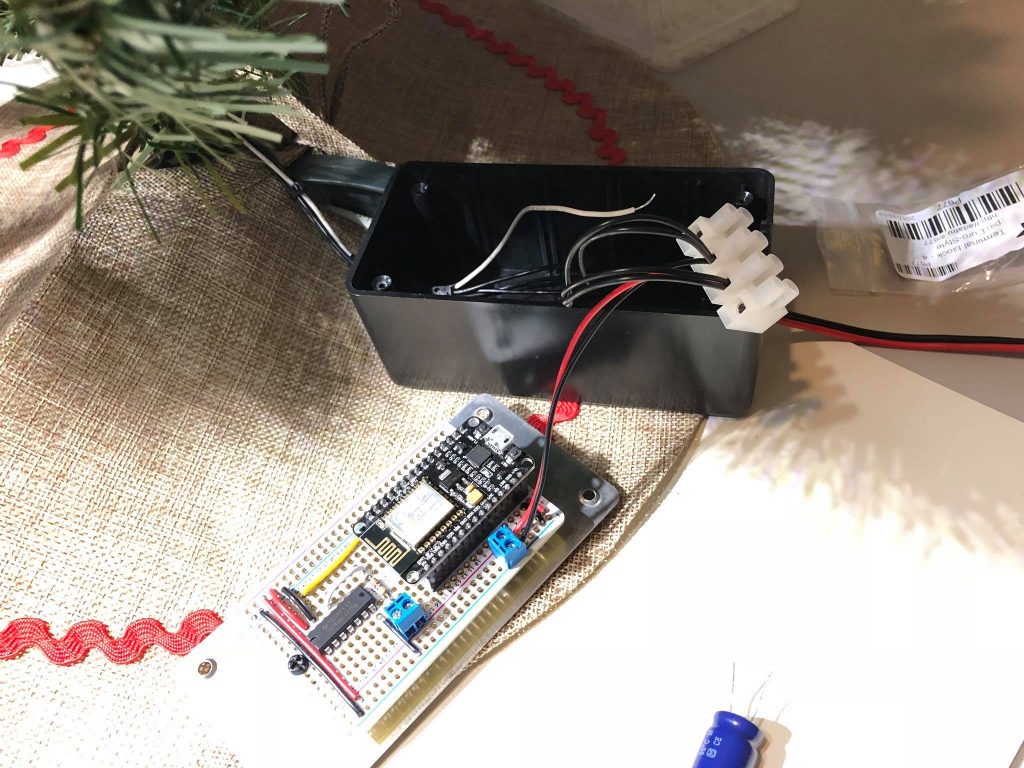
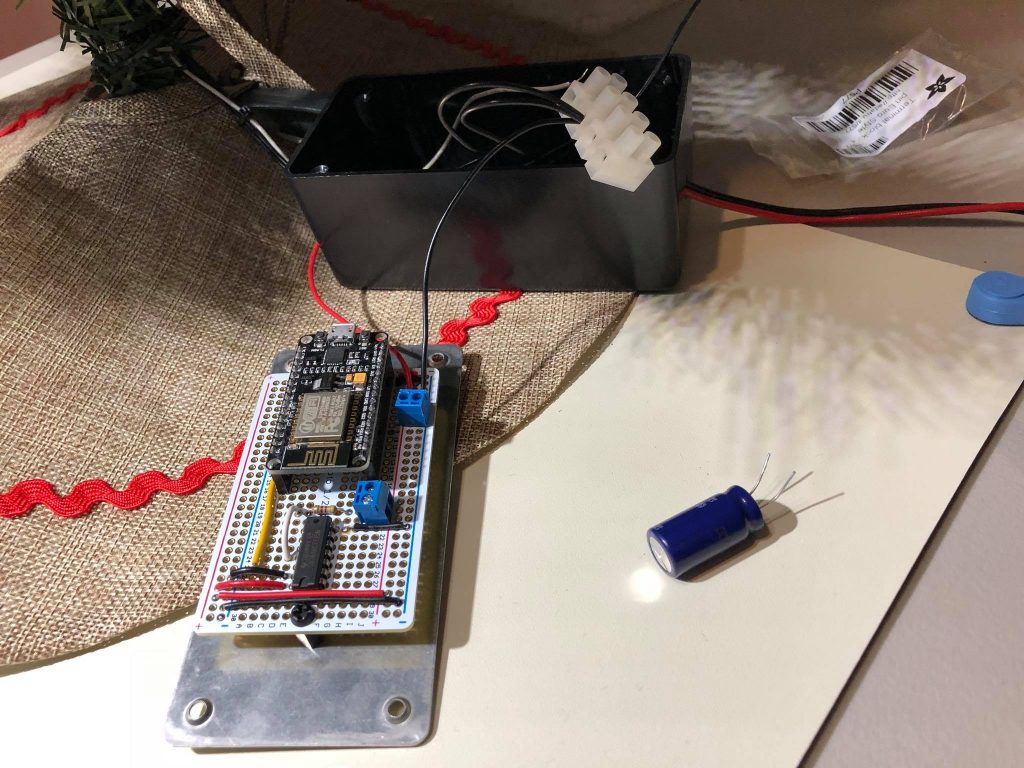
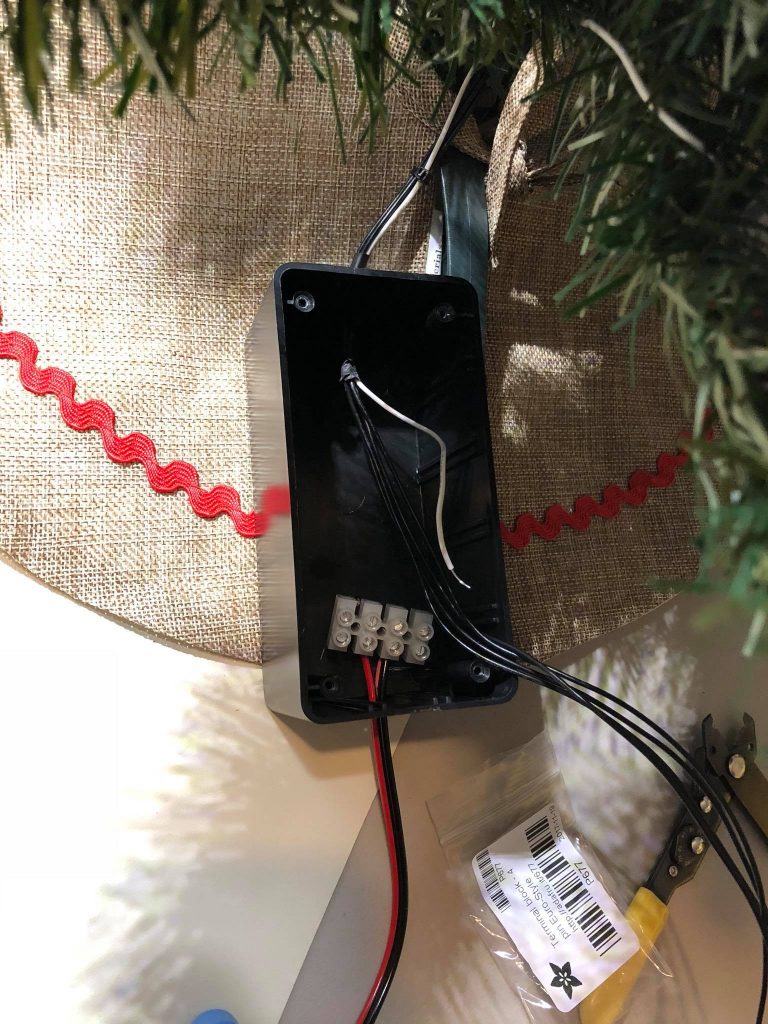
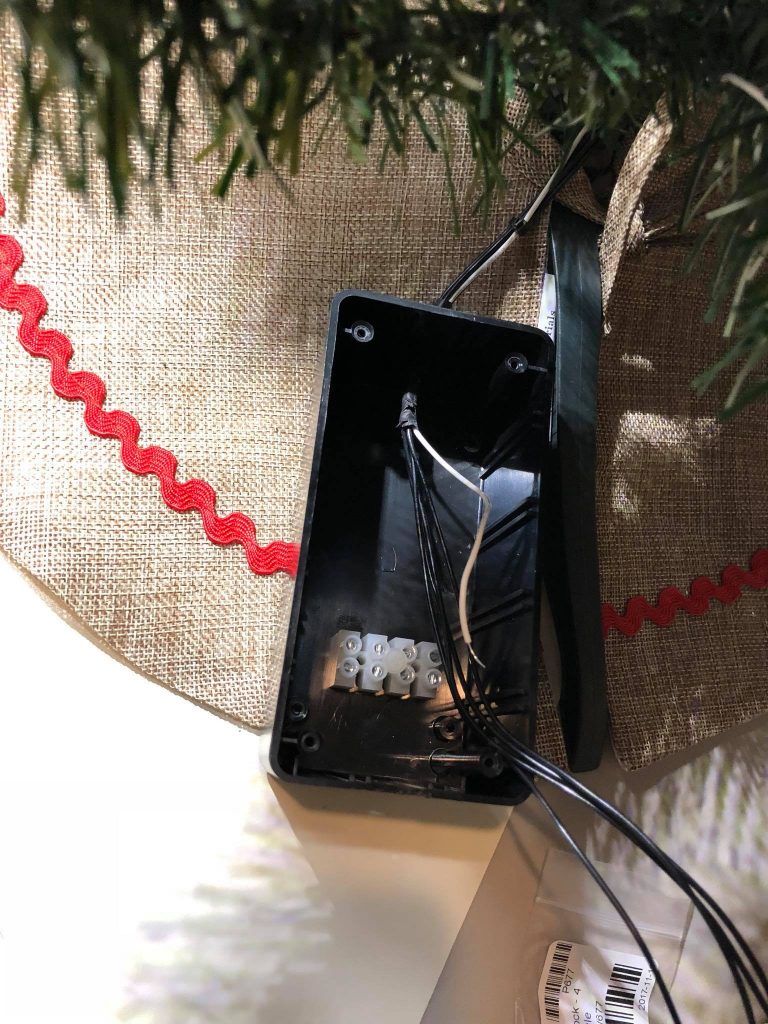
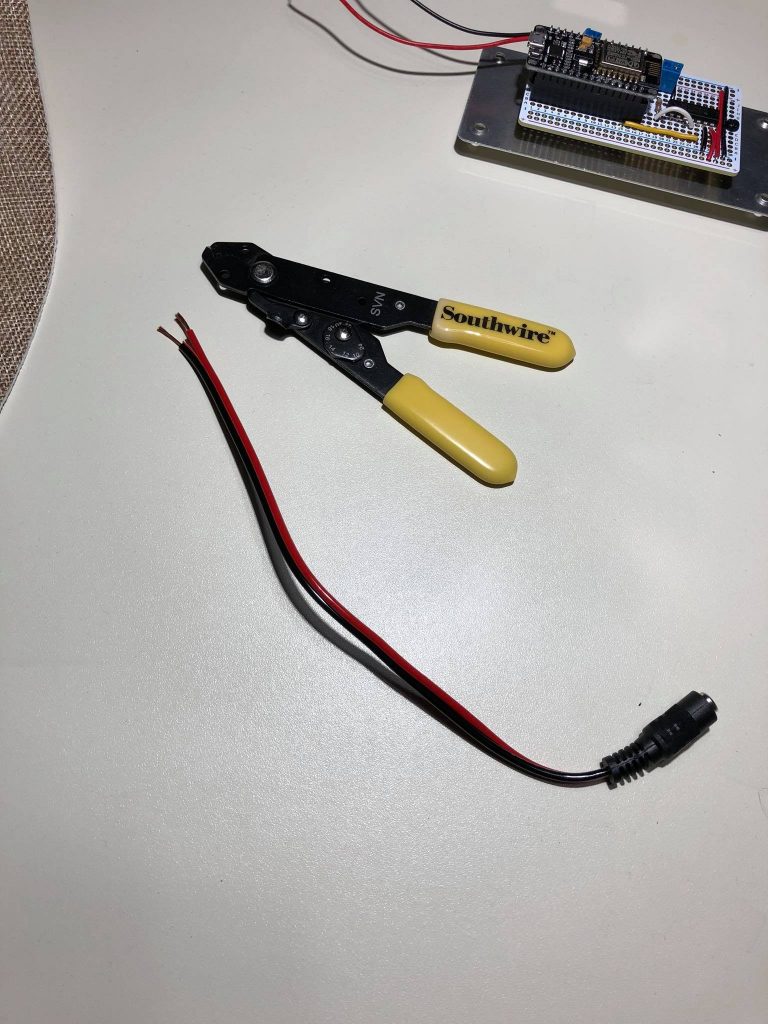
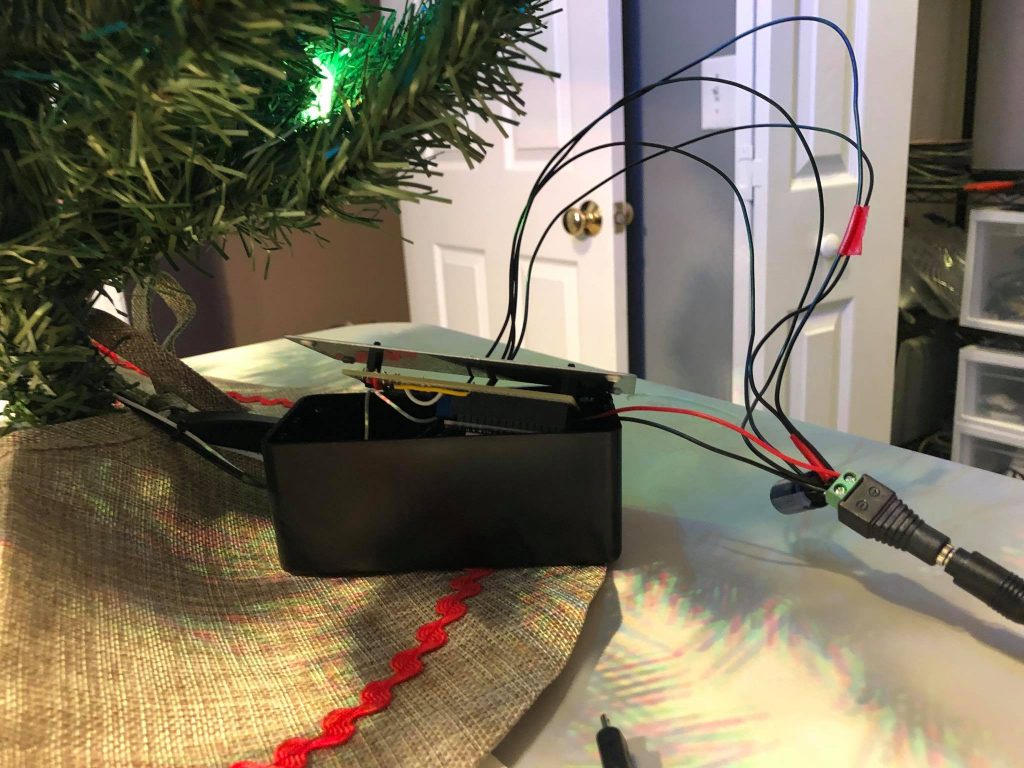
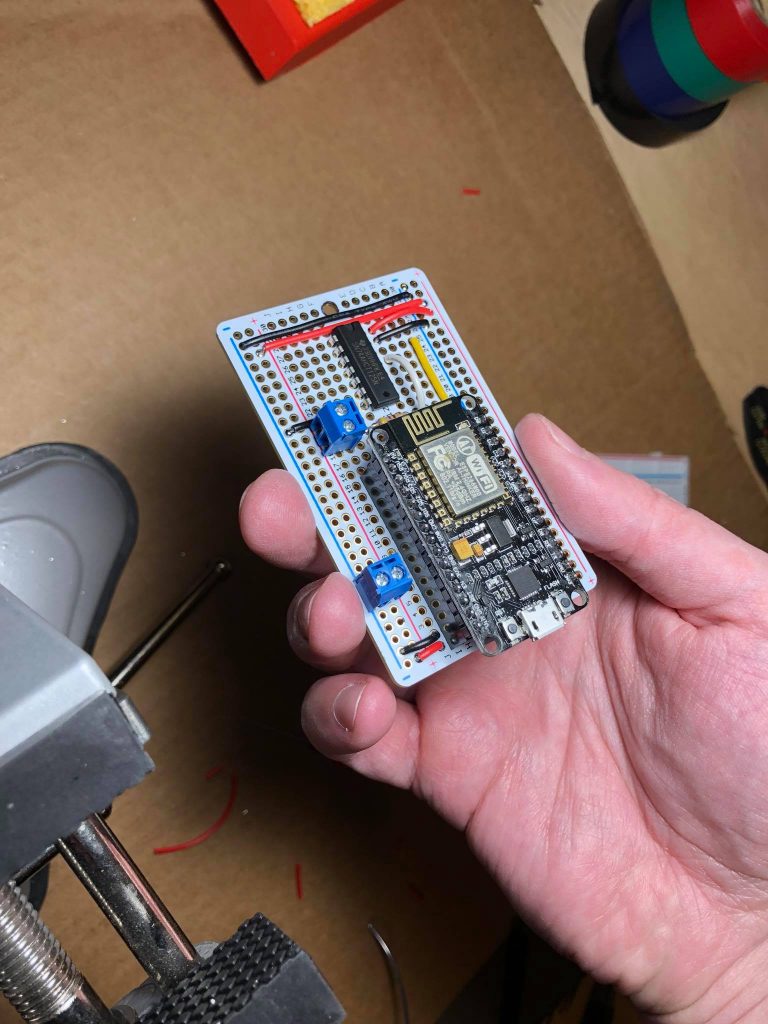
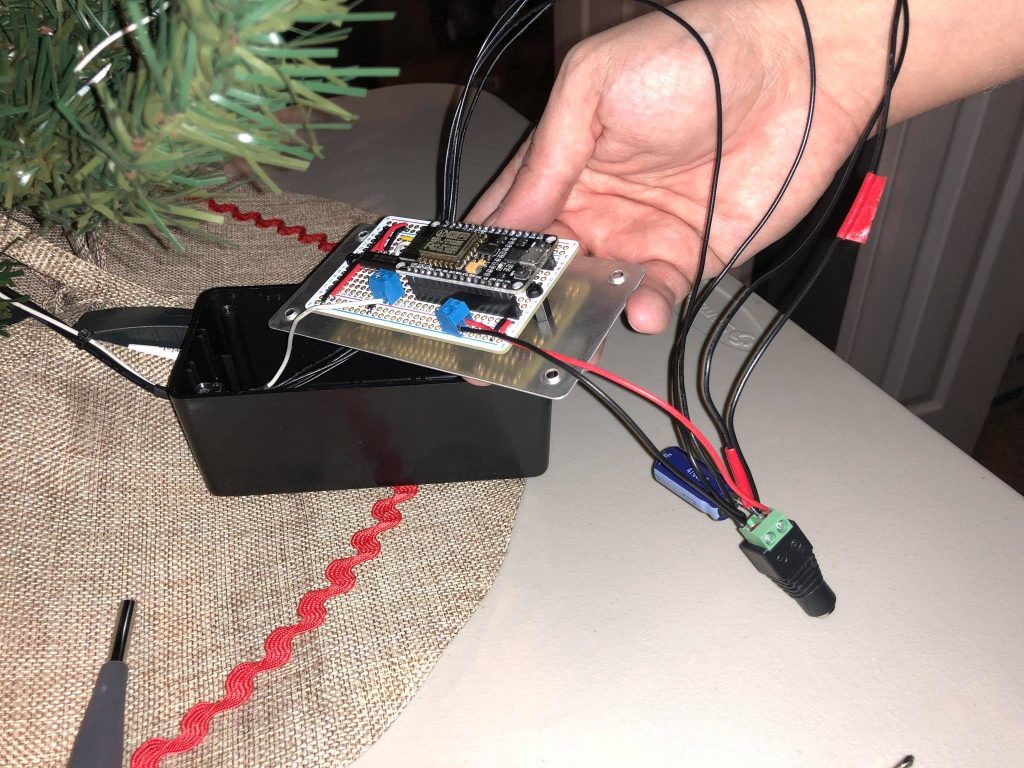
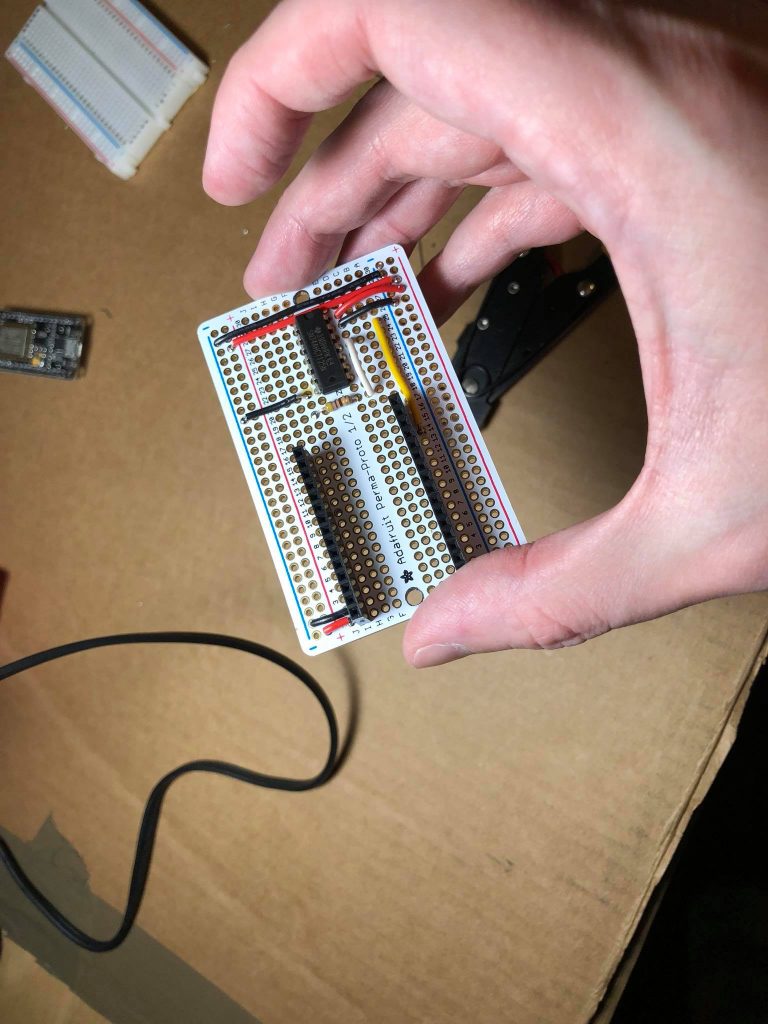





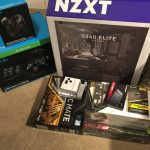
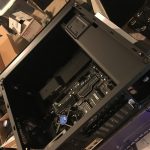
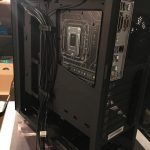
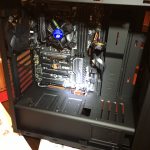
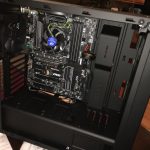
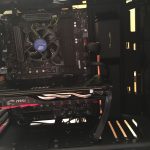
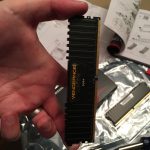
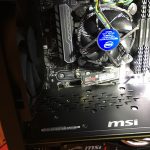
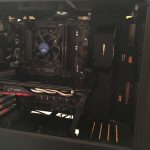
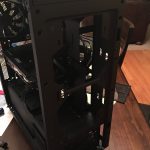
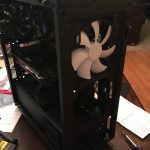
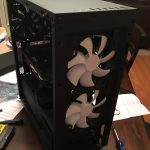
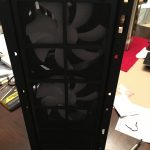
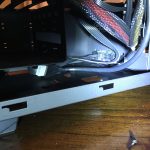
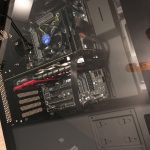
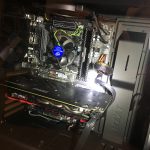
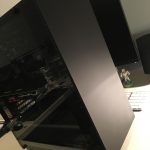
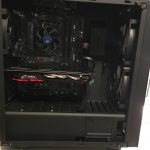
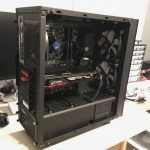
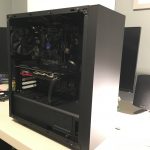
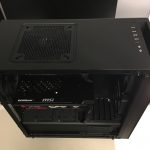
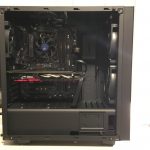
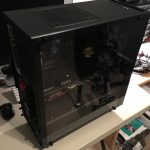
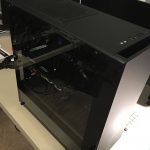
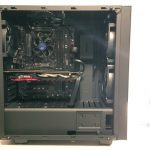
New PC Build
I’m really happy with how this build turned out. It’s been about a decade since I had a new PC, so it’s been a long time coming.
Specs:
- i5-7500 Quad-Core 3.4 GHz Kaby Lake
- MSI GeForce GTX 1060 6GB
- Samsung 960 PRO 512 PCIe NVMe M.2
- Corsair 2x8GB DDR4
- MSI Pro Series B250 PC MATE
- Seasonic SSR-550RM 550W modular PSU
- NZXT S340 Elite Mid Tower case
- Two 140mm NZXT fans in the front, all four fans controlled by mobo
Thoughts:
- I love the cable management features of the case.
- The two case fans came with adapters for connecting directly to DC. I disconnected those and put them straight on the motherboard for speed control.
- The case has two removable dust filters – one in the front and one under the PSU.
- By using the M.2 for storage, I only had to plug in one module to the PSU – PCIe power for the GPU.
- It’s very quiet, even with a total of 7 fans! (4 case, 1 CPU, 2 GPU)
- The lights on the motherboard aren’t too impressive and only one color (white). Nicer models let you choose more.
The time has come: My 2009 Mac Pro has been retired and replaced with a 2016 MacBook Pro. Not only has the temperature in my home office dropped about 4°F, but I can now run the latest macOS, Xcode, and Docker, which I need for work (for that money stuff). I held on to the Mac Pro as long as I could, though, and I can confidently say that the “cheese grater” desktop is the best machine I’ve ever purchased.
A new setup presents new challenges. One issue I’ve found is switching states between “docked” and “undocked”. I put this in quotes since Apple doesn’t have a true docking station solution. Because of this it’s way too easy to rip out the USB connectors when “undocking”, which could lead to a dirty removal of a volume (e.g. something hasn’t been flushed out of cache to the actual hardware yet and data is corrupted / lost). Since I have a Time Machine drive connected at my desk, this can happen if I don’t remember to eject it from Finder.
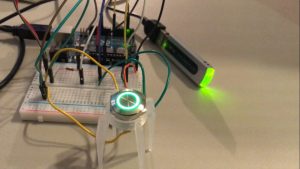
I think this process would be easier with an external button to do the work for me before disconnecting the laptop. Currently in the hack phase, I’ve wired up an Arduino with an RGB pushbutton that communicates to a macOS app. When it’s time to undock I simply press the button to unmount all volumes and get visual feedback that it’s safe to pull the plugs…

