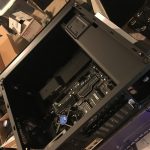
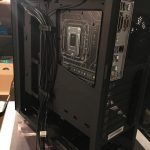
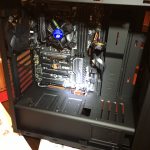
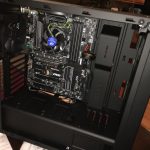
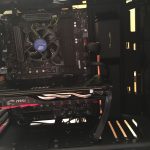
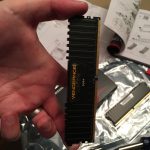
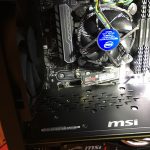
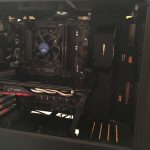
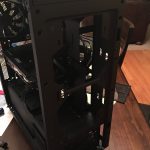
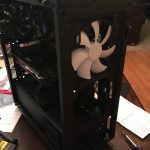
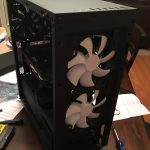
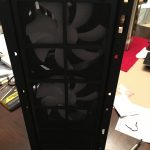
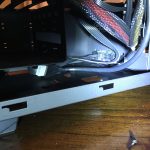
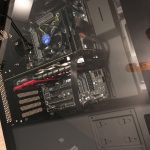
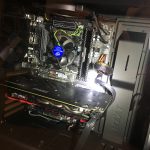
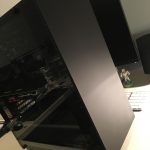
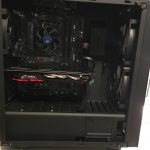
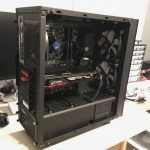
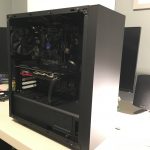
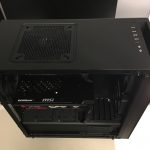
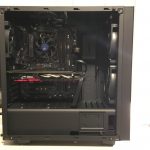
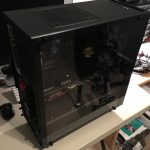
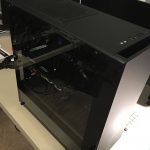
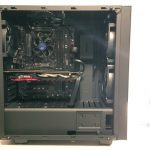
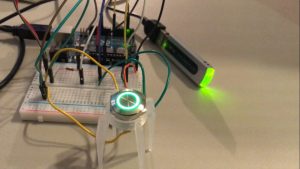
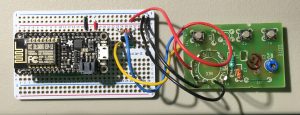
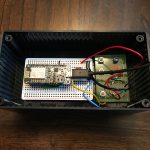
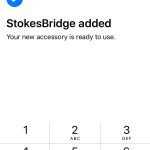
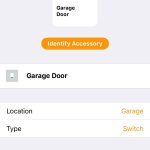
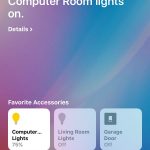
Once I win the lottery this will be all I do all day long. pic.twitter.com/F0TAEJDyEP
— Tanner Stokes (@TannerStokes) March 27, 2018
Category: Projects
The latest obsession
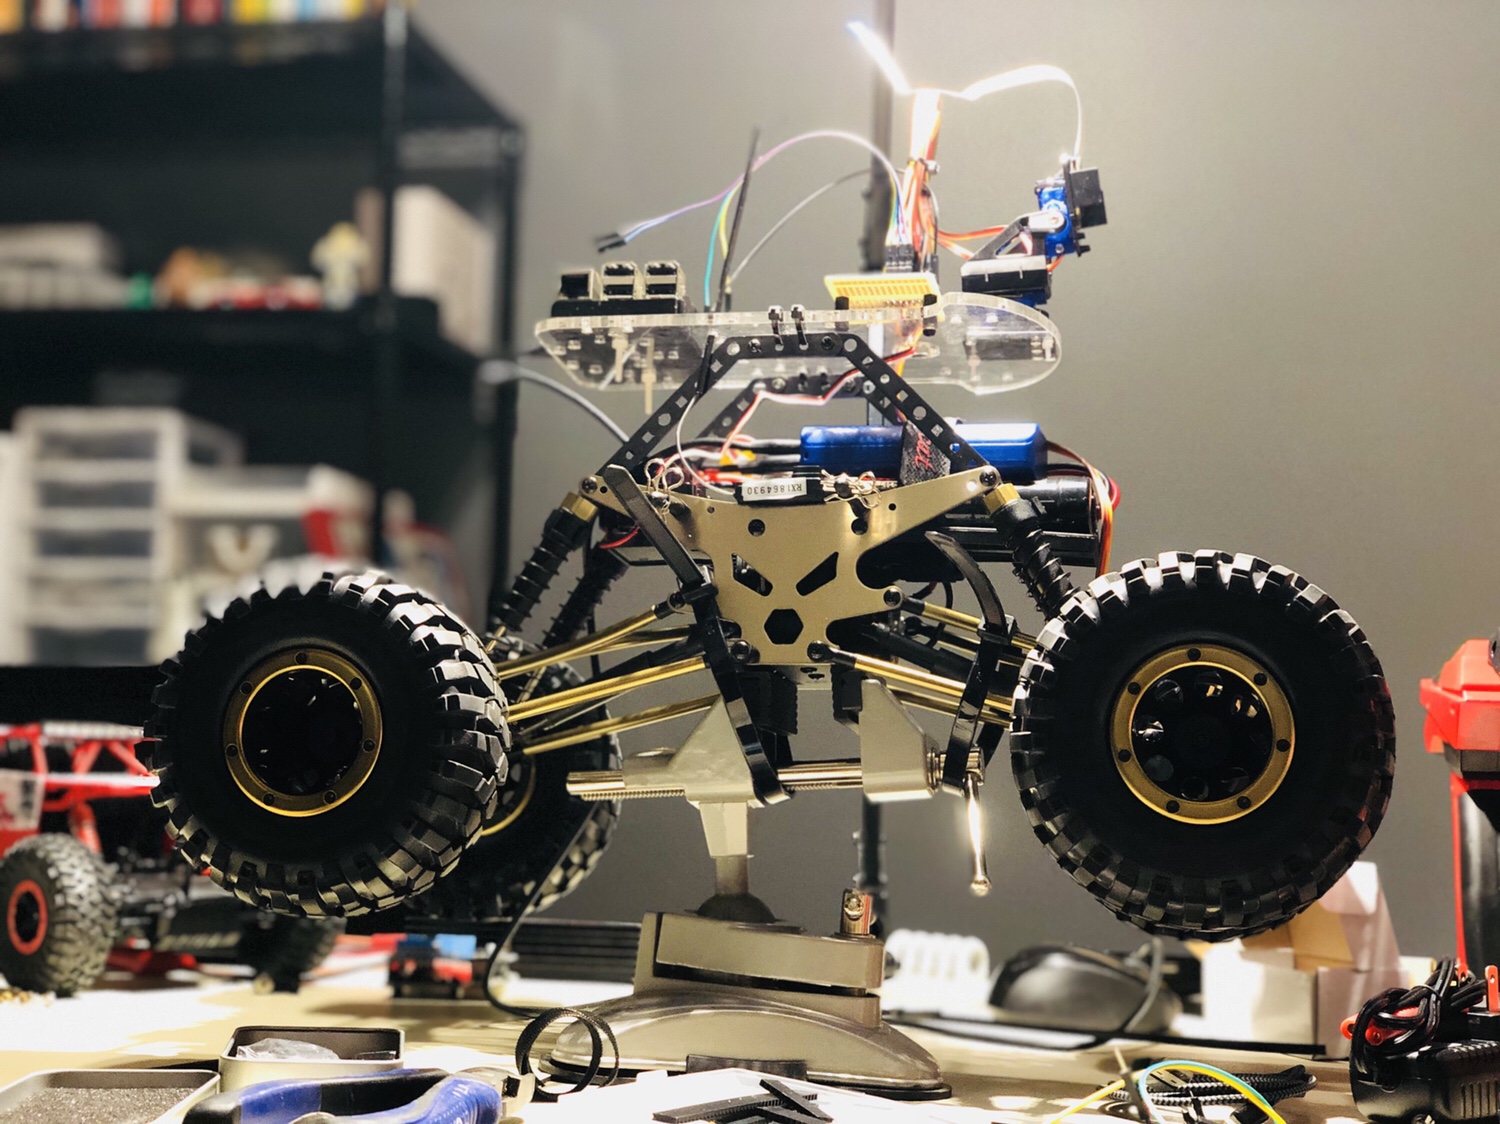
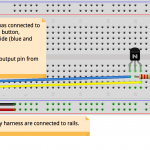
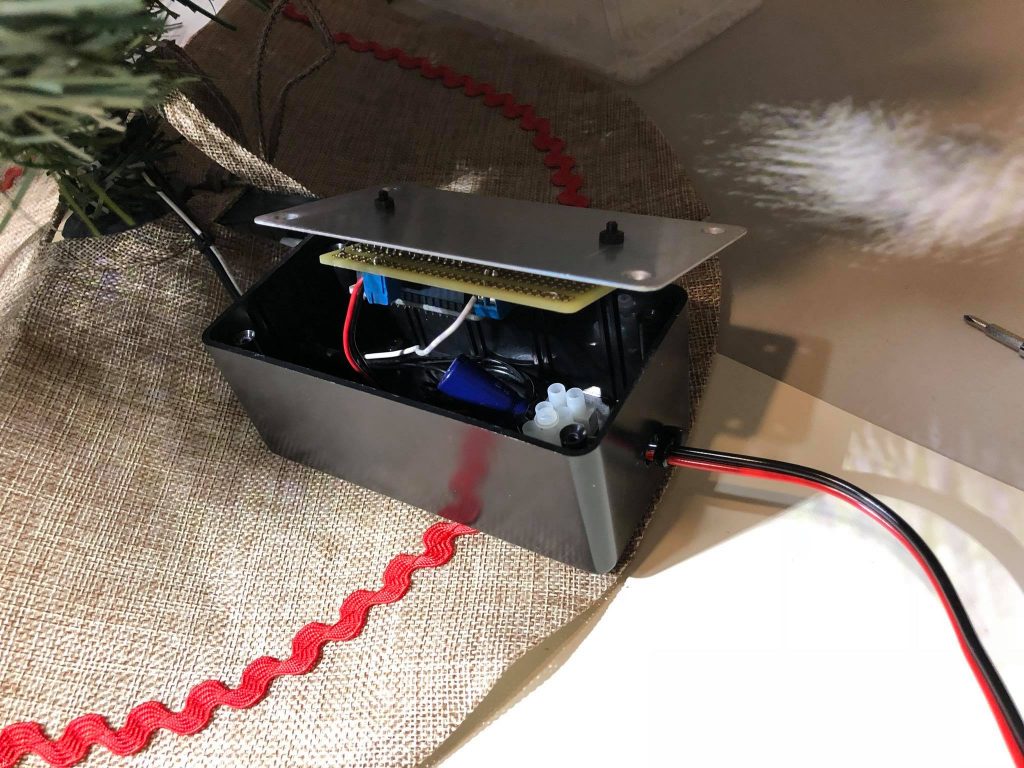
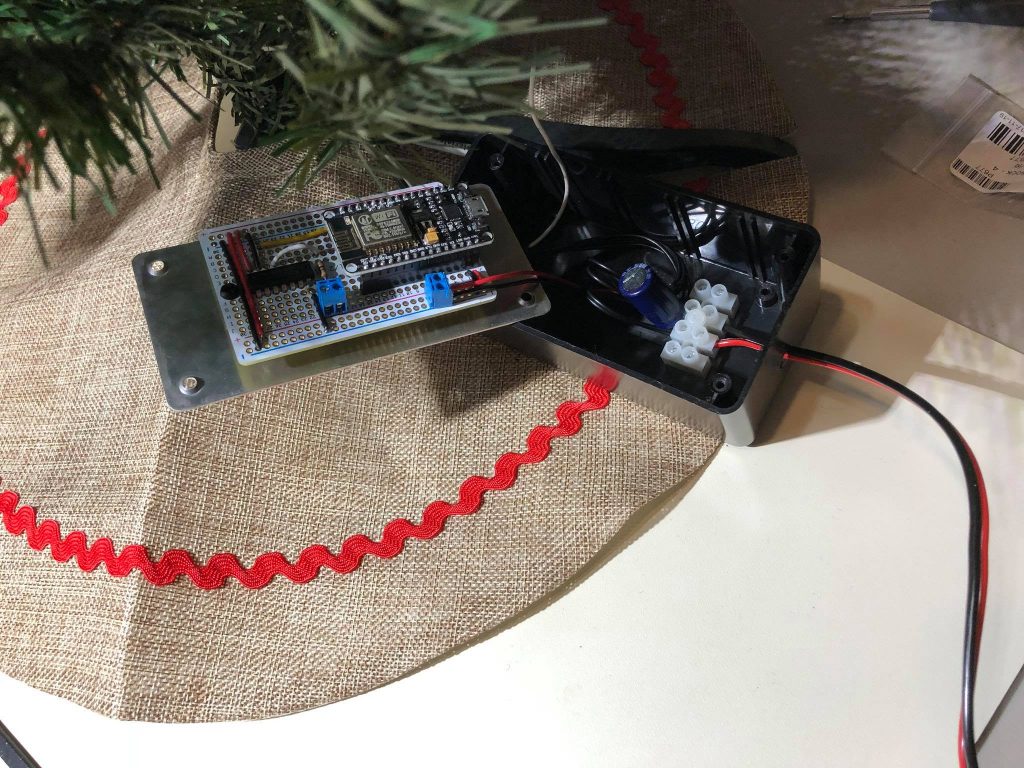
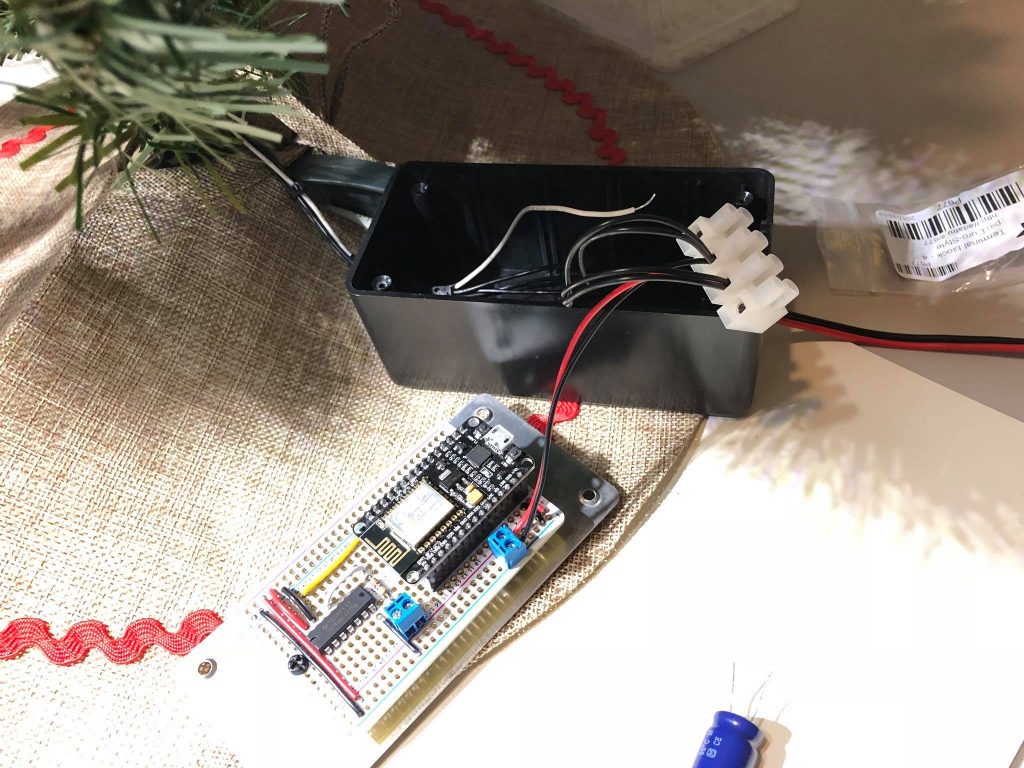
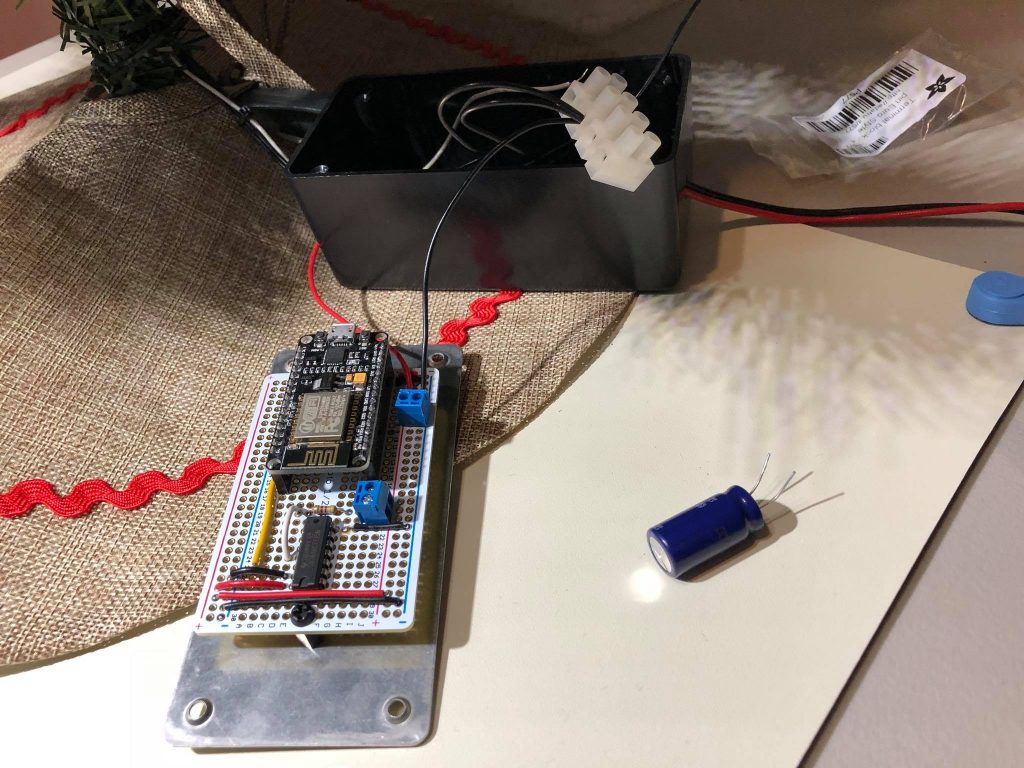
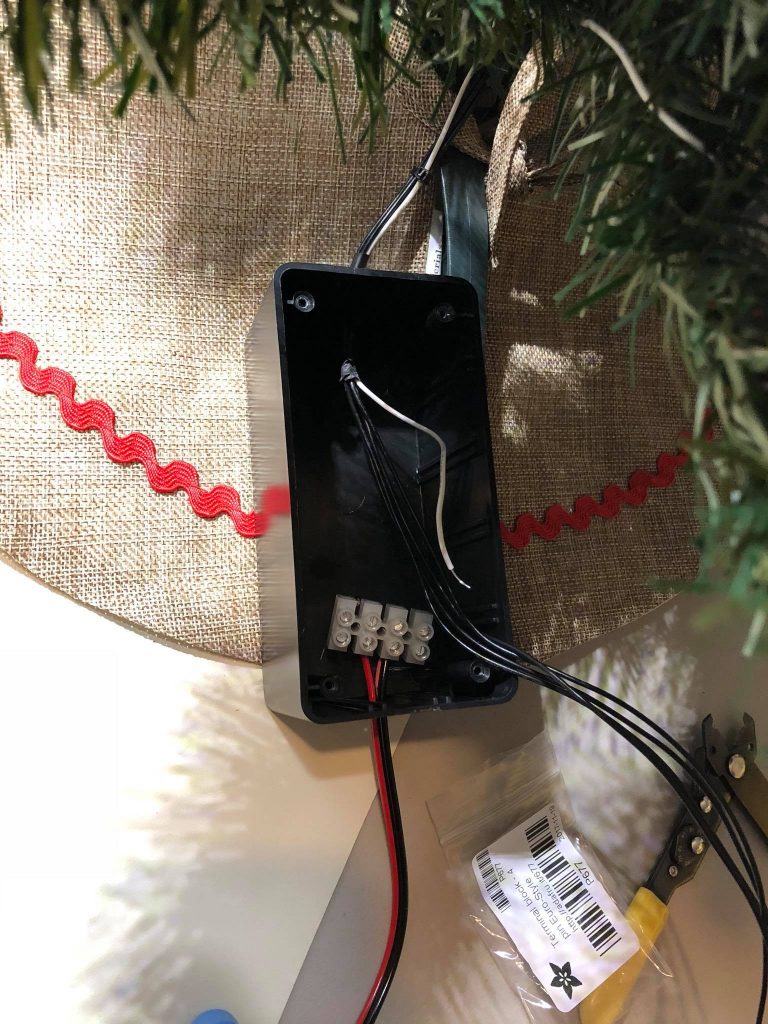
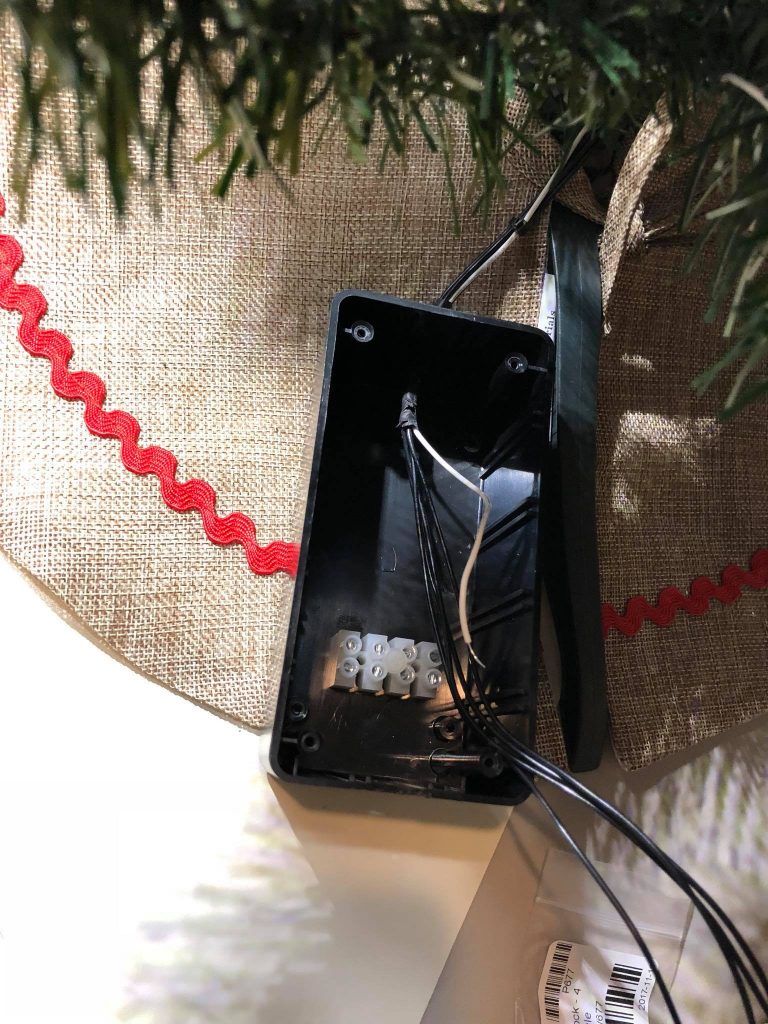
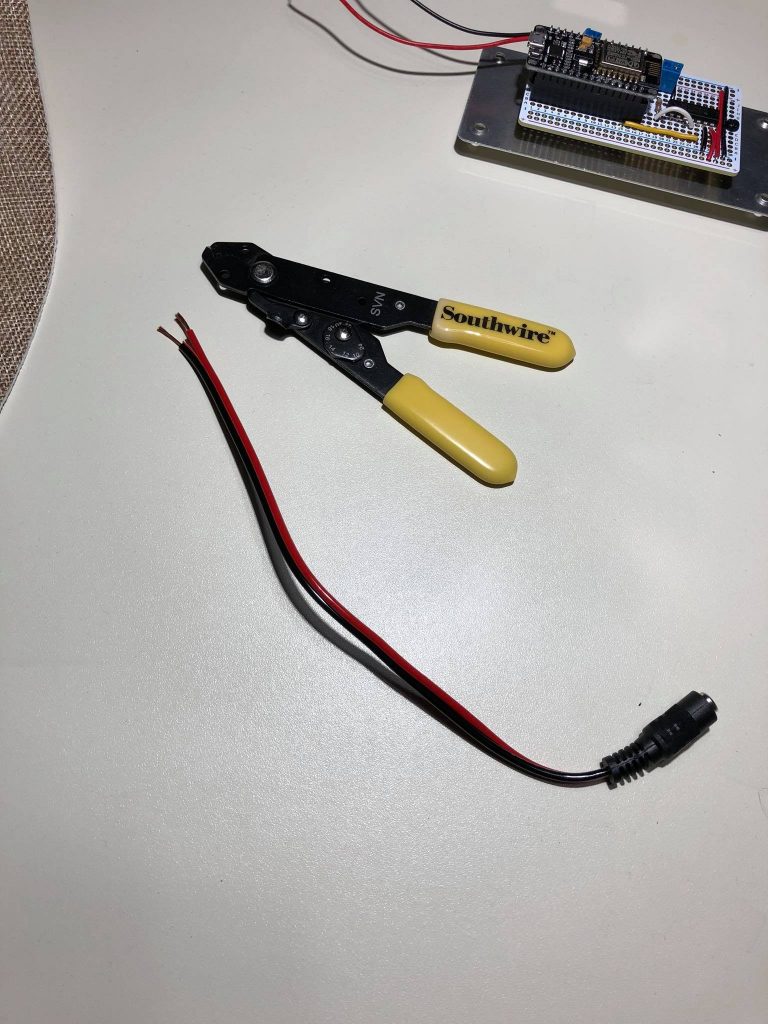
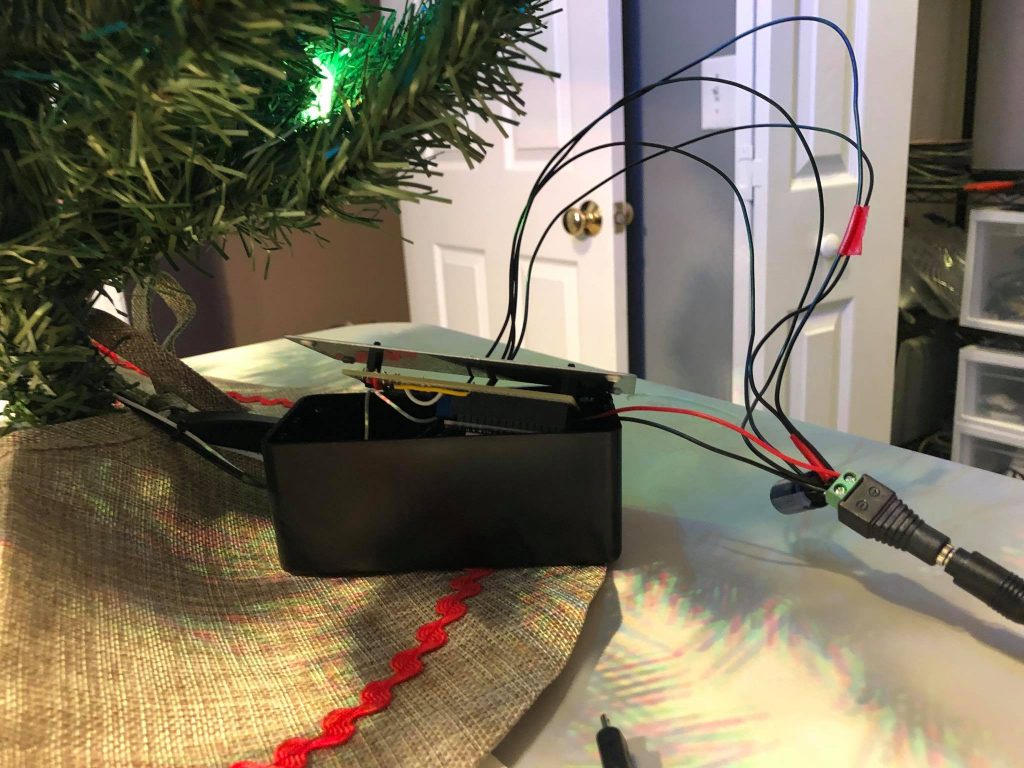
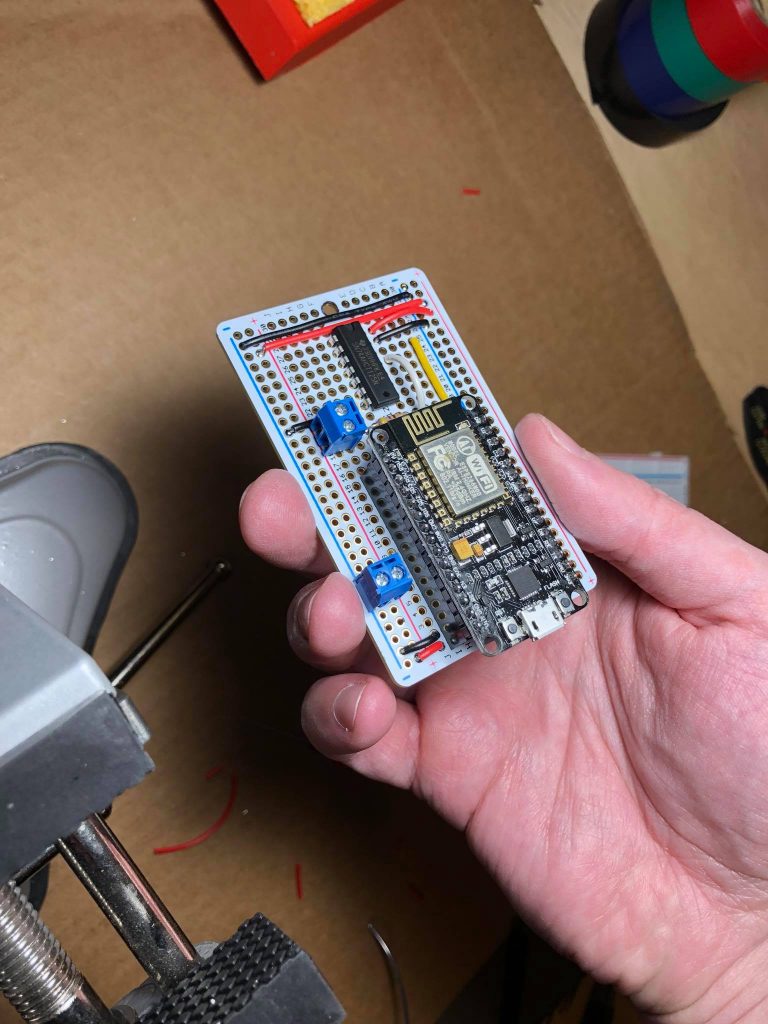
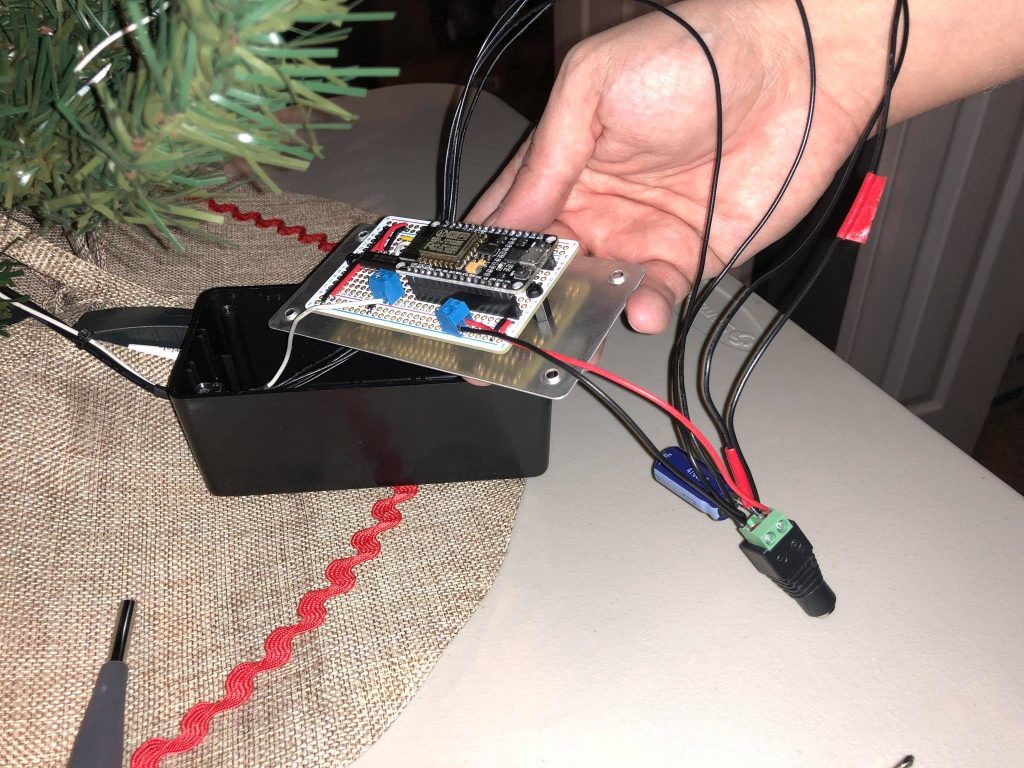
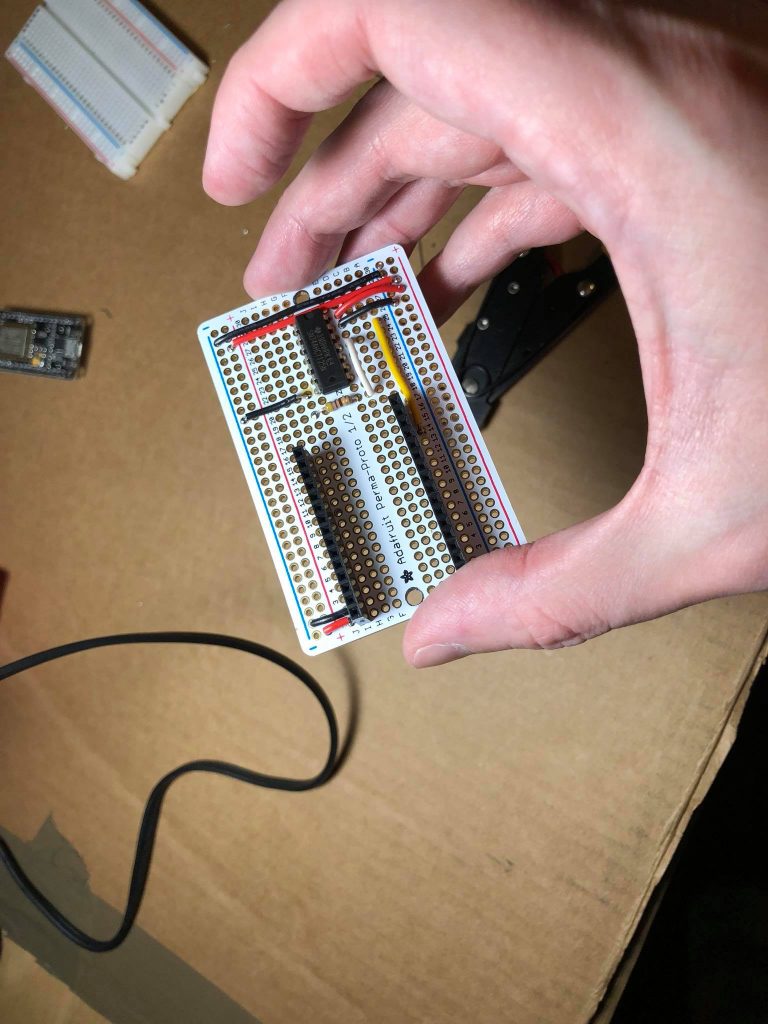
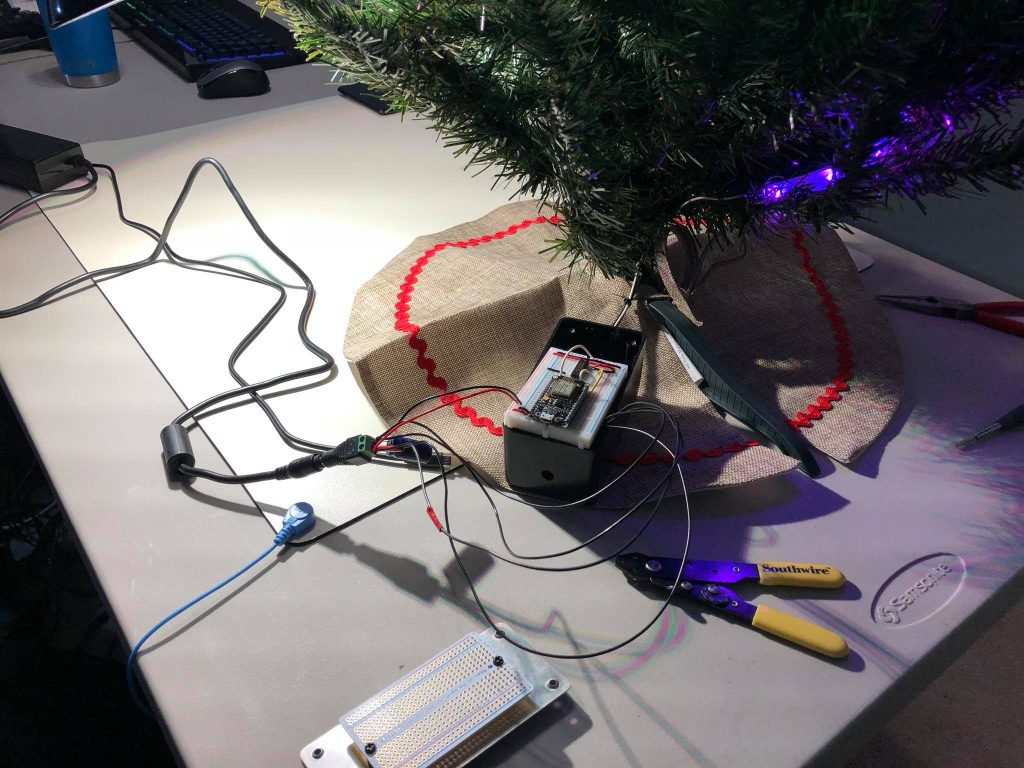
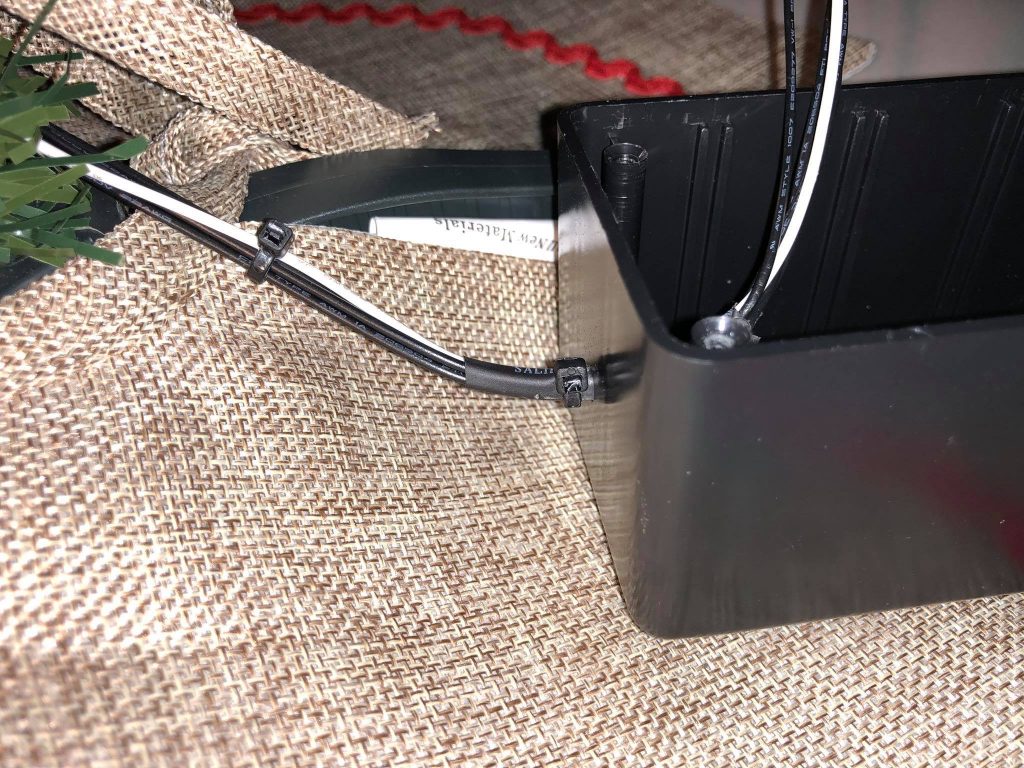
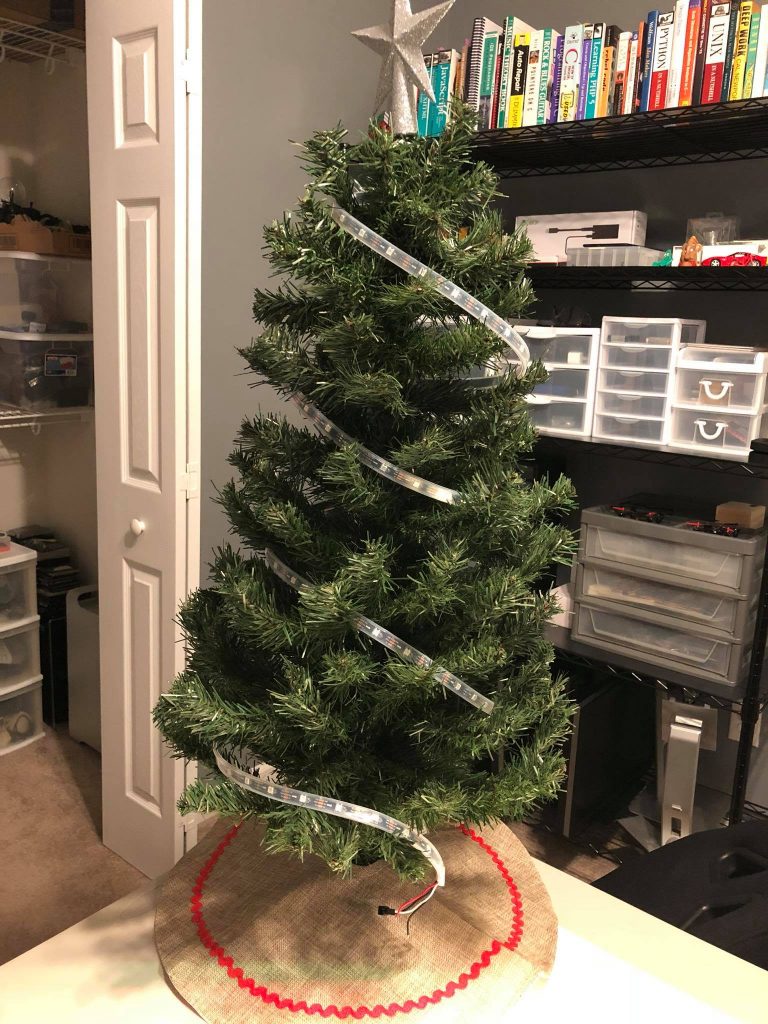
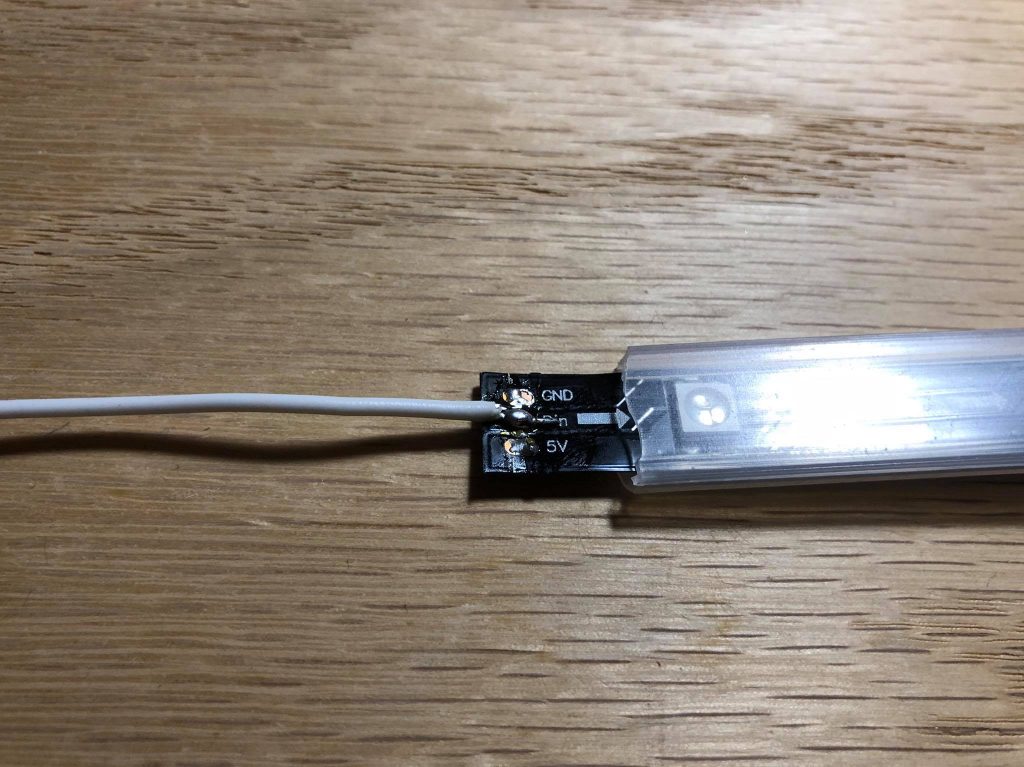
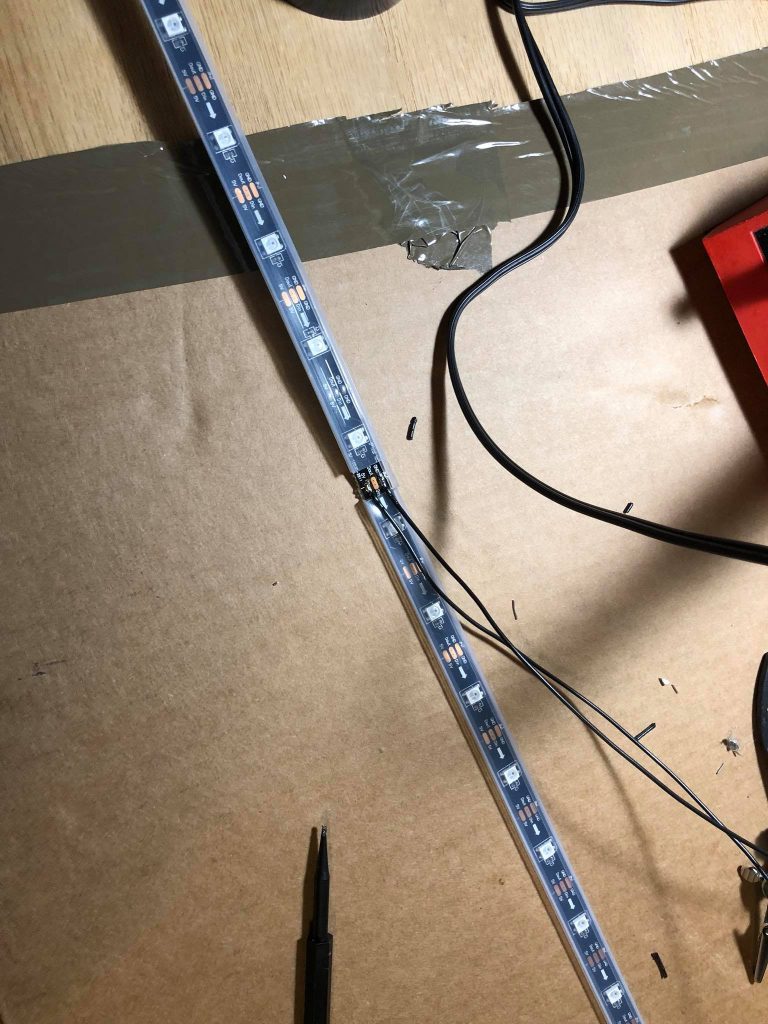
See the GitHub repo for a parts list, wiring diagram, and Arduino code.







New PC Build
I’m really happy with how this build turned out. It’s been about a decade since I had a new PC, so it’s been a long time coming.
Specs:
- i5-7500 Quad-Core 3.4 GHz Kaby Lake
- MSI GeForce GTX 1060 6GB
- Samsung 960 PRO 512 PCIe NVMe M.2
- Corsair 2x8GB DDR4
- MSI Pro Series B250 PC MATE
- Seasonic SSR-550RM 550W modular PSU
- NZXT S340 Elite Mid Tower case
- Two 140mm NZXT fans in the front, all four fans controlled by mobo
Thoughts:
- I love the cable management features of the case.
- The two case fans came with adapters for connecting directly to DC. I disconnected those and put them straight on the motherboard for speed control.
- The case has two removable dust filters – one in the front and one under the PSU.
- By using the M.2 for storage, I only had to plug in one module to the PSU – PCIe power for the GPU.
- It’s very quiet, even with a total of 7 fans! (4 case, 1 CPU, 2 GPU)
- The lights on the motherboard aren’t too impressive and only one color (white). Nicer models let you choose more.
The time has come: My 2009 Mac Pro has been retired and replaced with a 2016 MacBook Pro. Not only has the temperature in my home office dropped about 4°F, but I can now run the latest macOS, Xcode, and Docker, which I need for work (for that money stuff). I held on to the Mac Pro as long as I could, though, and I can confidently say that the “cheese grater” desktop is the best machine I’ve ever purchased.
A new setup presents new challenges. One issue I’ve found is switching states between “docked” and “undocked”. I put this in quotes since Apple doesn’t have a true docking station solution. Because of this it’s way too easy to rip out the USB connectors when “undocking”, which could lead to a dirty removal of a volume (e.g. something hasn’t been flushed out of cache to the actual hardware yet and data is corrupted / lost). Since I have a Time Machine drive connected at my desk, this can happen if I don’t remember to eject it from Finder.
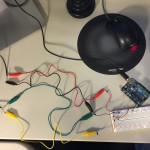
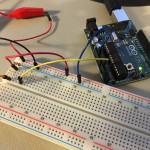
I think this process would be easier with an external button to do the work for me before disconnecting the laptop. Currently in the hack phase, I’ve wired up an Arduino with an RGB pushbutton that communicates to a macOS app. When it’s time to undock I simply press the button to unmount all volumes and get visual feedback that it’s safe to pull the plugs…
“Because my garage door doesn’t need an operating system”
I admit – I went a little overkill with the Raspberry Pi garage door opener. A machine so complex was being used to do something so simple: Perform a button press. Why did it need graphics capabilities? A multicore processor? Cron jobs? It didn’t.
Enter the Adafruit Feather HUZZAH ESP8266. All the right junk in all the right places. A simple HTTP request to the Feather, and we’re good to go.
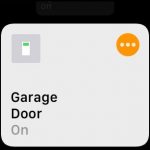
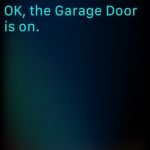
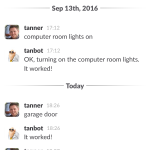
With the recent release of iOS 10 I took it a step further. Could I get this thing to work with Siri? As it turns out, it’s really not that hard:
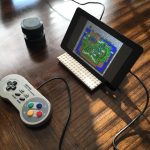
A really simple project that delivers!
Includes:
- RetroPie
- An SNES-style USB controller
- A Bluetooth speaker
- The Raspberry Pi touch display
- Of course, a Raspberry Pi
The only ‘gotcha’ I came across was when sending audio to the Bluetooth speaker, the emulator I was using (snes9x, the default) got super choppy. This was resolved by adding pisnes as an emulator to EmulationStation and using it instead.
I plan to do a more thorough write-up on my plasma-ball project, but for now here’s the video, some pictures, and a link to the repo.
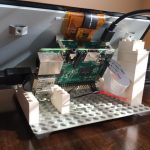
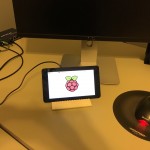
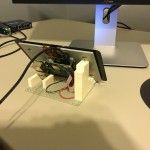
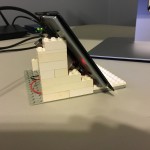
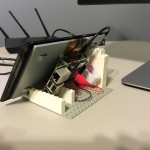
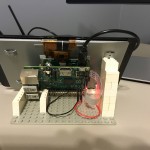
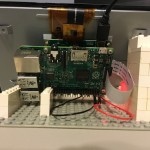
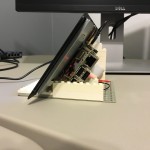
I recently acquired a couple of the awesome 7″ Raspberry Pi touch screens. They’re great except for one thing – how the heck do you hold it up out of the box?
Some third party manufacturers are selling stands, but can dirt-cheap LEGOs accomplish the same thing? Of course. I cooked this up in a few minutes. Three points support the screen perfectly, and a piece is added behind the USB ports to minimize sliding (though that hasn’t been an issue at all).
A downside to this design is that two USB ports are blocked on this model, but you may not need them at all as in my case.
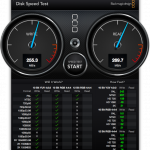
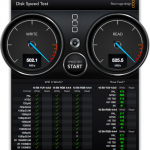
The Mac Pro gets an SSD part 2!
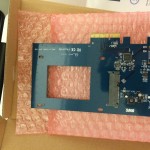
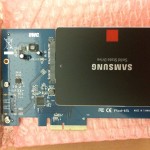
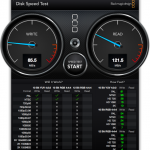
Welp, that didn’t take long. After installing my new SSD I quickly realized I could do better. Upgrading to SATA III from SATA II for less than $60 was a no-brainer.
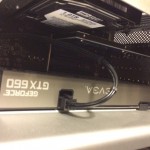
Installation couldn’t be simpler either: All I had to do was attach the SSD onto the onboard slot and install the PCIe card. After powering on it booted right up, nothing else required.


