Something I should’ve done long ago – enabling OTA (Over The Air) firmware updates so I don’t have to disassemble the project box and move the tree every time I want to change its code.
Connect it wirelessly to the network (it has an ESP8266, after all)
Run a UDP server on it
Respond to various commands
Write a client that sends UDP packets to it
It’s fun to design UX for limited hardware. In this case, the tree starts with an orange pattern that rotates until a WiFi connection is successful. If it fails the tree will go red, otherwise the tree briefly goes green to let the end user know all is well before starting its first sequence.
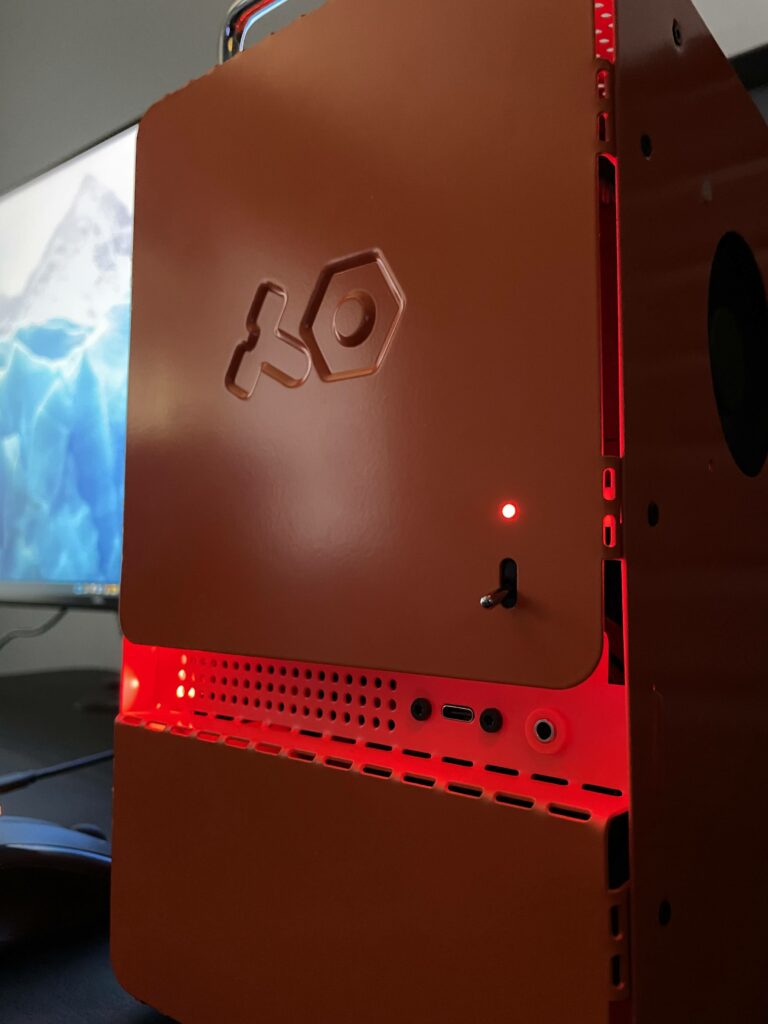
It’s been a few years since I built my previous PC and the Mini-ITX form factor has always been appealing to me for a workstation, so the hankering to do a new build was strong.
Though I’m a long time nerd it may be surprising that I’ve really only built one custom PC until now. This is mostly due to living in Mac-land and not being a hardcore gamer. My Linux servers have either been in the cloud or a leftover prebuilt that was “good enough” because Linux will pretty much run on anything (and that’s part of the fun).
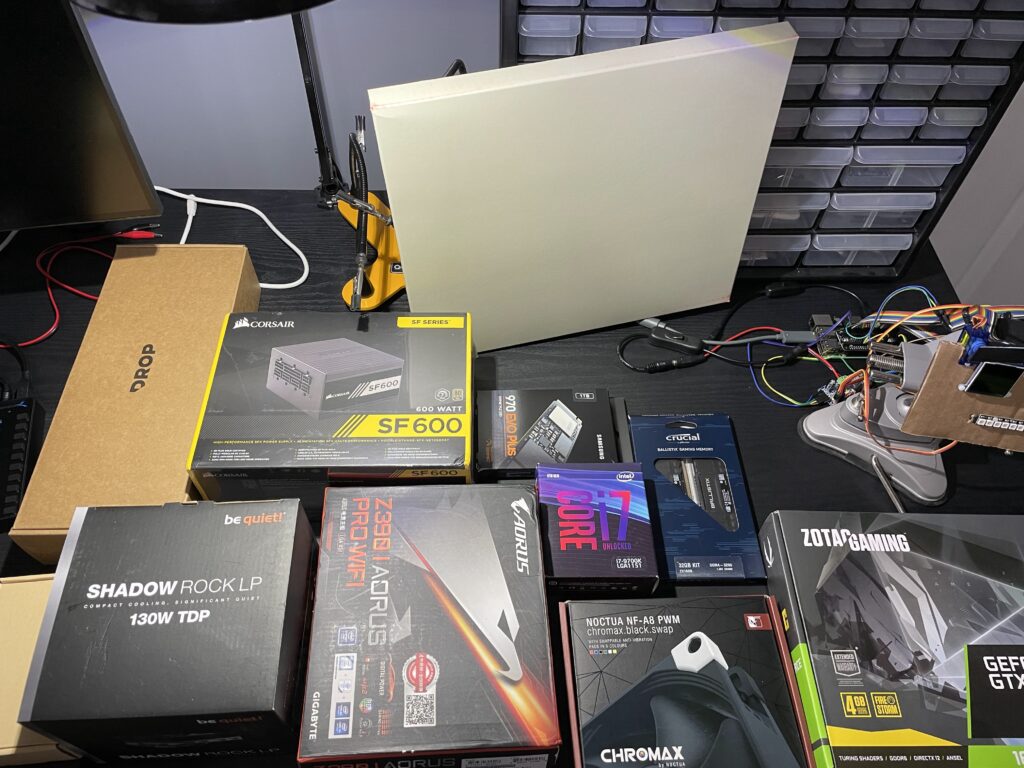
Specs
The parts I went with are modest and didn’t need to be the latest and greatest. The goal for this build was a dependable workbench machine that won’t be my daily driver (iOS development pays the bills), nor replacing my gaming PC.
I saw flip dots (also called flip discs) last year for the first time and instantly knew I needed some in my life. If you’re not familiar with them, check out how they work!
The particular model I have is the ALFAZETA XY5, which may be the easiest way to get up and running, but certainly not the least expensive.
After getting the board, all you need is:
24V power supply
Something that talks over RS485 (in my case I used an ESP8266 connected to a MAX3485 board)
Their documentation that defines the controller data protocol
I plan to write in more detail how it all works, but for this demo the stack is: