I saw flip dots (also called flip discs) last year for the first time and instantly knew I needed some in my life. If you’re not familiar with them, check out how they work!
The particular model I have is the ALFAZETA XY5, which may be the easiest way to get up and running, but certainly not the least expensive.
After getting the board, all you need is:
24V power supply
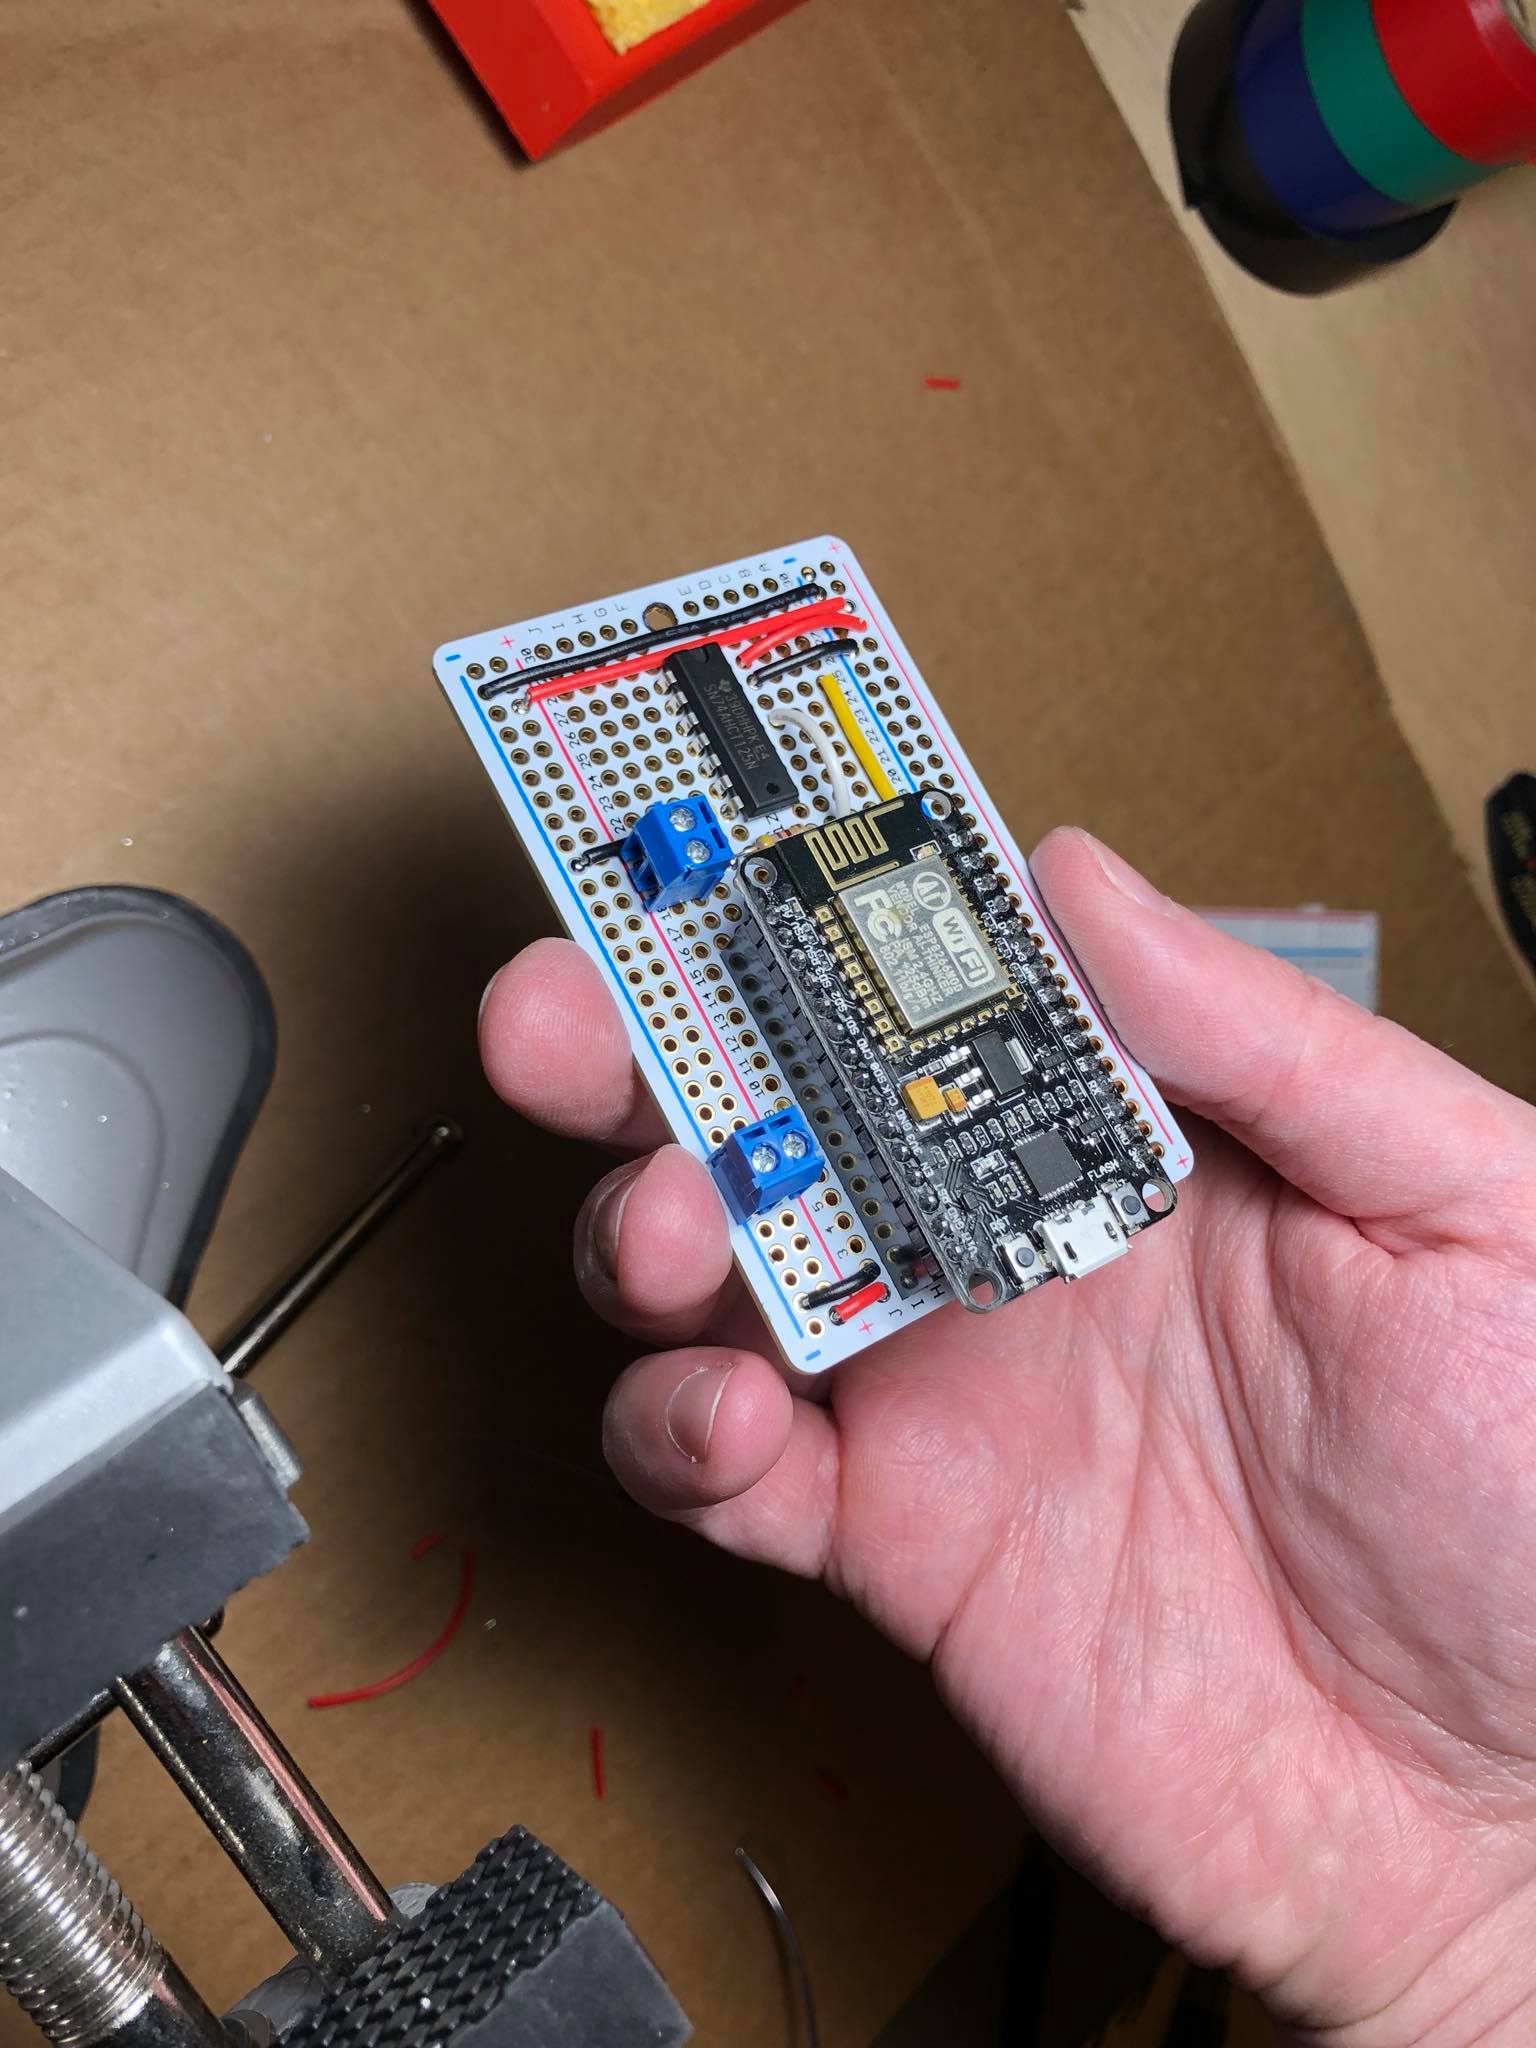
Something that talks over RS485 (in my case I used an ESP8266 connected to a MAX3485 board)
Their documentation that defines the controller data protocol
I plan to write in more detail how it all works, but for this demo the stack is:
Currently a work in progress, I’ve nerd sniped myself to get TCP/IP working over SLIP with a pair of Arduinos equipped with nRF24L01+ radios.
Once again I’ve nerd sniped myself to spend way too much time on a project that won’t do a lot, yay!
I’d heard about TCP/IP communication via SLIP and wanted to see if I could accomplish this wirelessly with Arduinos equipped with the nRF24L01+ radio. pic.twitter.com/ZI1Bg1JRaZ
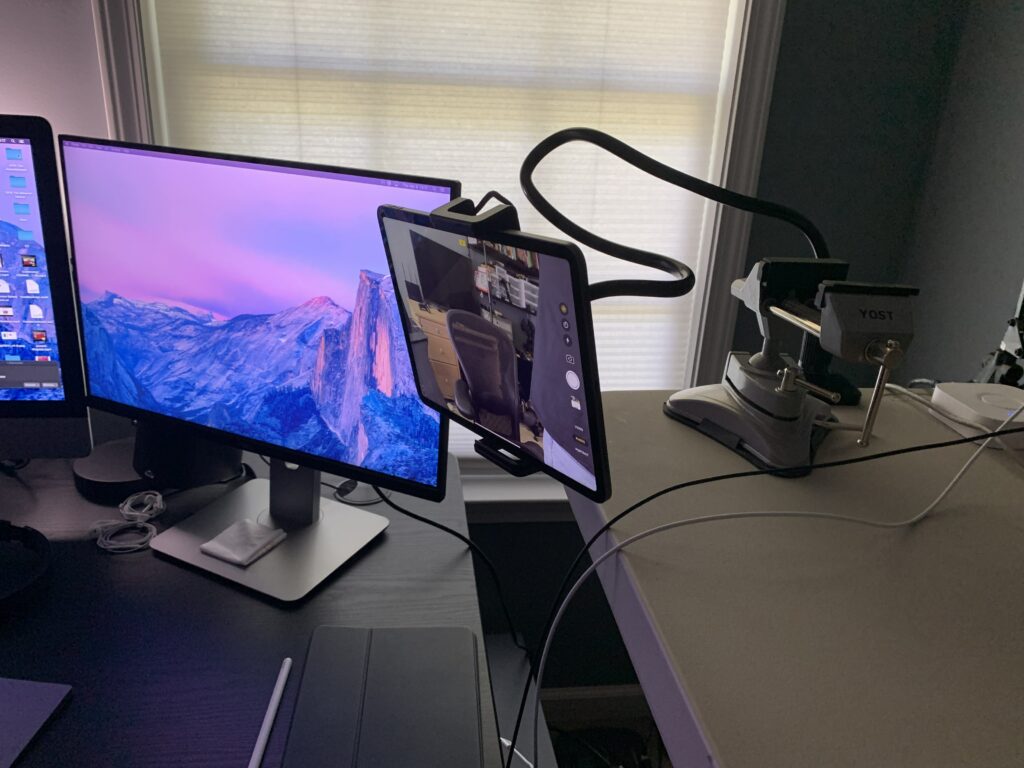
At work we’re primarily using Zoom for meetings while we’re in remote mode. Due to the recent problems found in their desktop software, I run it only on my iPad to provide a little more security (thanks to iPadOS’ sandboxed environment), plus the front facing camera on my iPad Pro is superior to my iMac and MacBook Pro’s.
The first issue I found with this setup was that I wanted to get the iPad into a position more perpendicular like a web cam, rather than the angled up shot below my face. I don’t think anyone wants to look up my nose unless I’m on a telehealth call, so I ordered this flexible stand for about $25 from Amazon and got it mounted:
Trying to bend this thing will give you a workout.
So far so good, until my first meeting. I wanted to follow conference call etiquette by muting myself when I wasn’t speaking, but it was a pain to reach and manually tap the mute button every time. Plus, although the flexible arm is super strong, it’s still going to wobble wildly if you touch the iPad and your video is going to show that.
Was there a way I could toggle muting myself without touching the iPad? After a quick Google search, the answer was YES!
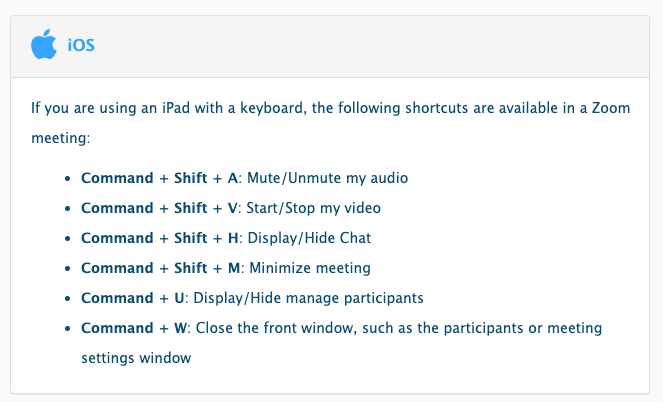
The attached keyboard (Smart Keyboard Folio, Magic Keyboard) didn’t make any sense in this case, but a Bluetooth keyboard would be perfect!
Logical answer
The logical answer is to connect up a Bluetooth keyboard and hit Command + Shift + A when you want to toggle muting your mic, and you’re done. That’s it.
I’m not totally logical
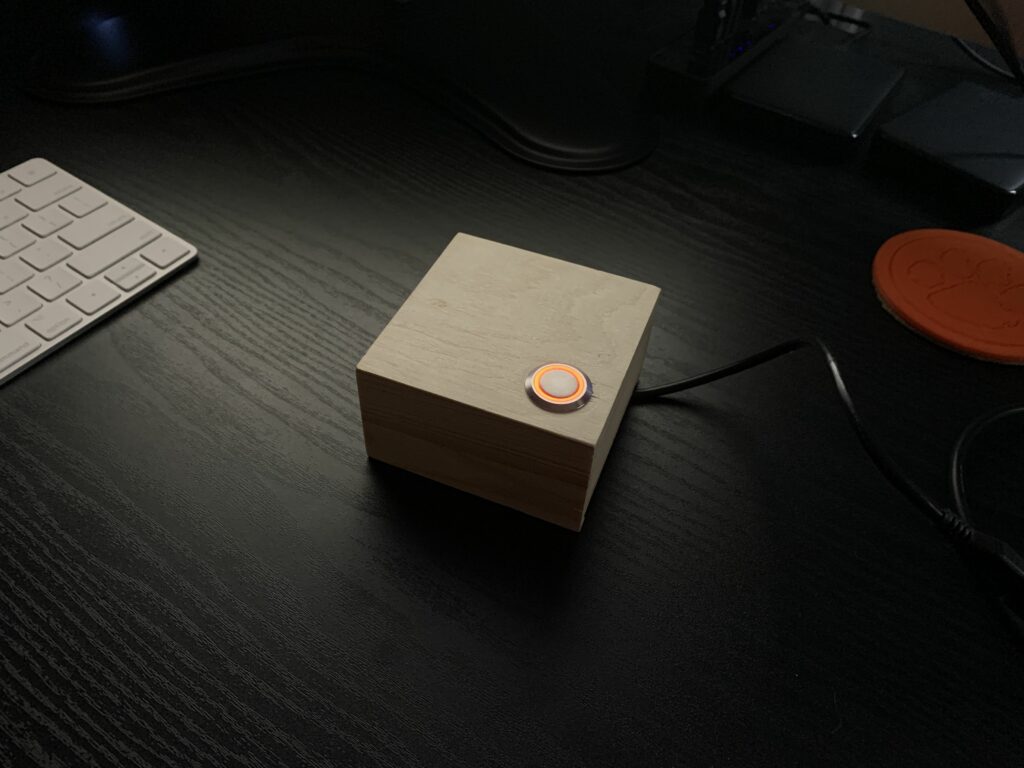
Of course, the route I chose was different. I have enough keyboards on my desk, I really just want one button to do one thing.
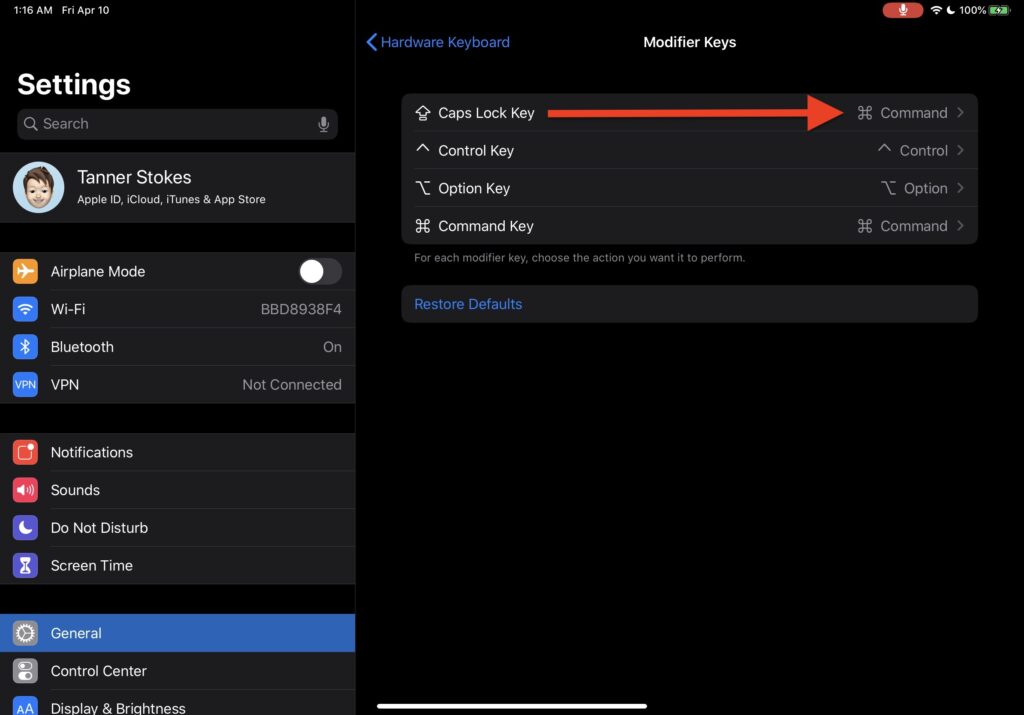
This is as if the user pressed “shift + caps lock”, and then “shift + a” at the same time, then released. Now the Zoom app was getting the proper command from a Bluetooth “keyboard”.
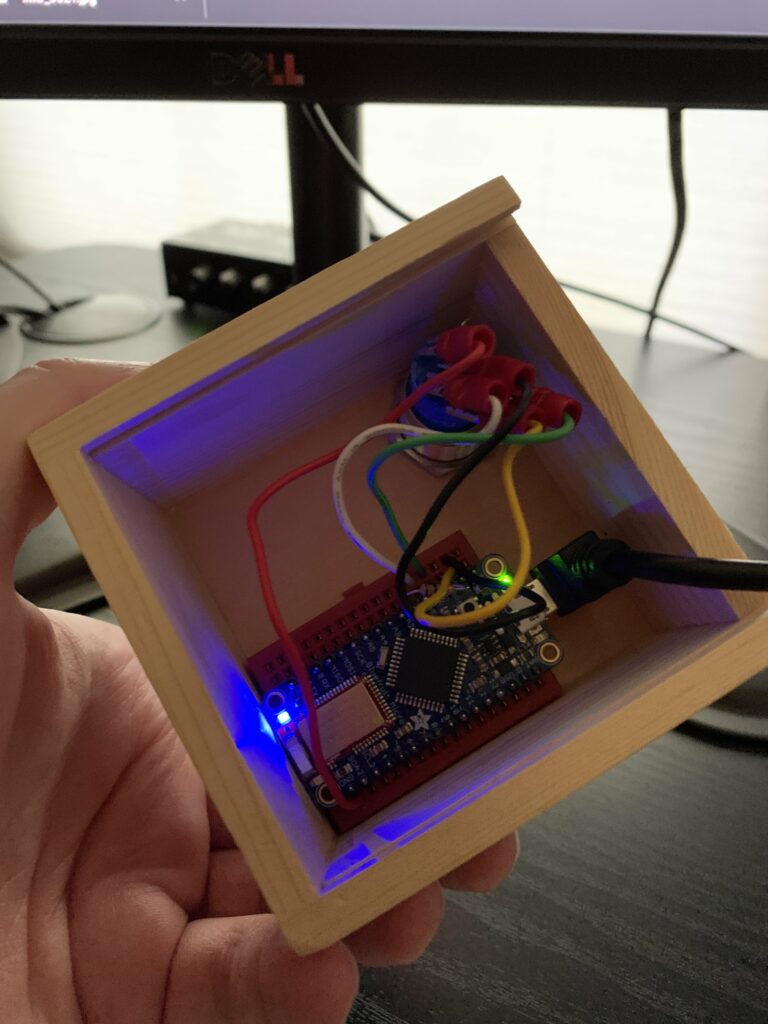
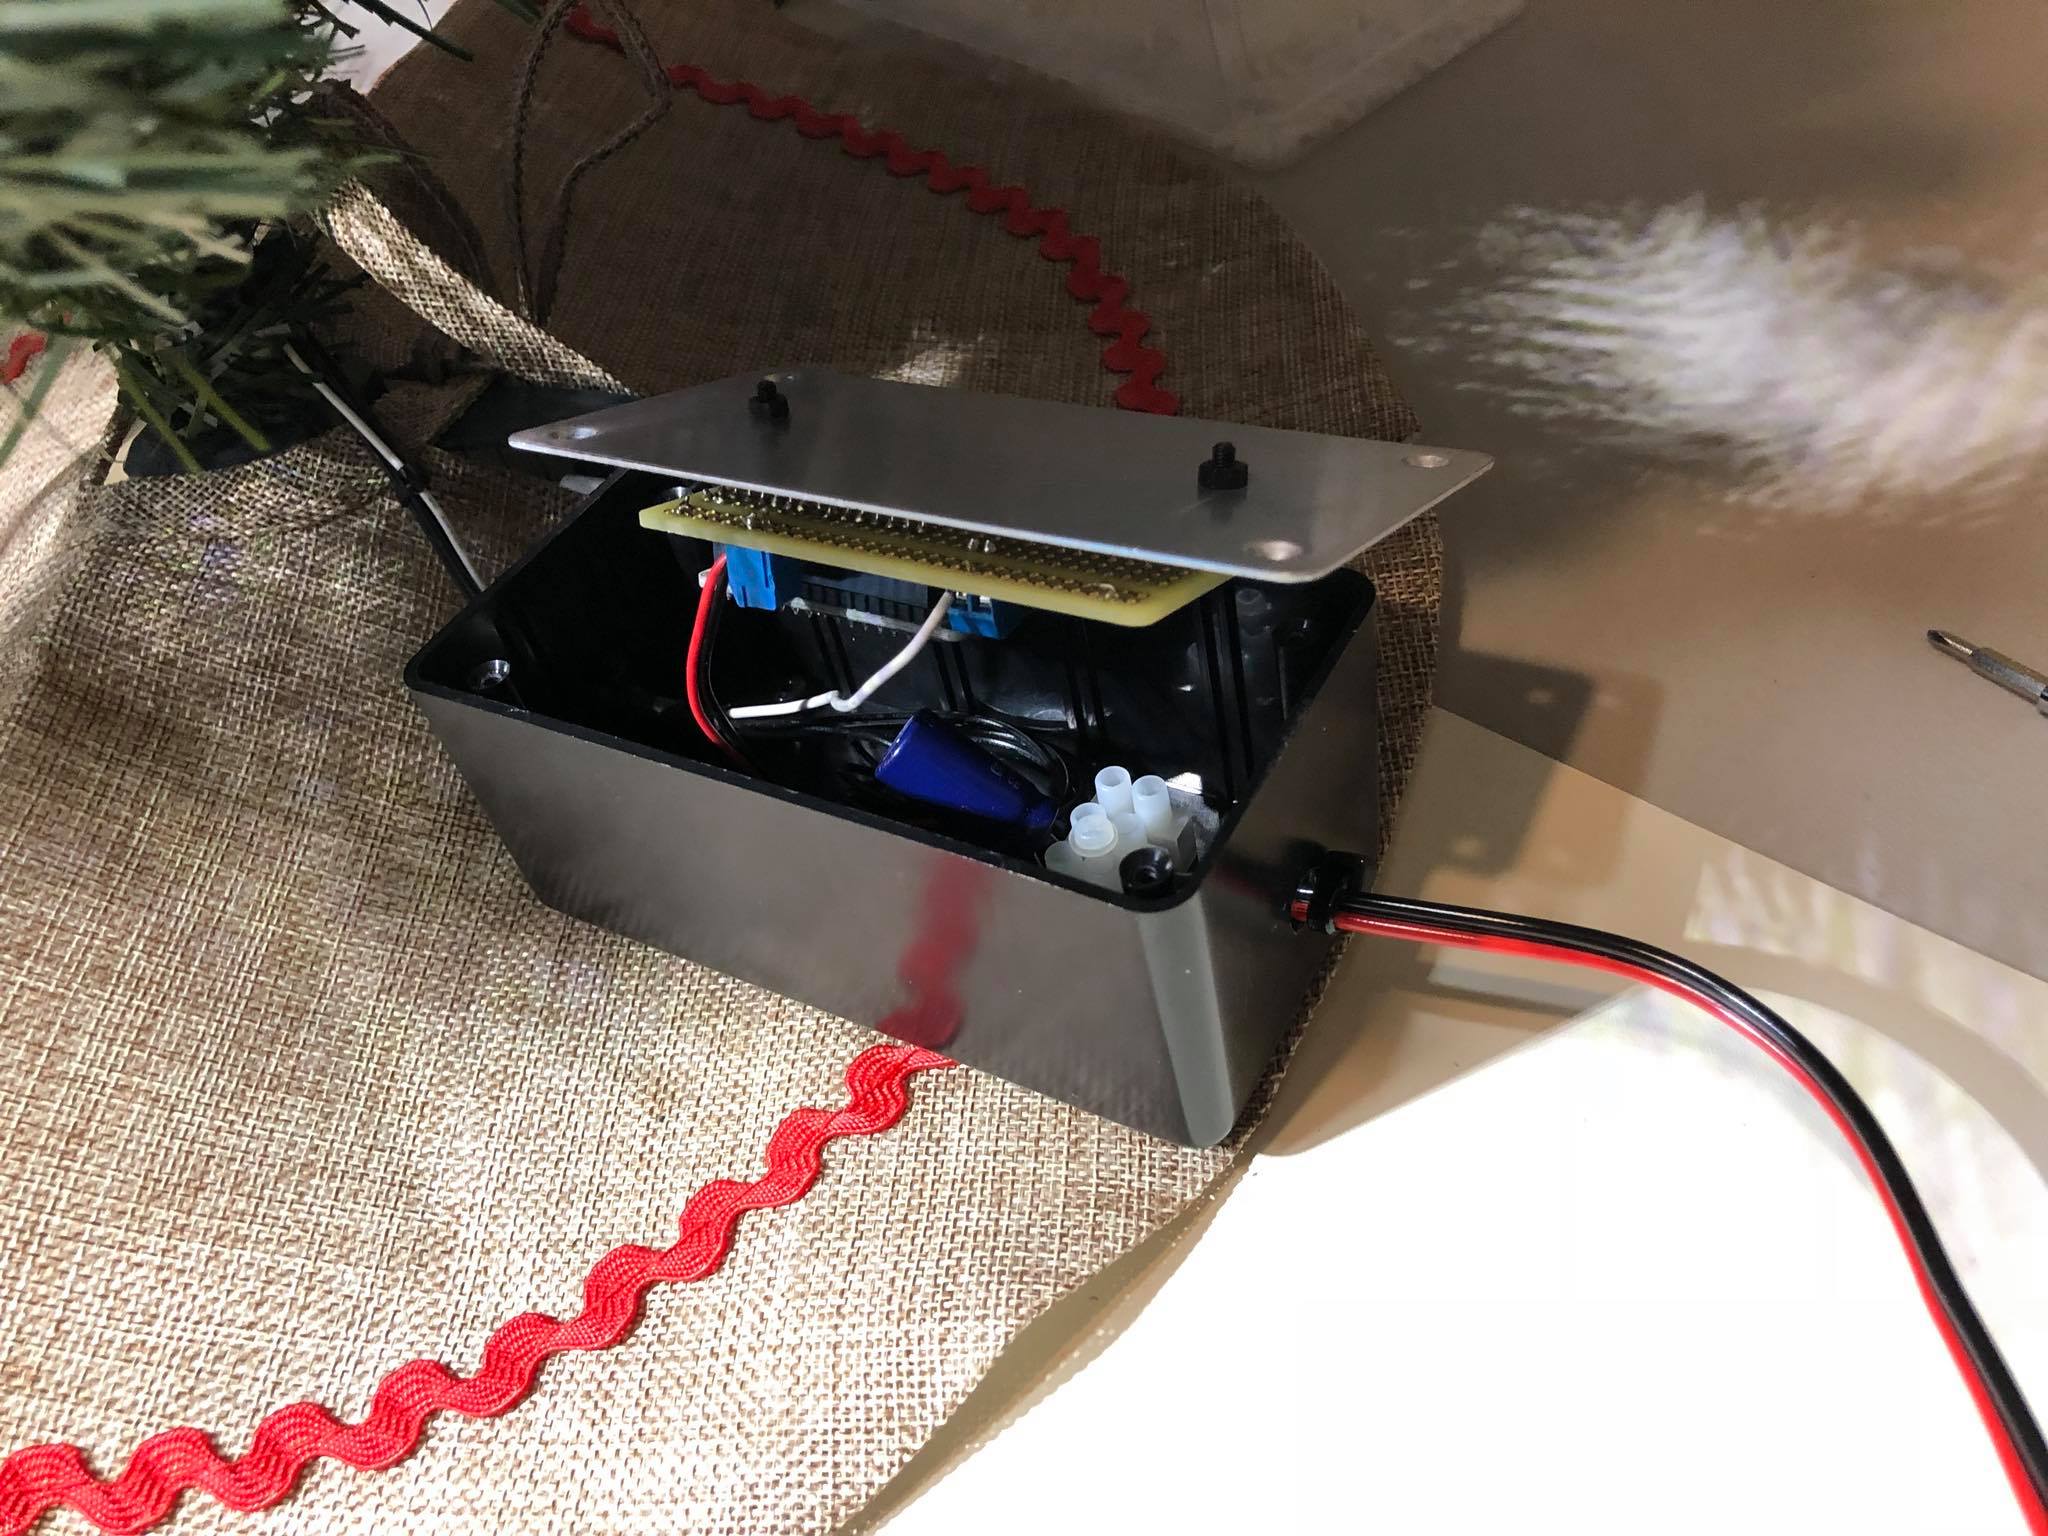
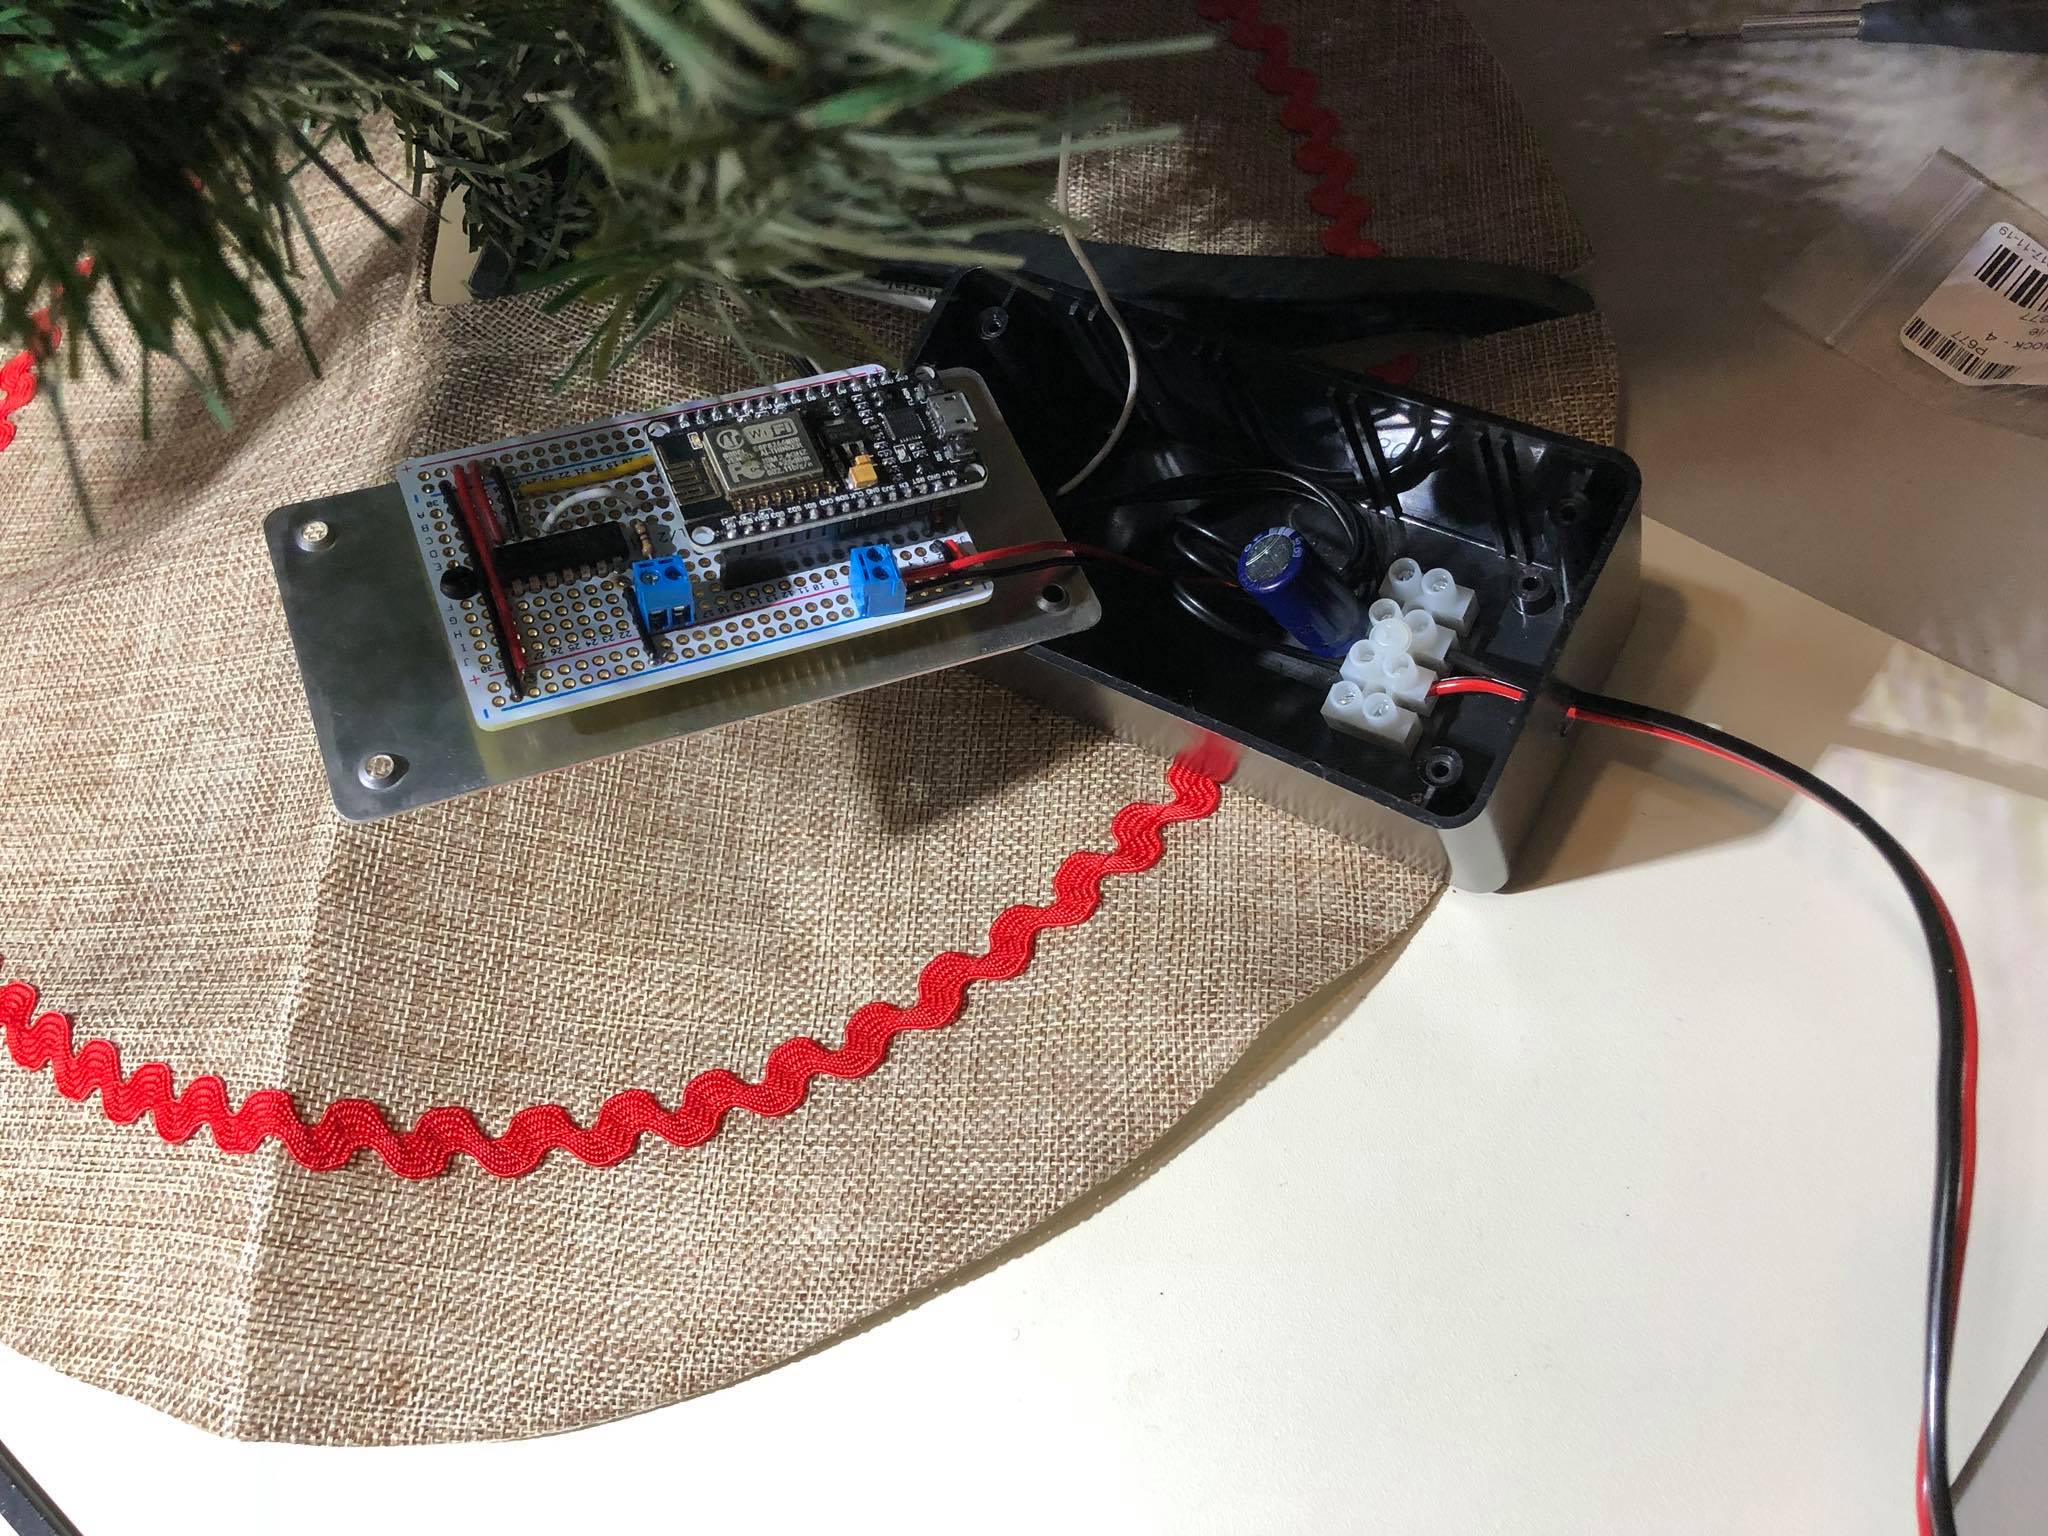
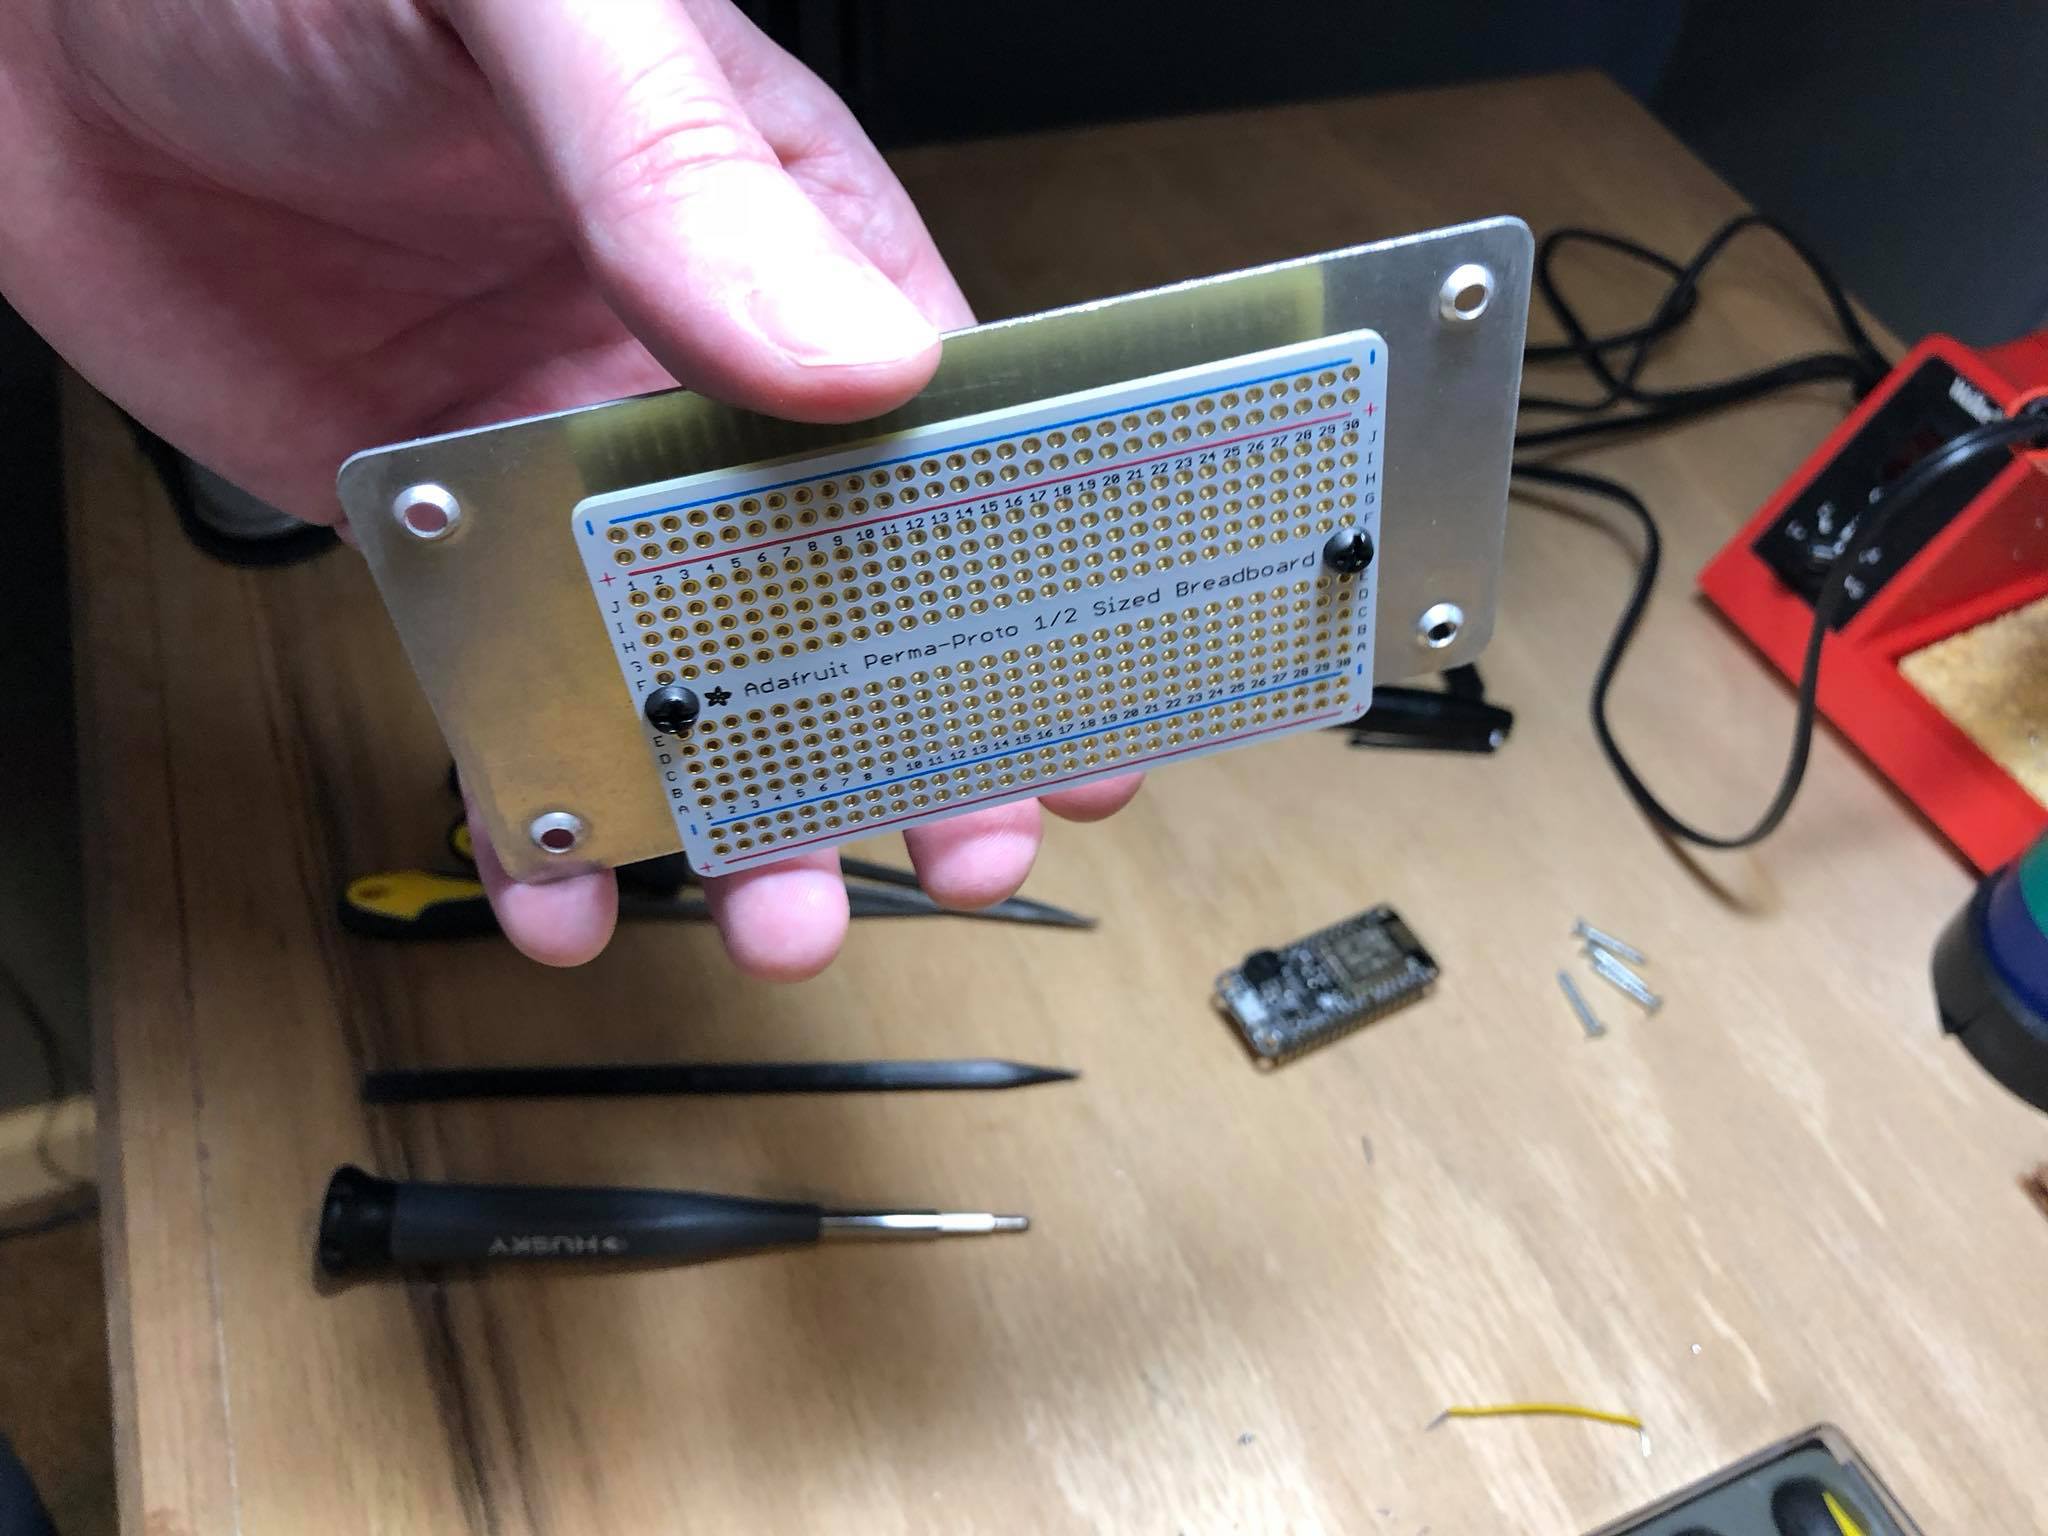
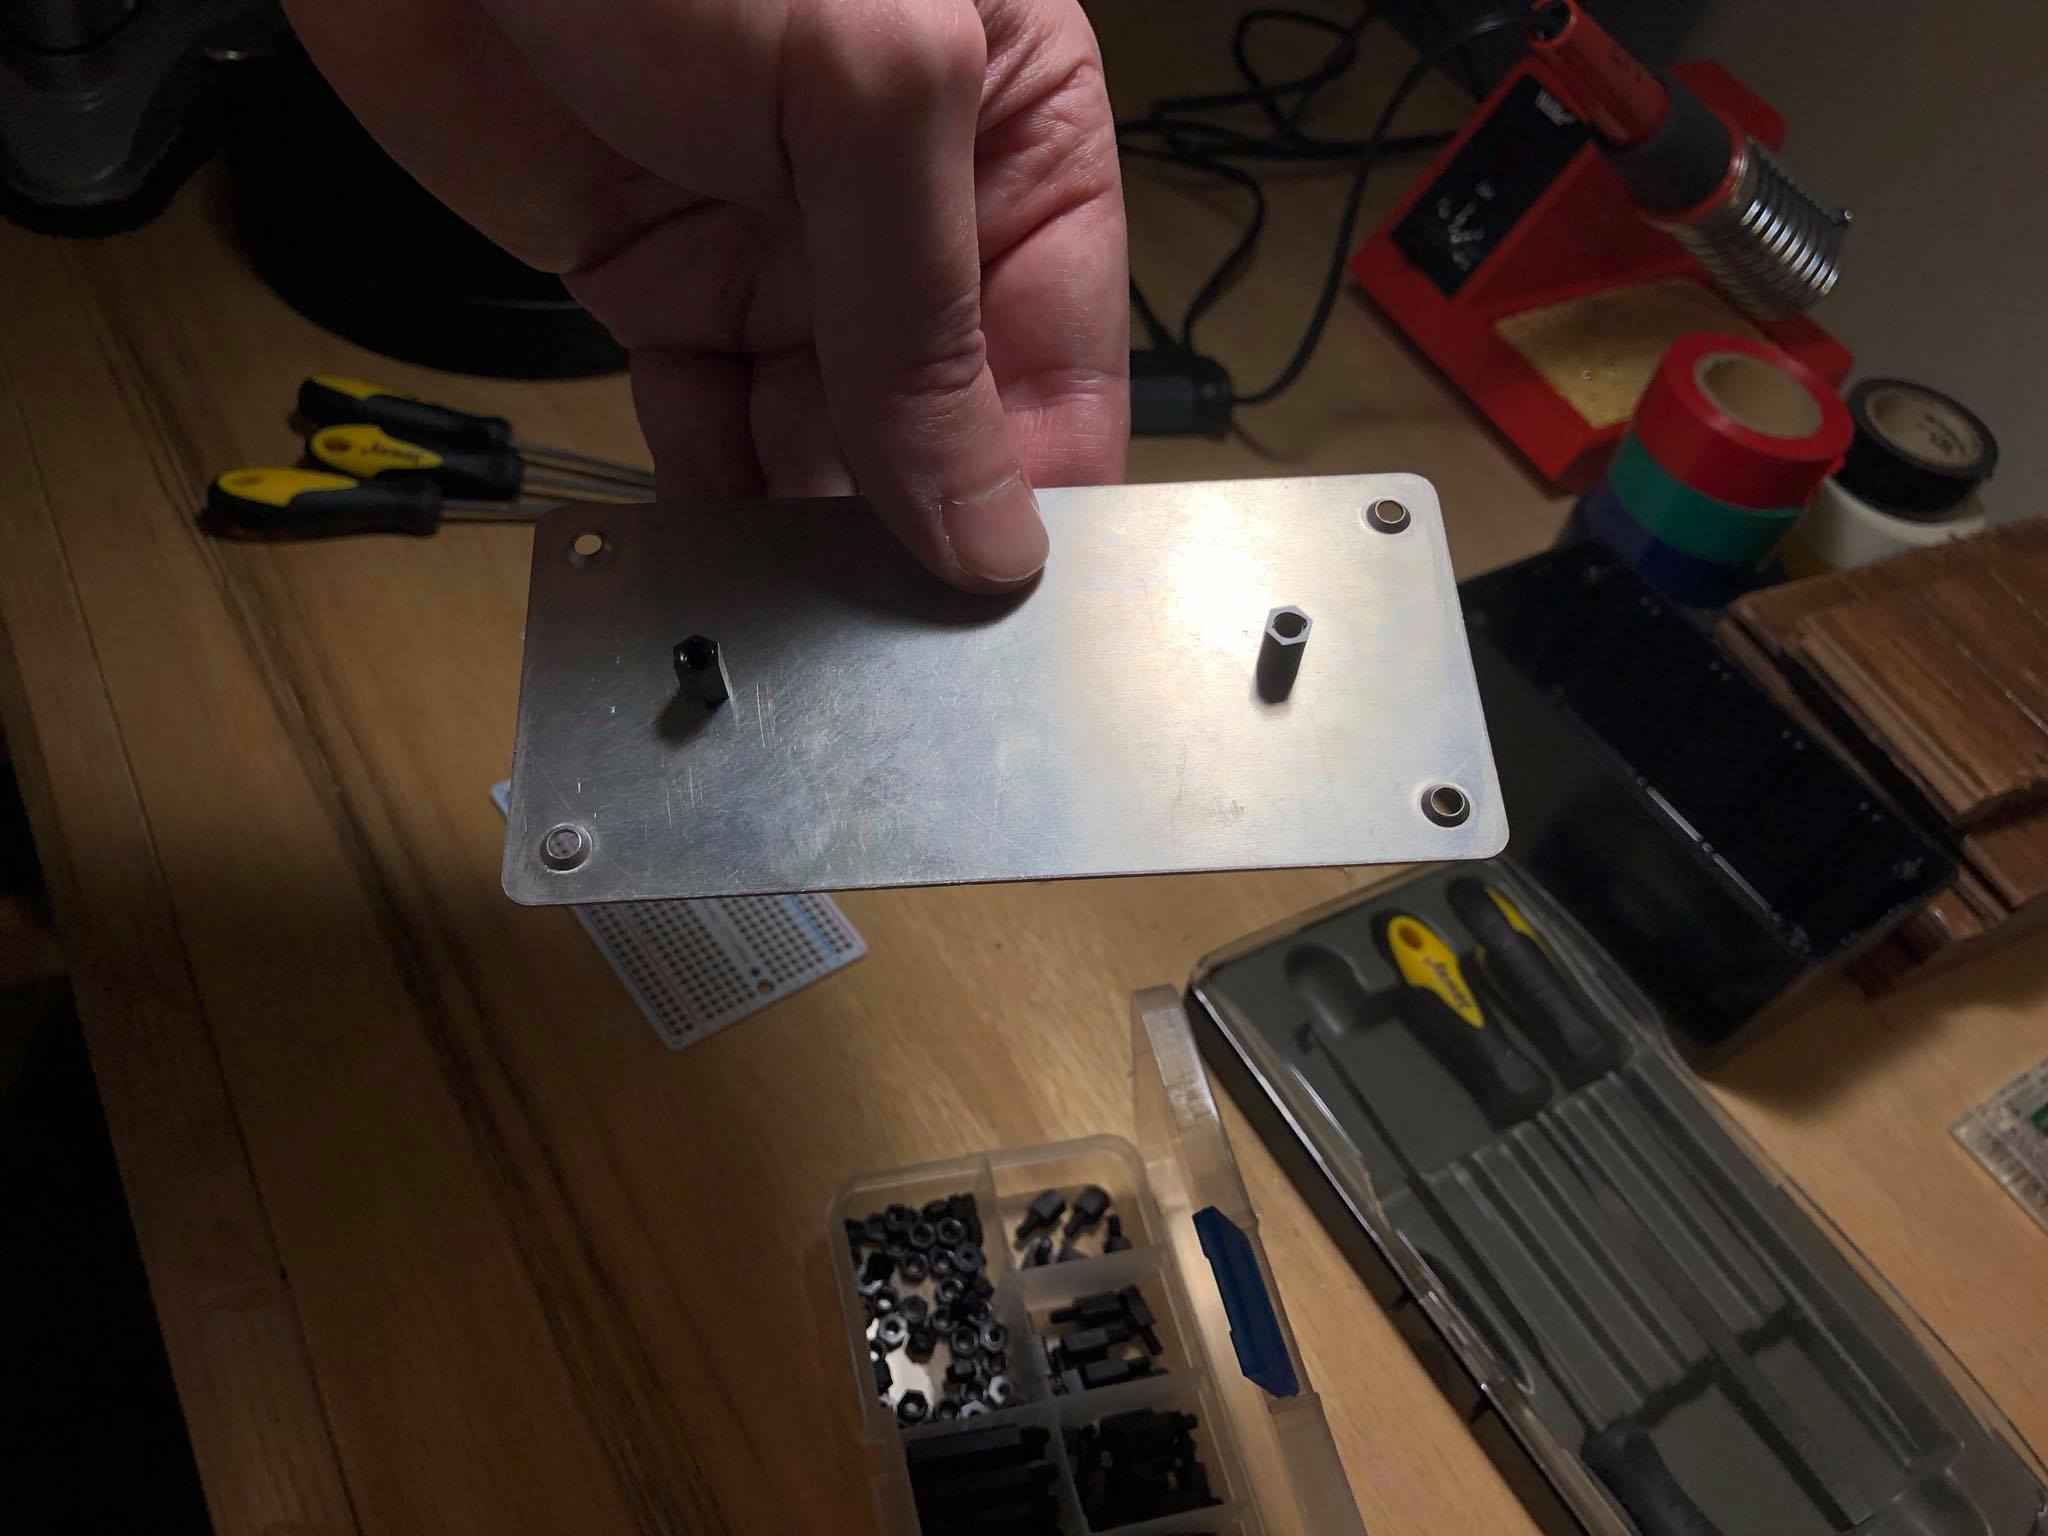
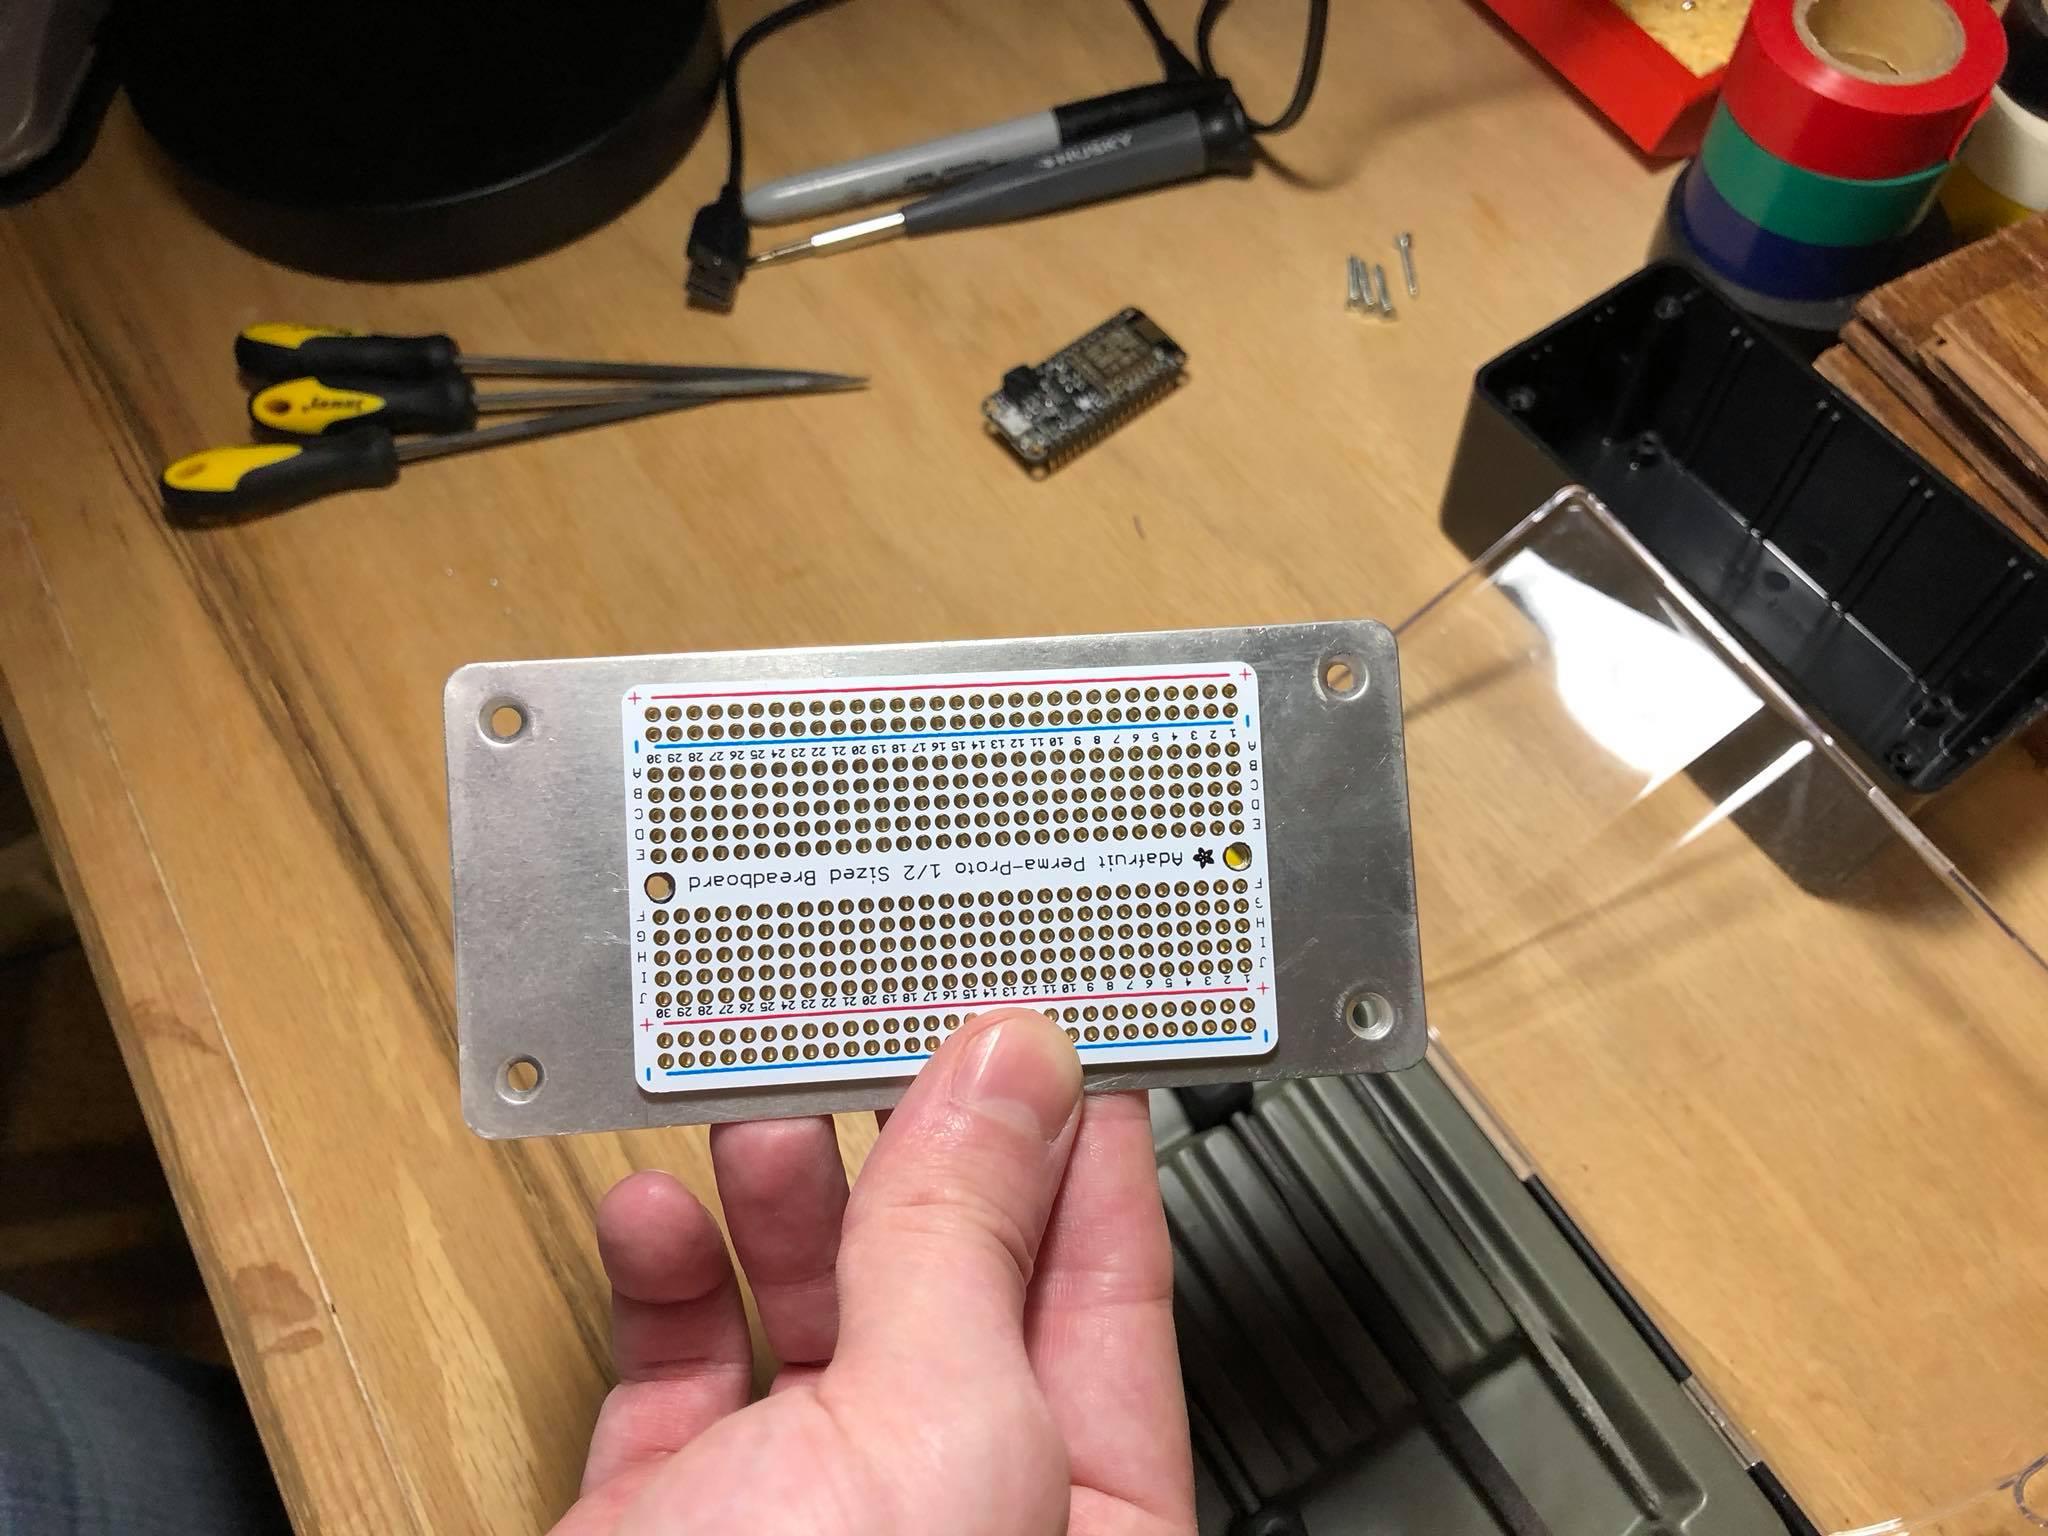
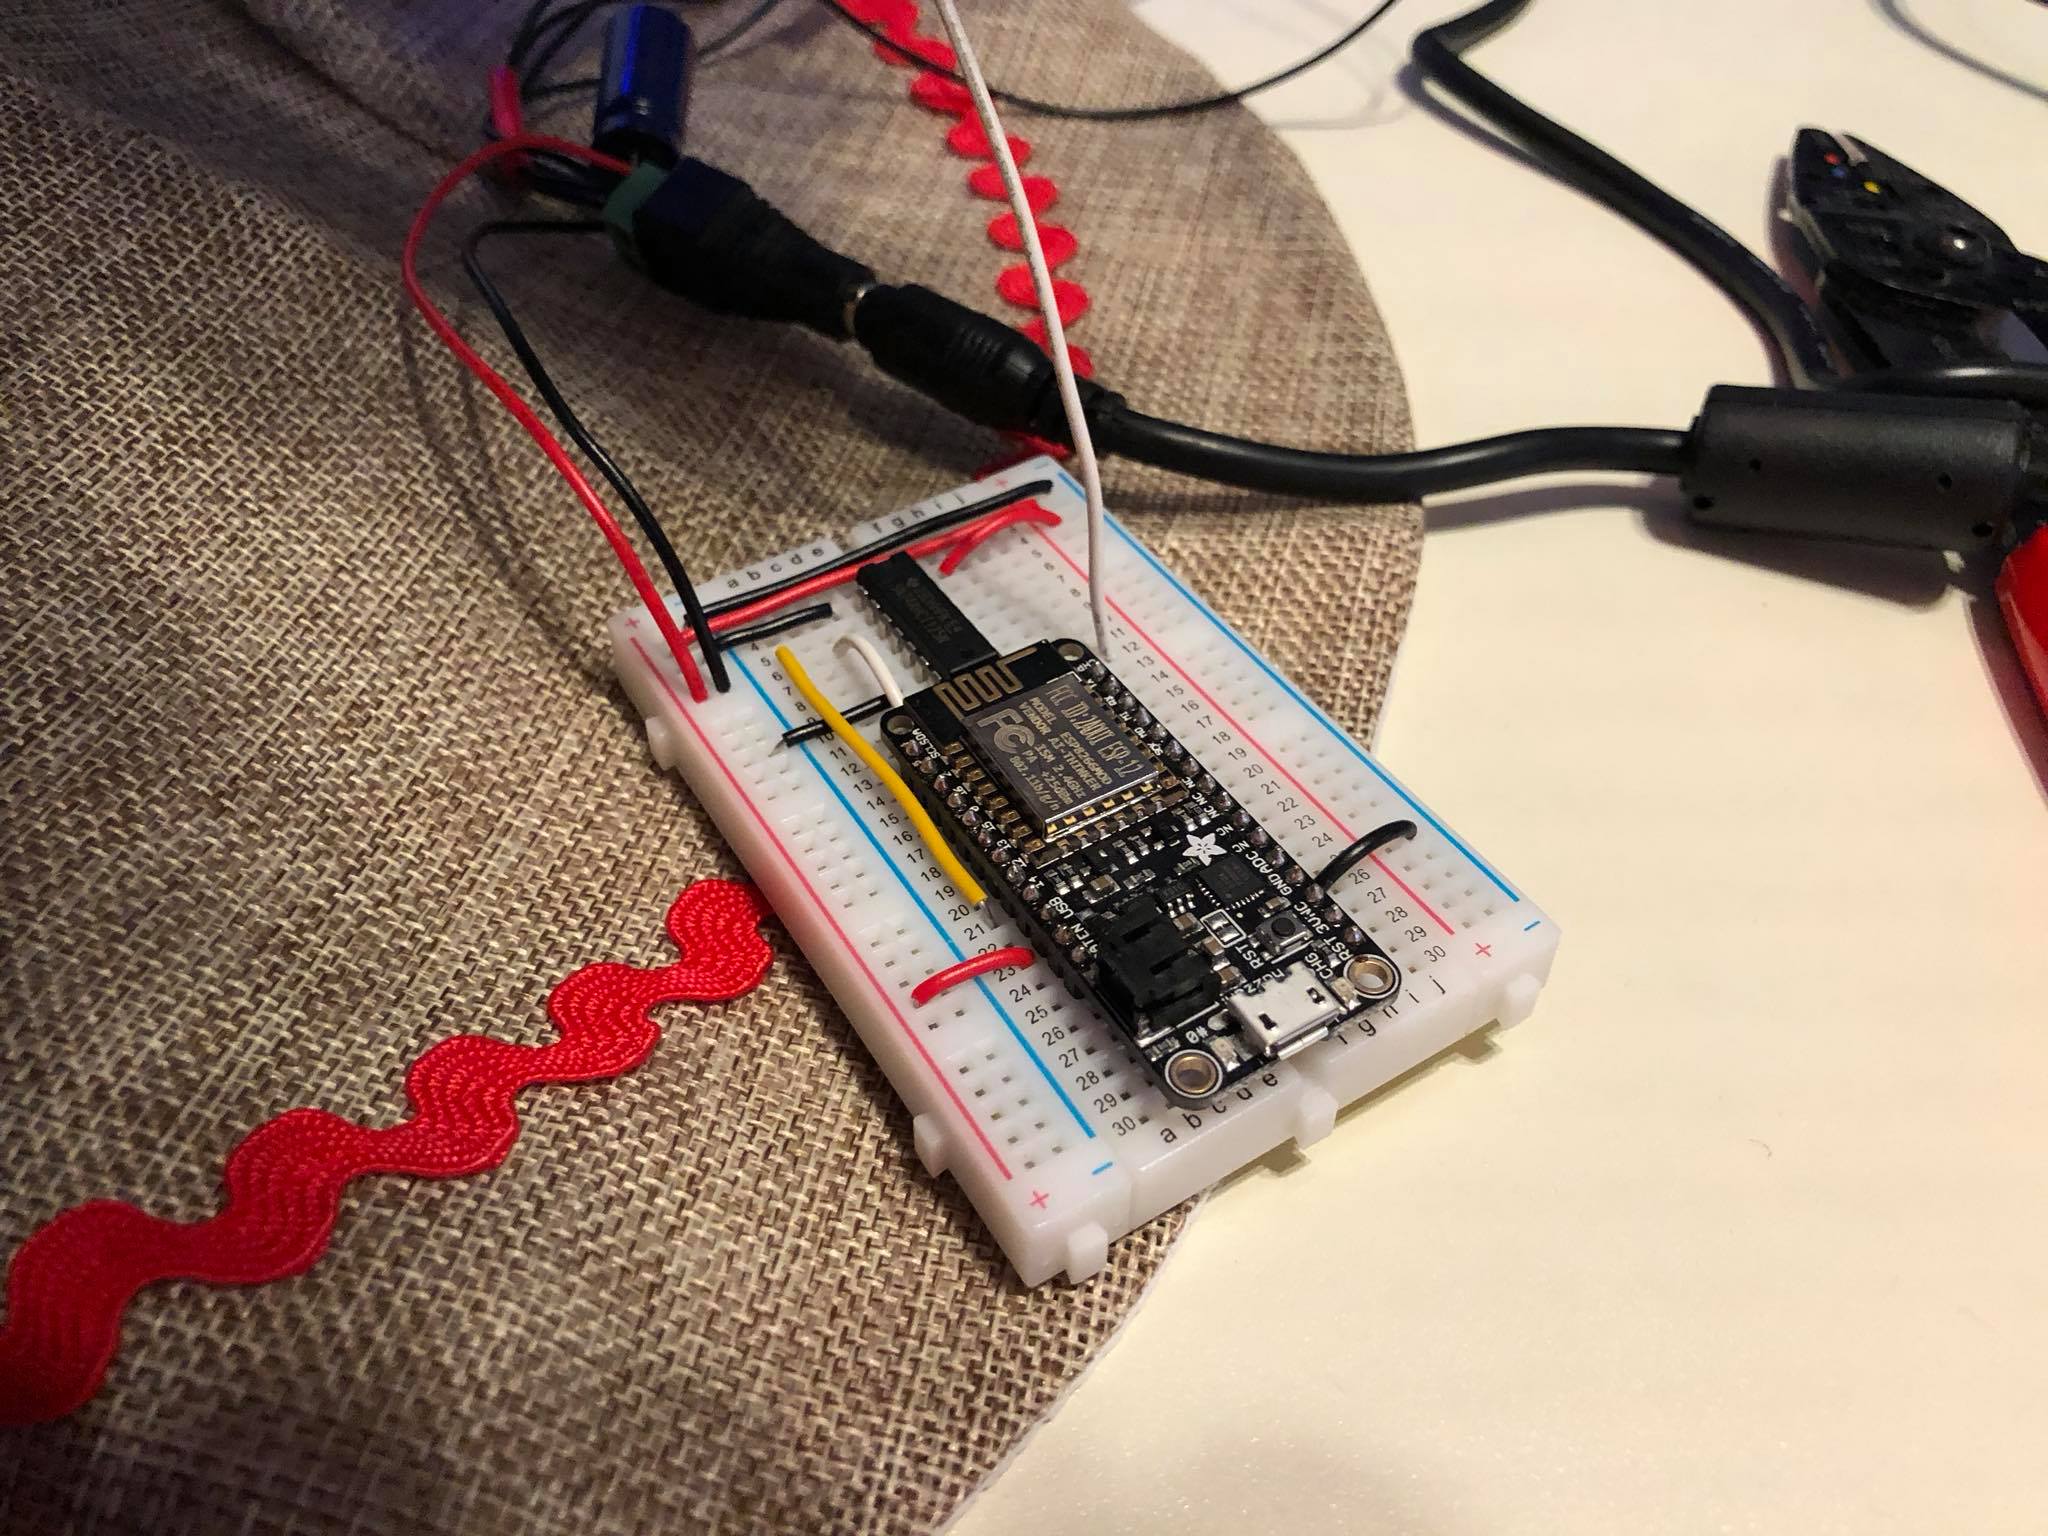
Hardware
This setup is virtually identical to what I have here, it’s just a different button.
The USB cable coming in is only for power, and if I had the Adafruit Feather version on hand I would’ve used that with a battery so the box would be totally wireless.
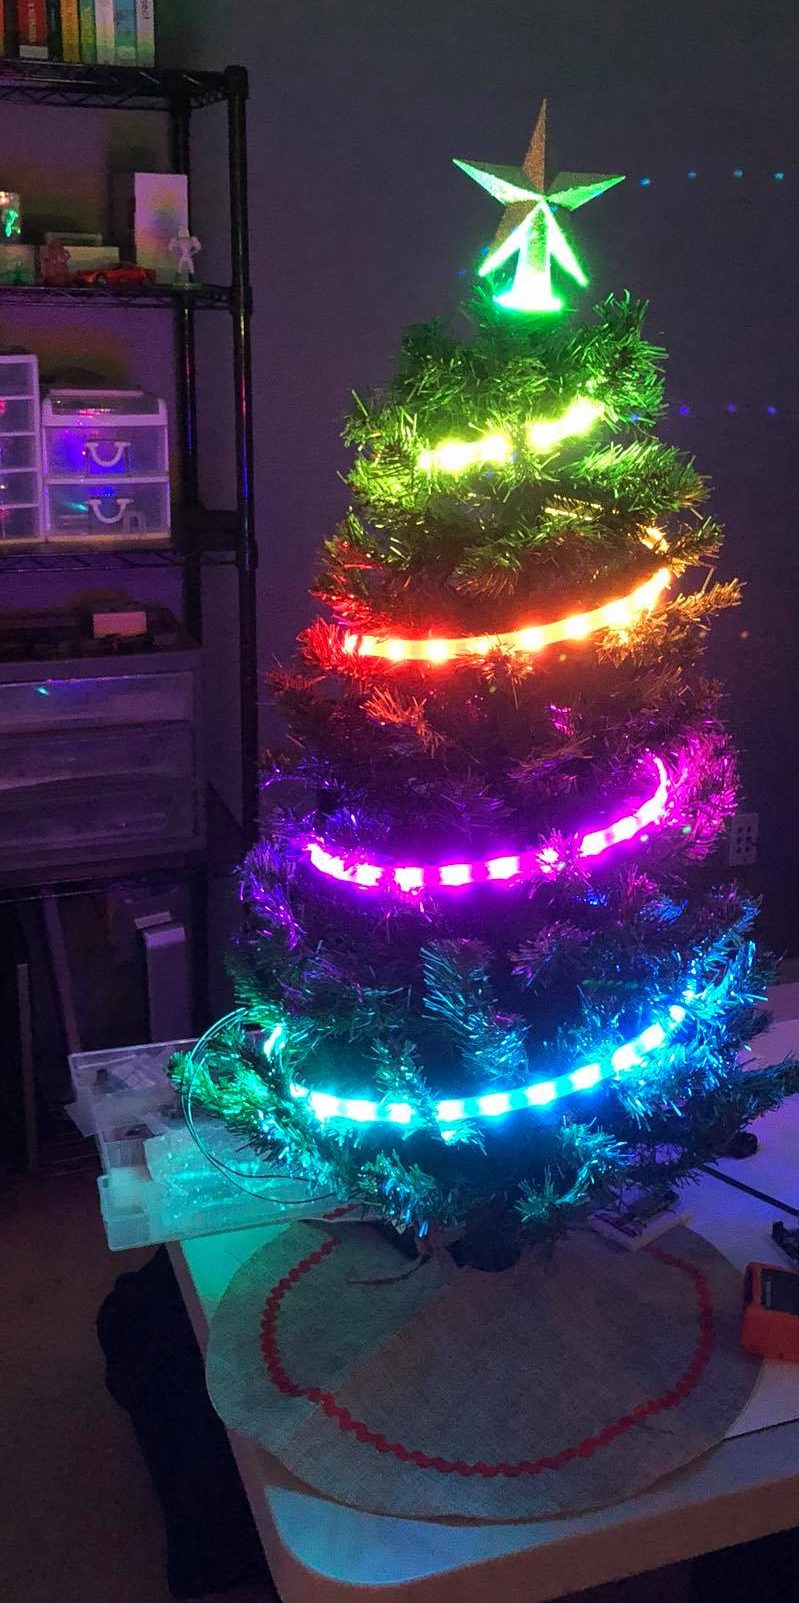
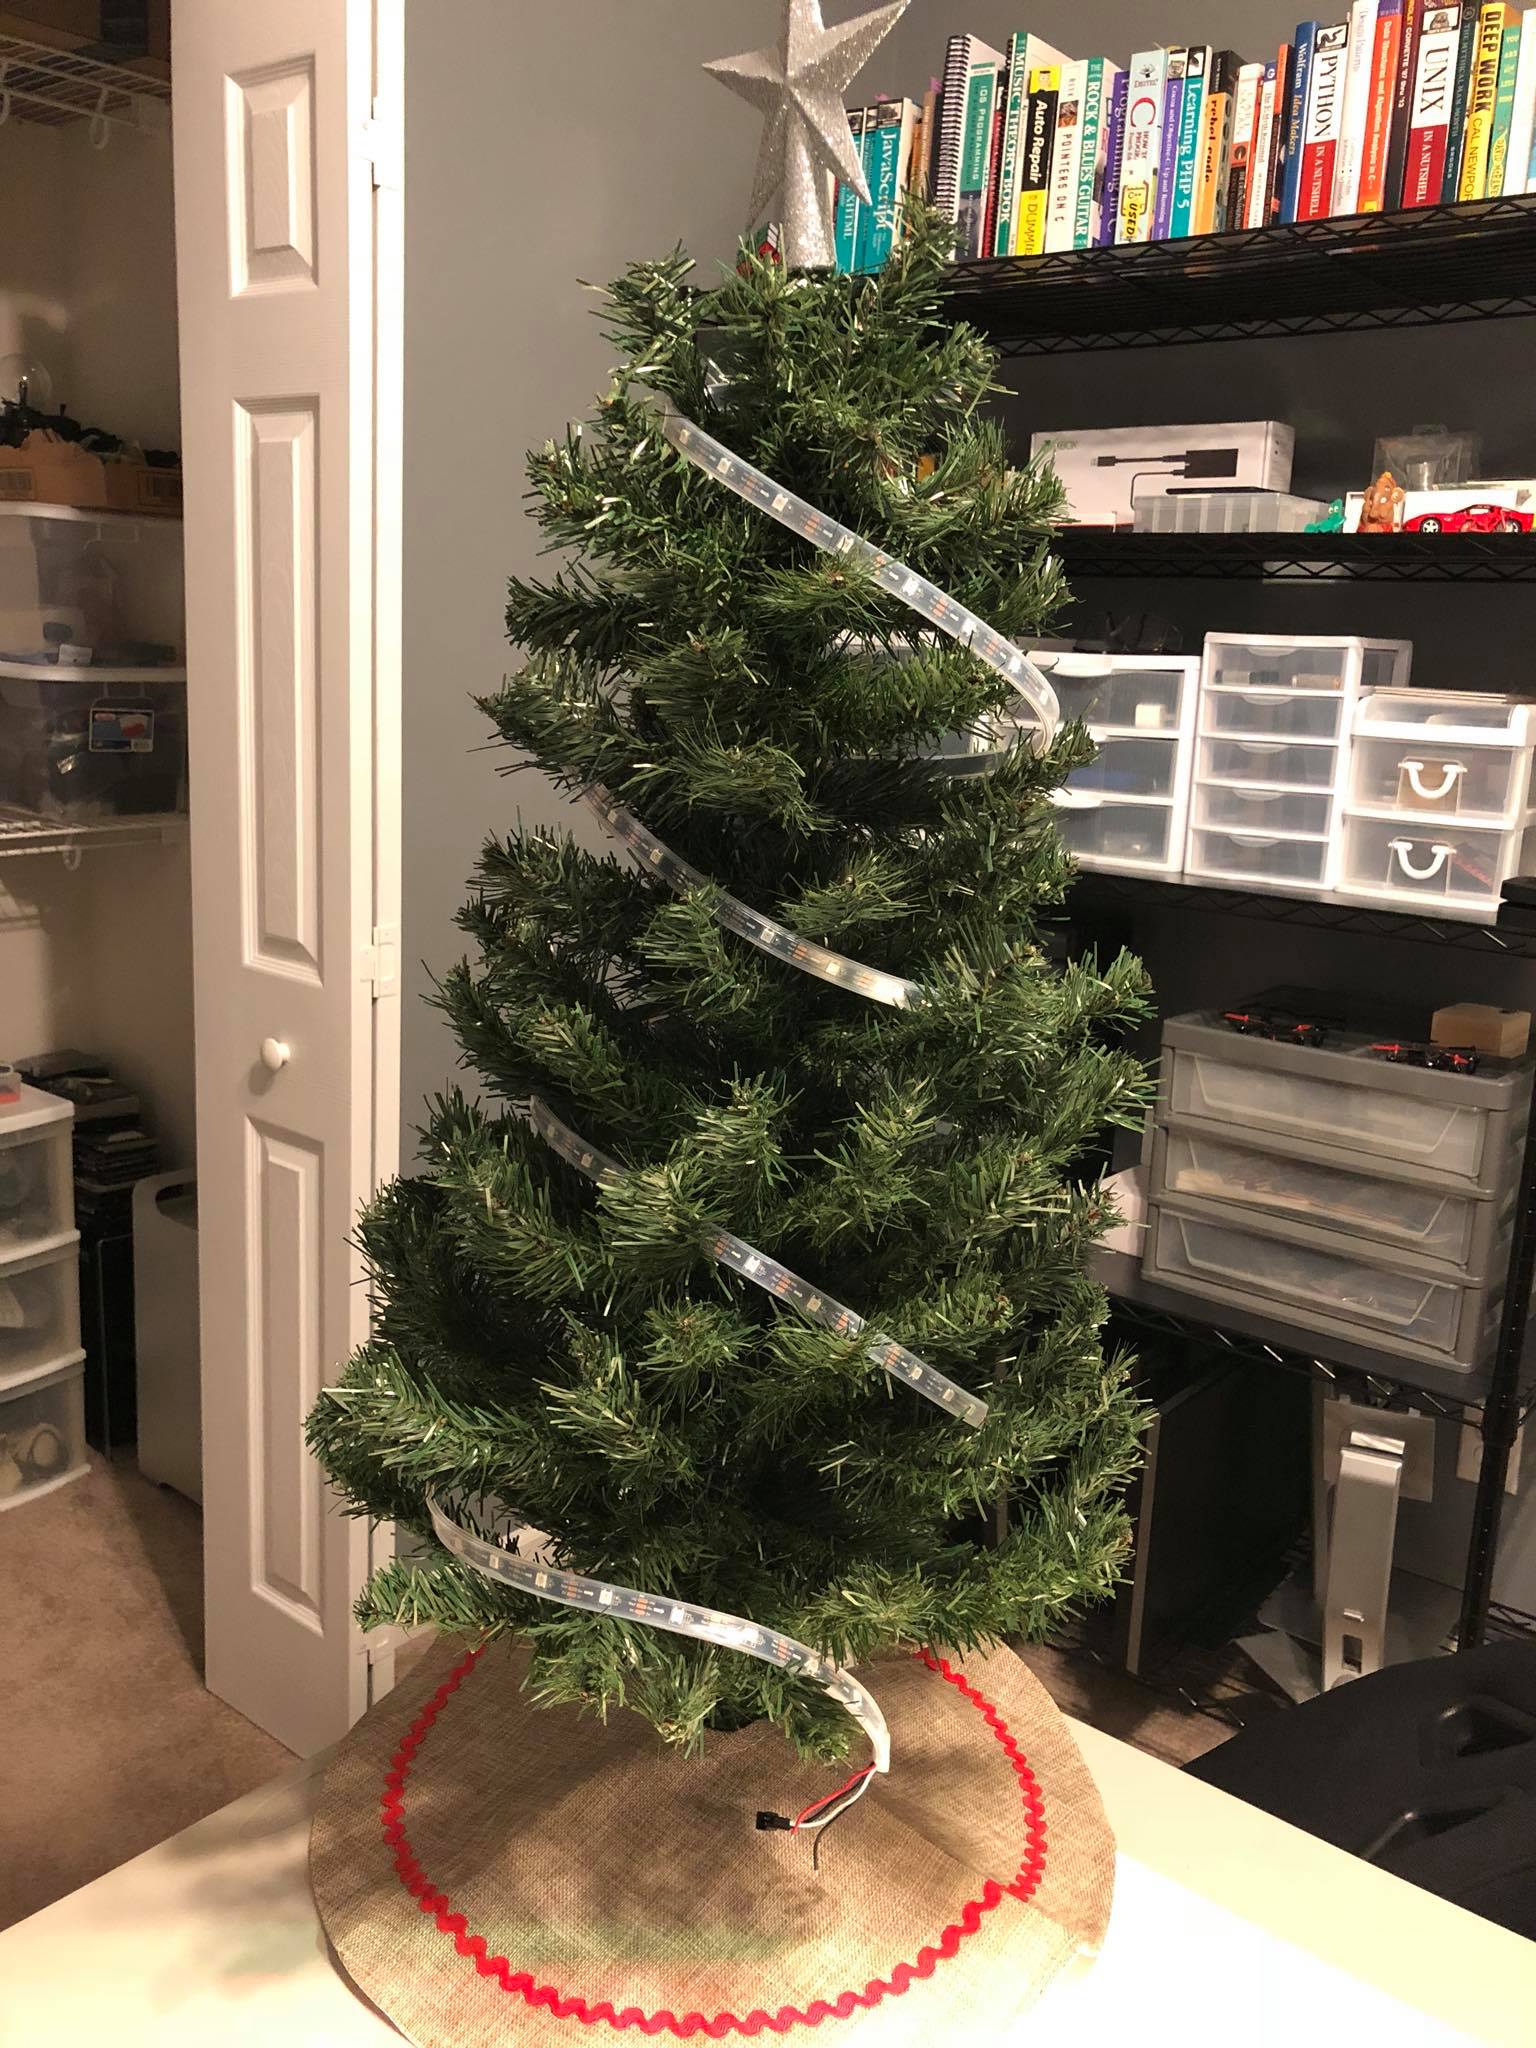
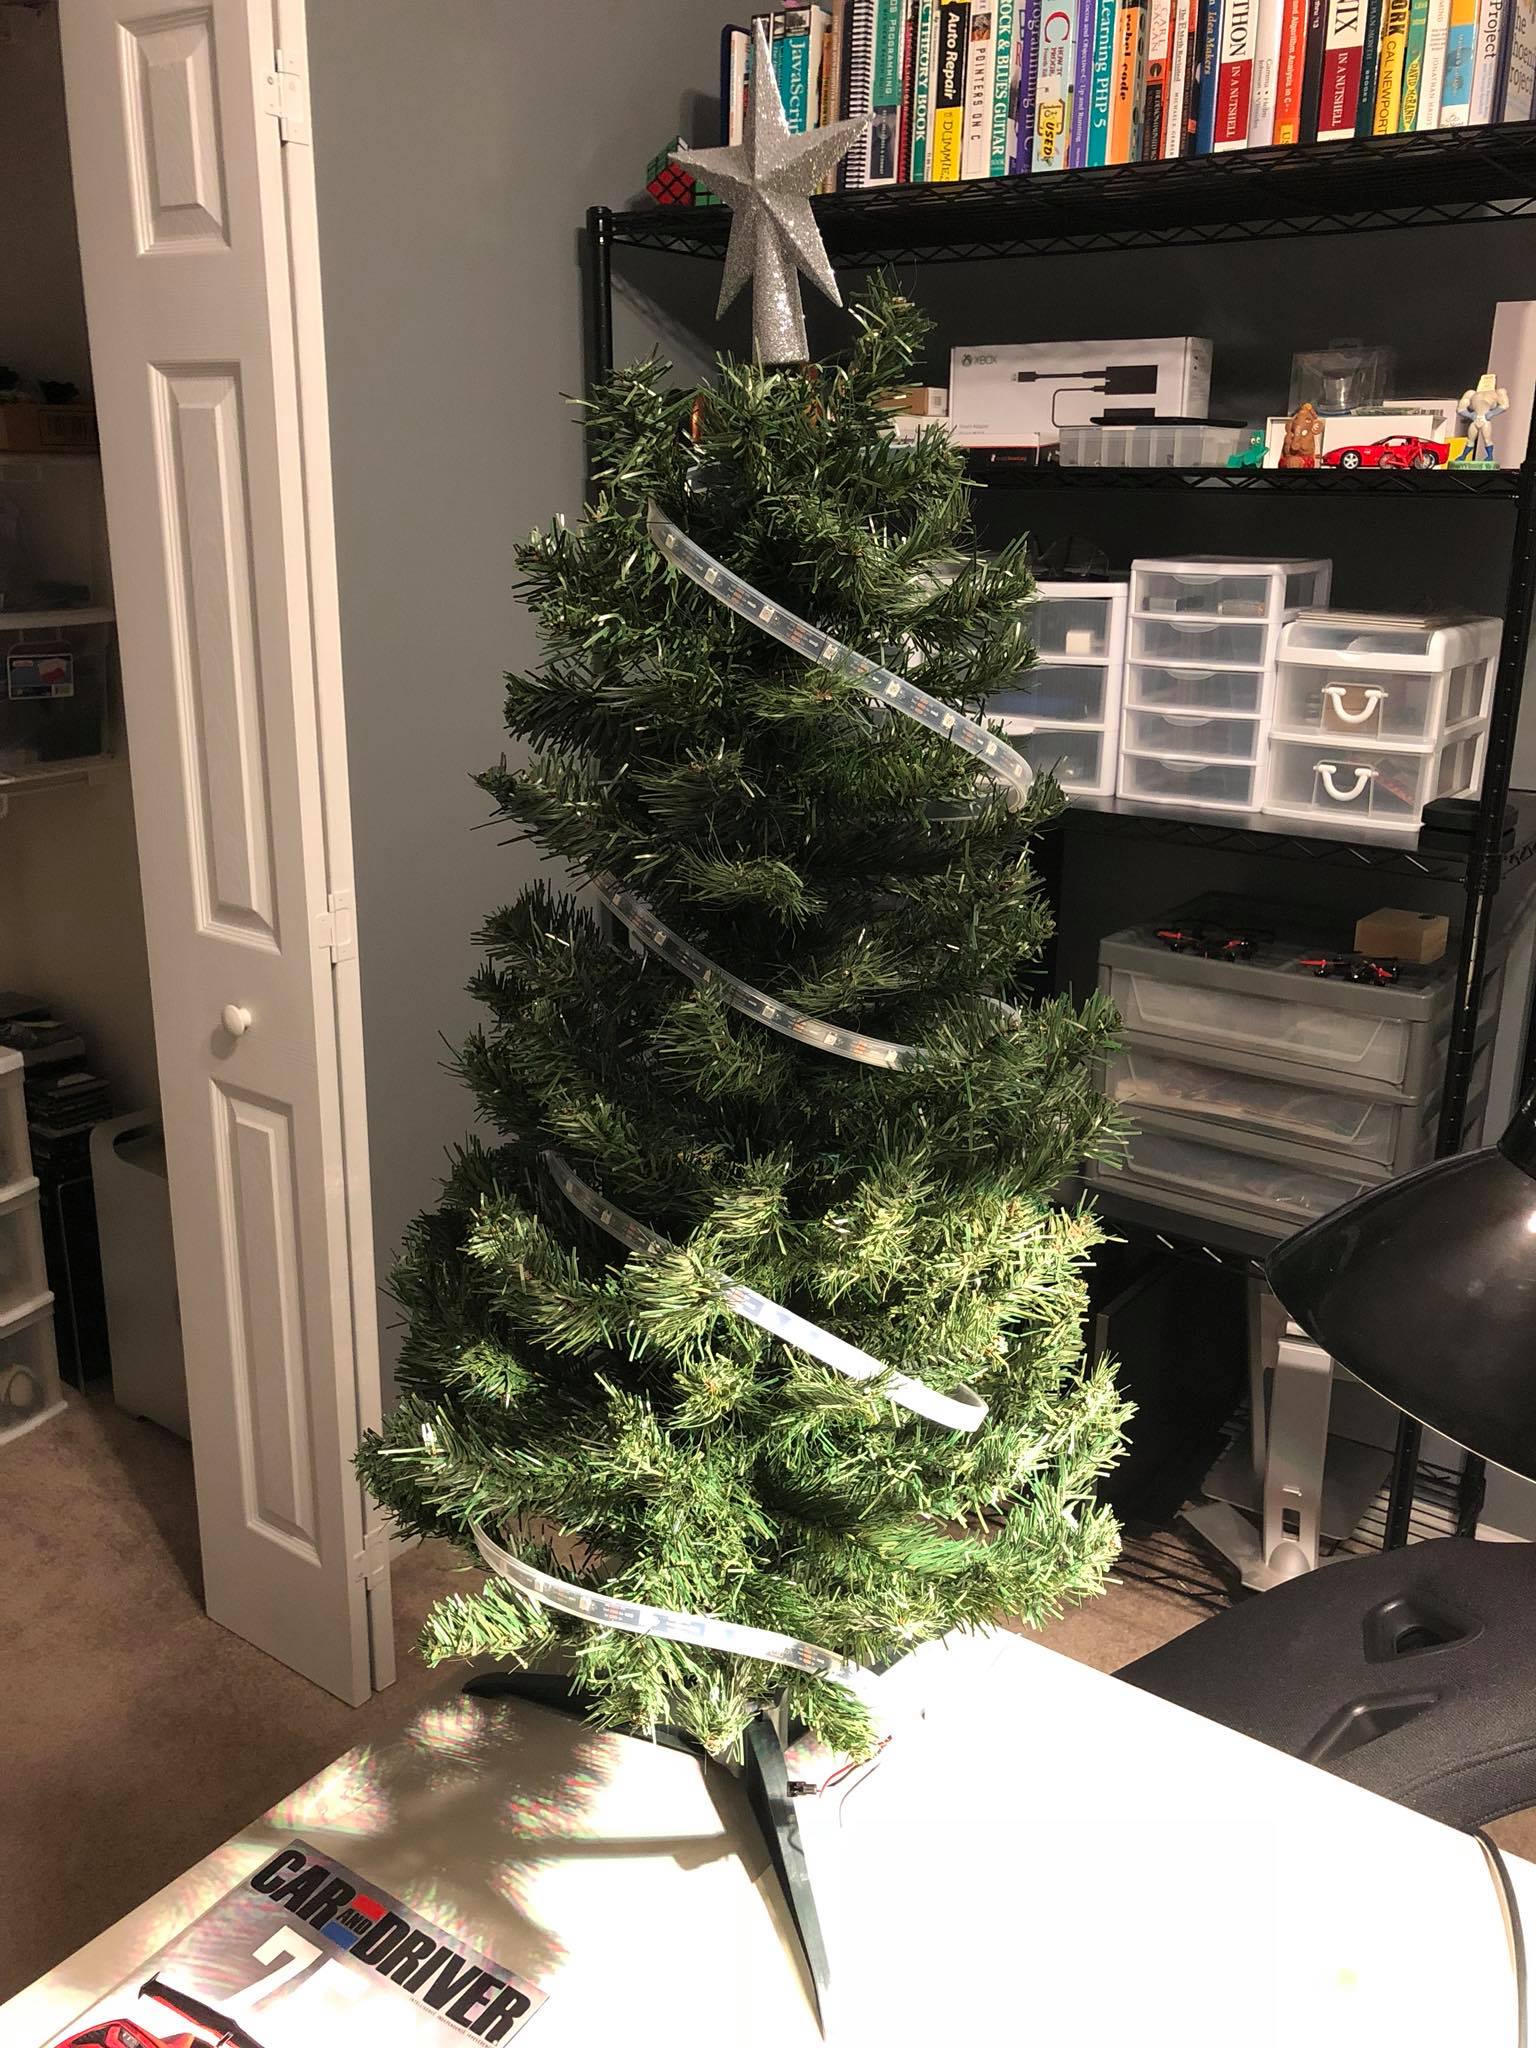
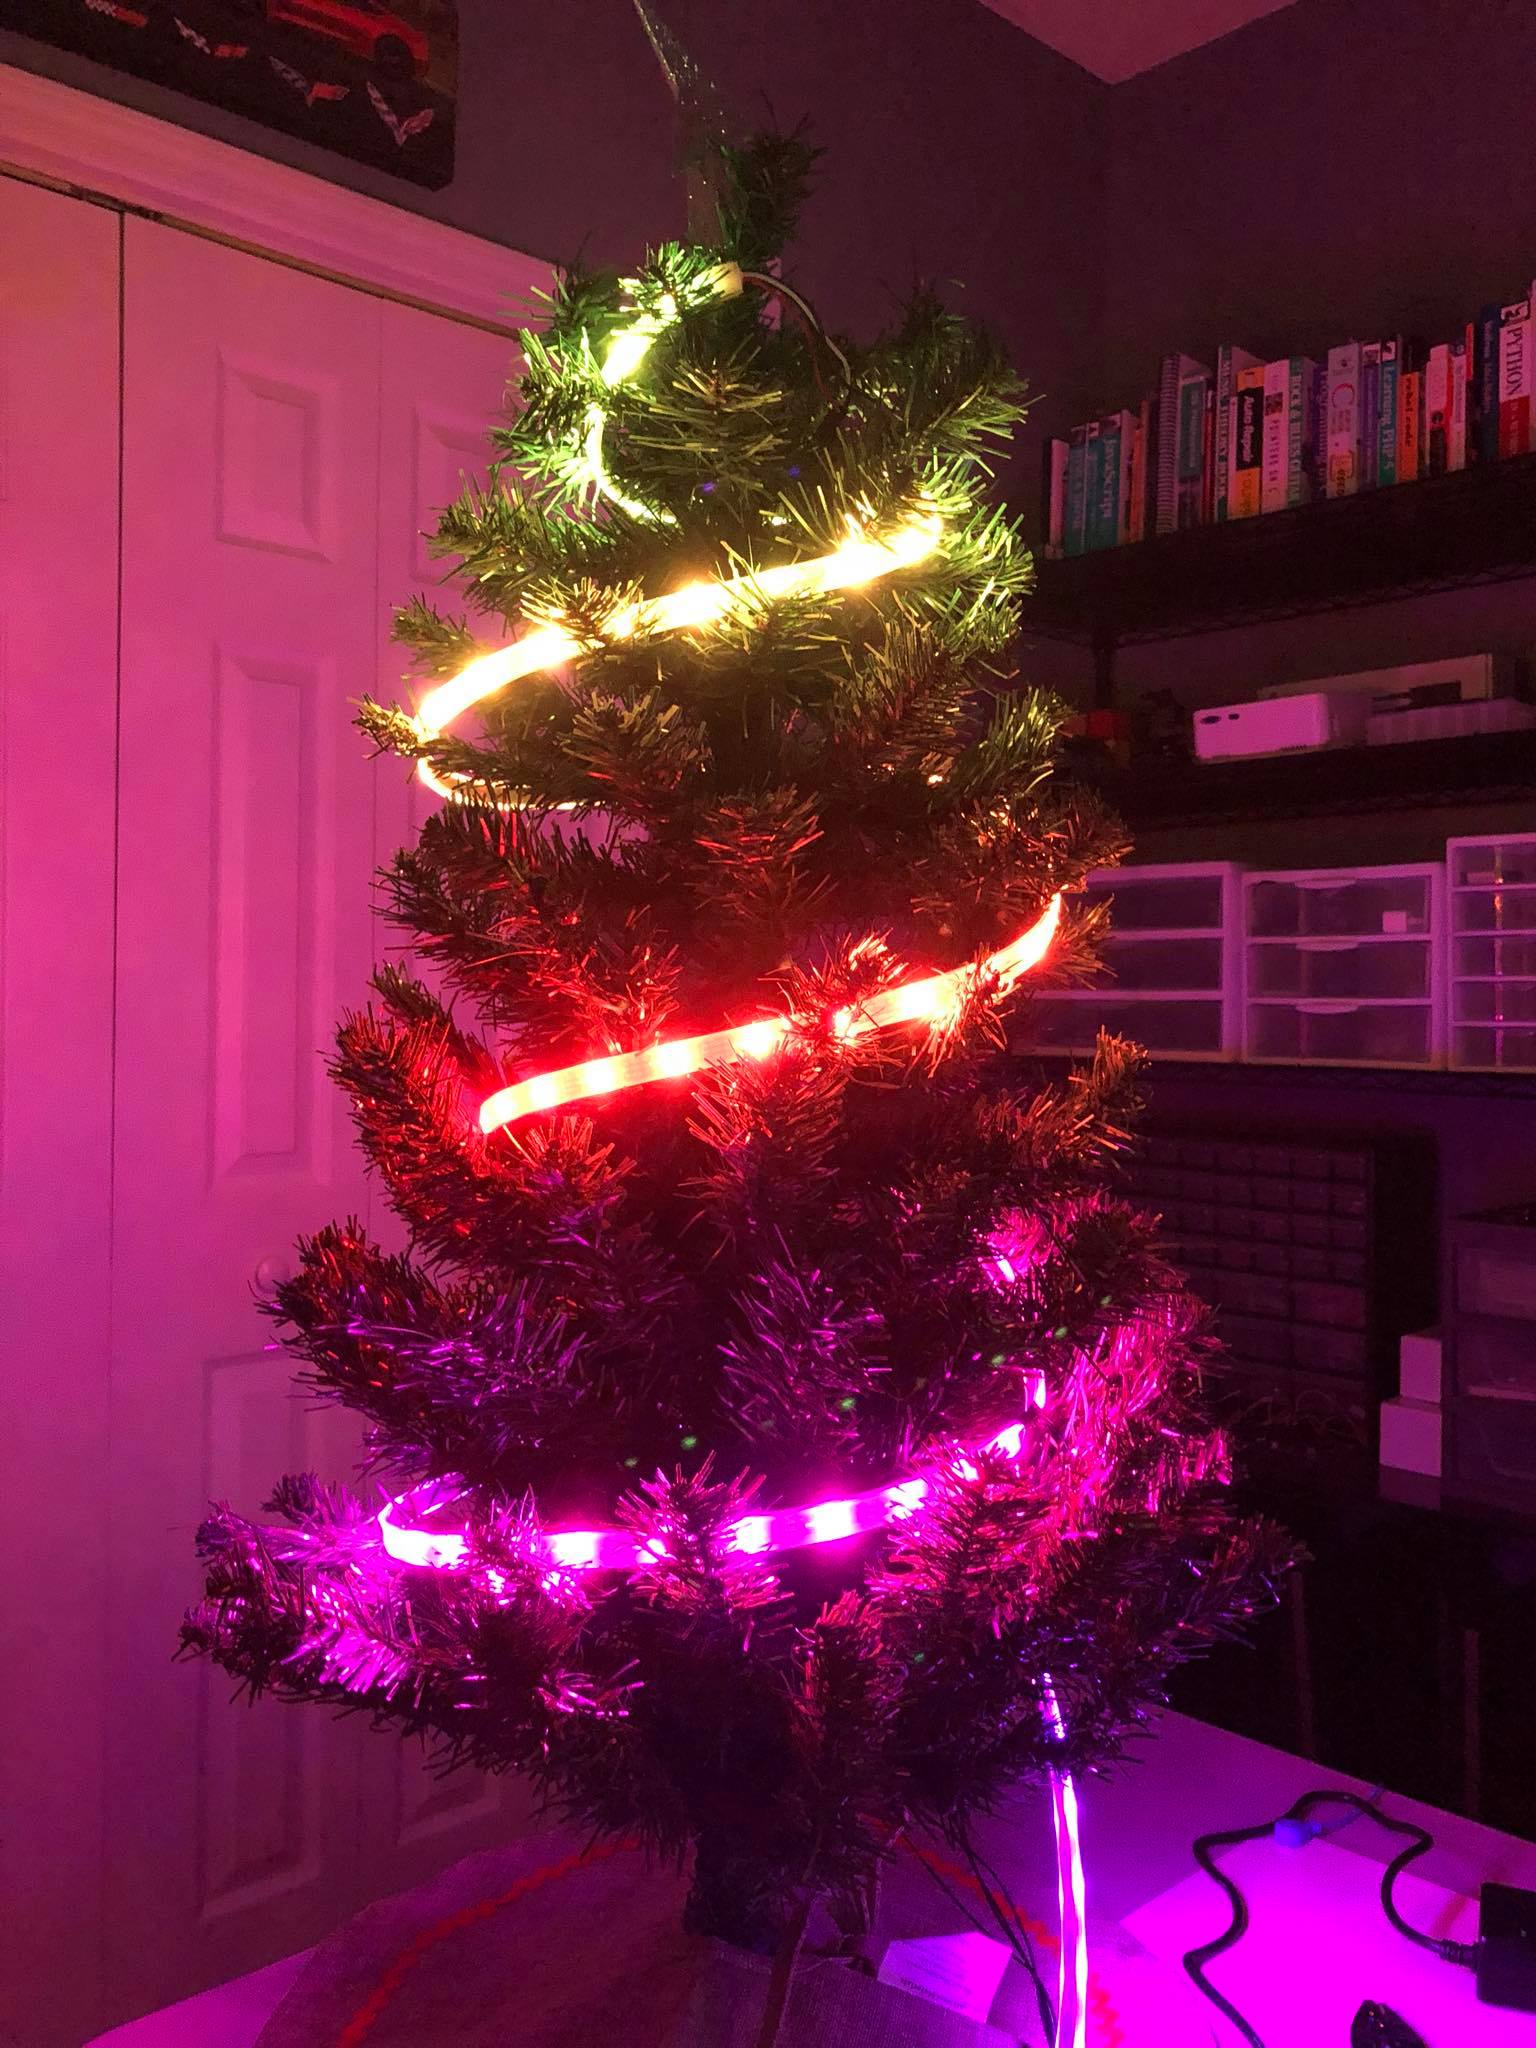
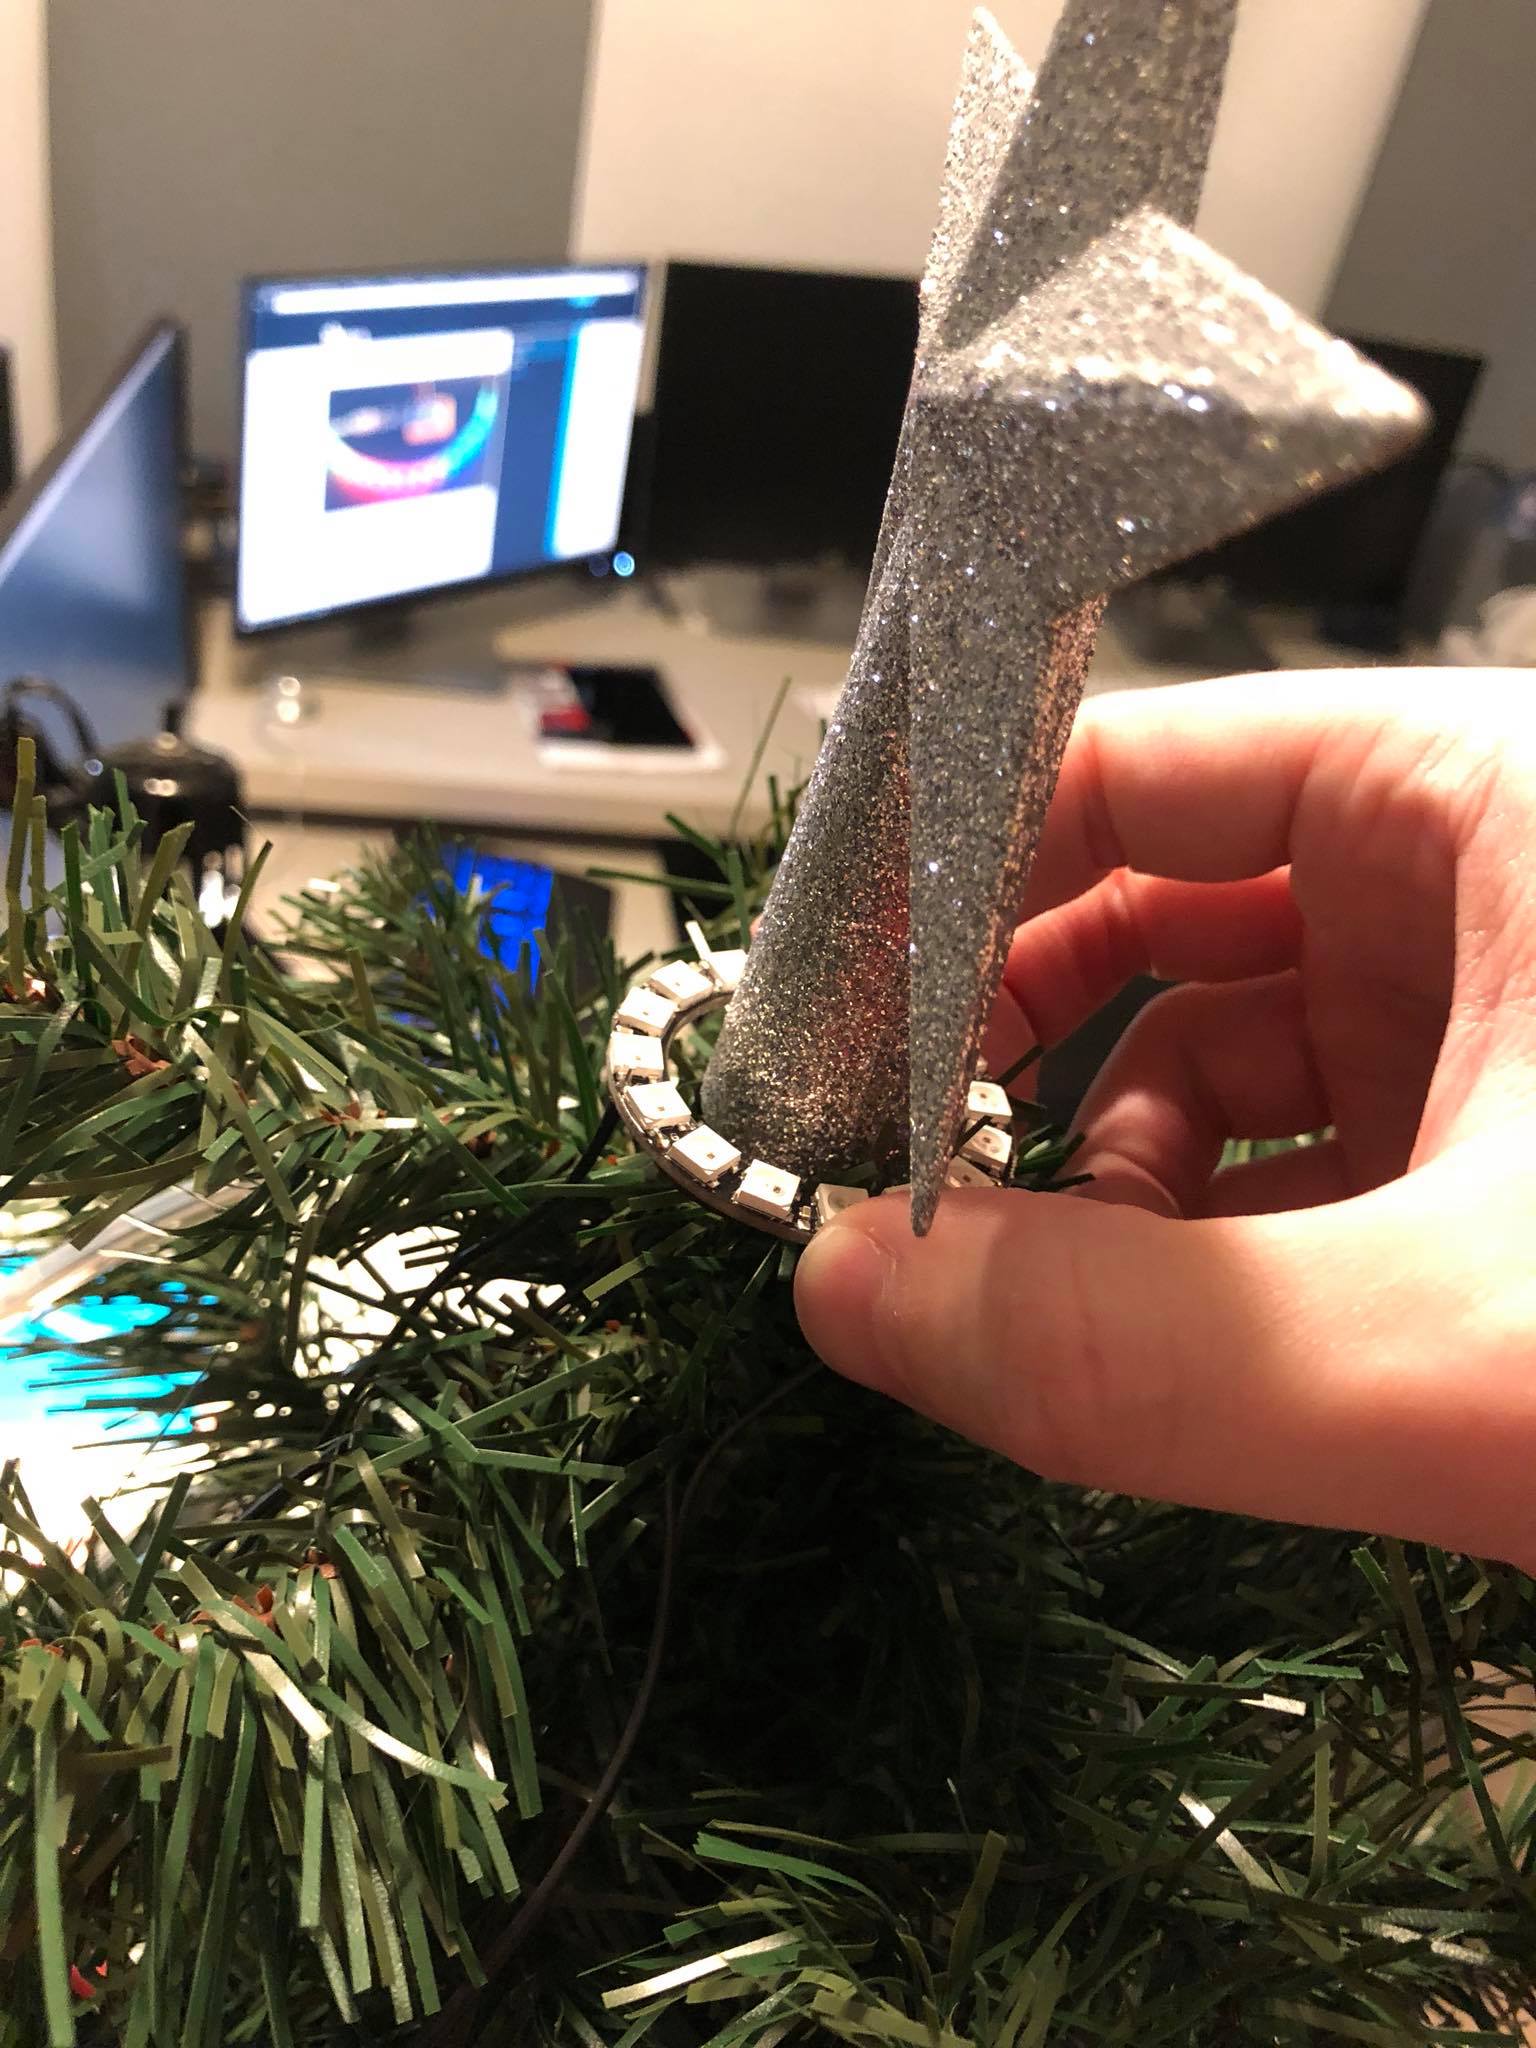
Every year Clemson plays USC for their state rivalry game. I pull for Clemson and my wife pulls for USC, so we’re what you call a “House Divided”. Since this game takes place on or after Thanksgiving, it’s a great time to incorporate the LED Christmas tree and troll my spouse!
The tree works like this:
When a team scores, it plays their fight song and lights up with their primary and secondary colors.
The lights on the tree are distributed by the ratio of points. When it’s tied, they each get 50% of the lights. If Team A has 2/3 more points, they get 2/3 more lights in their color.
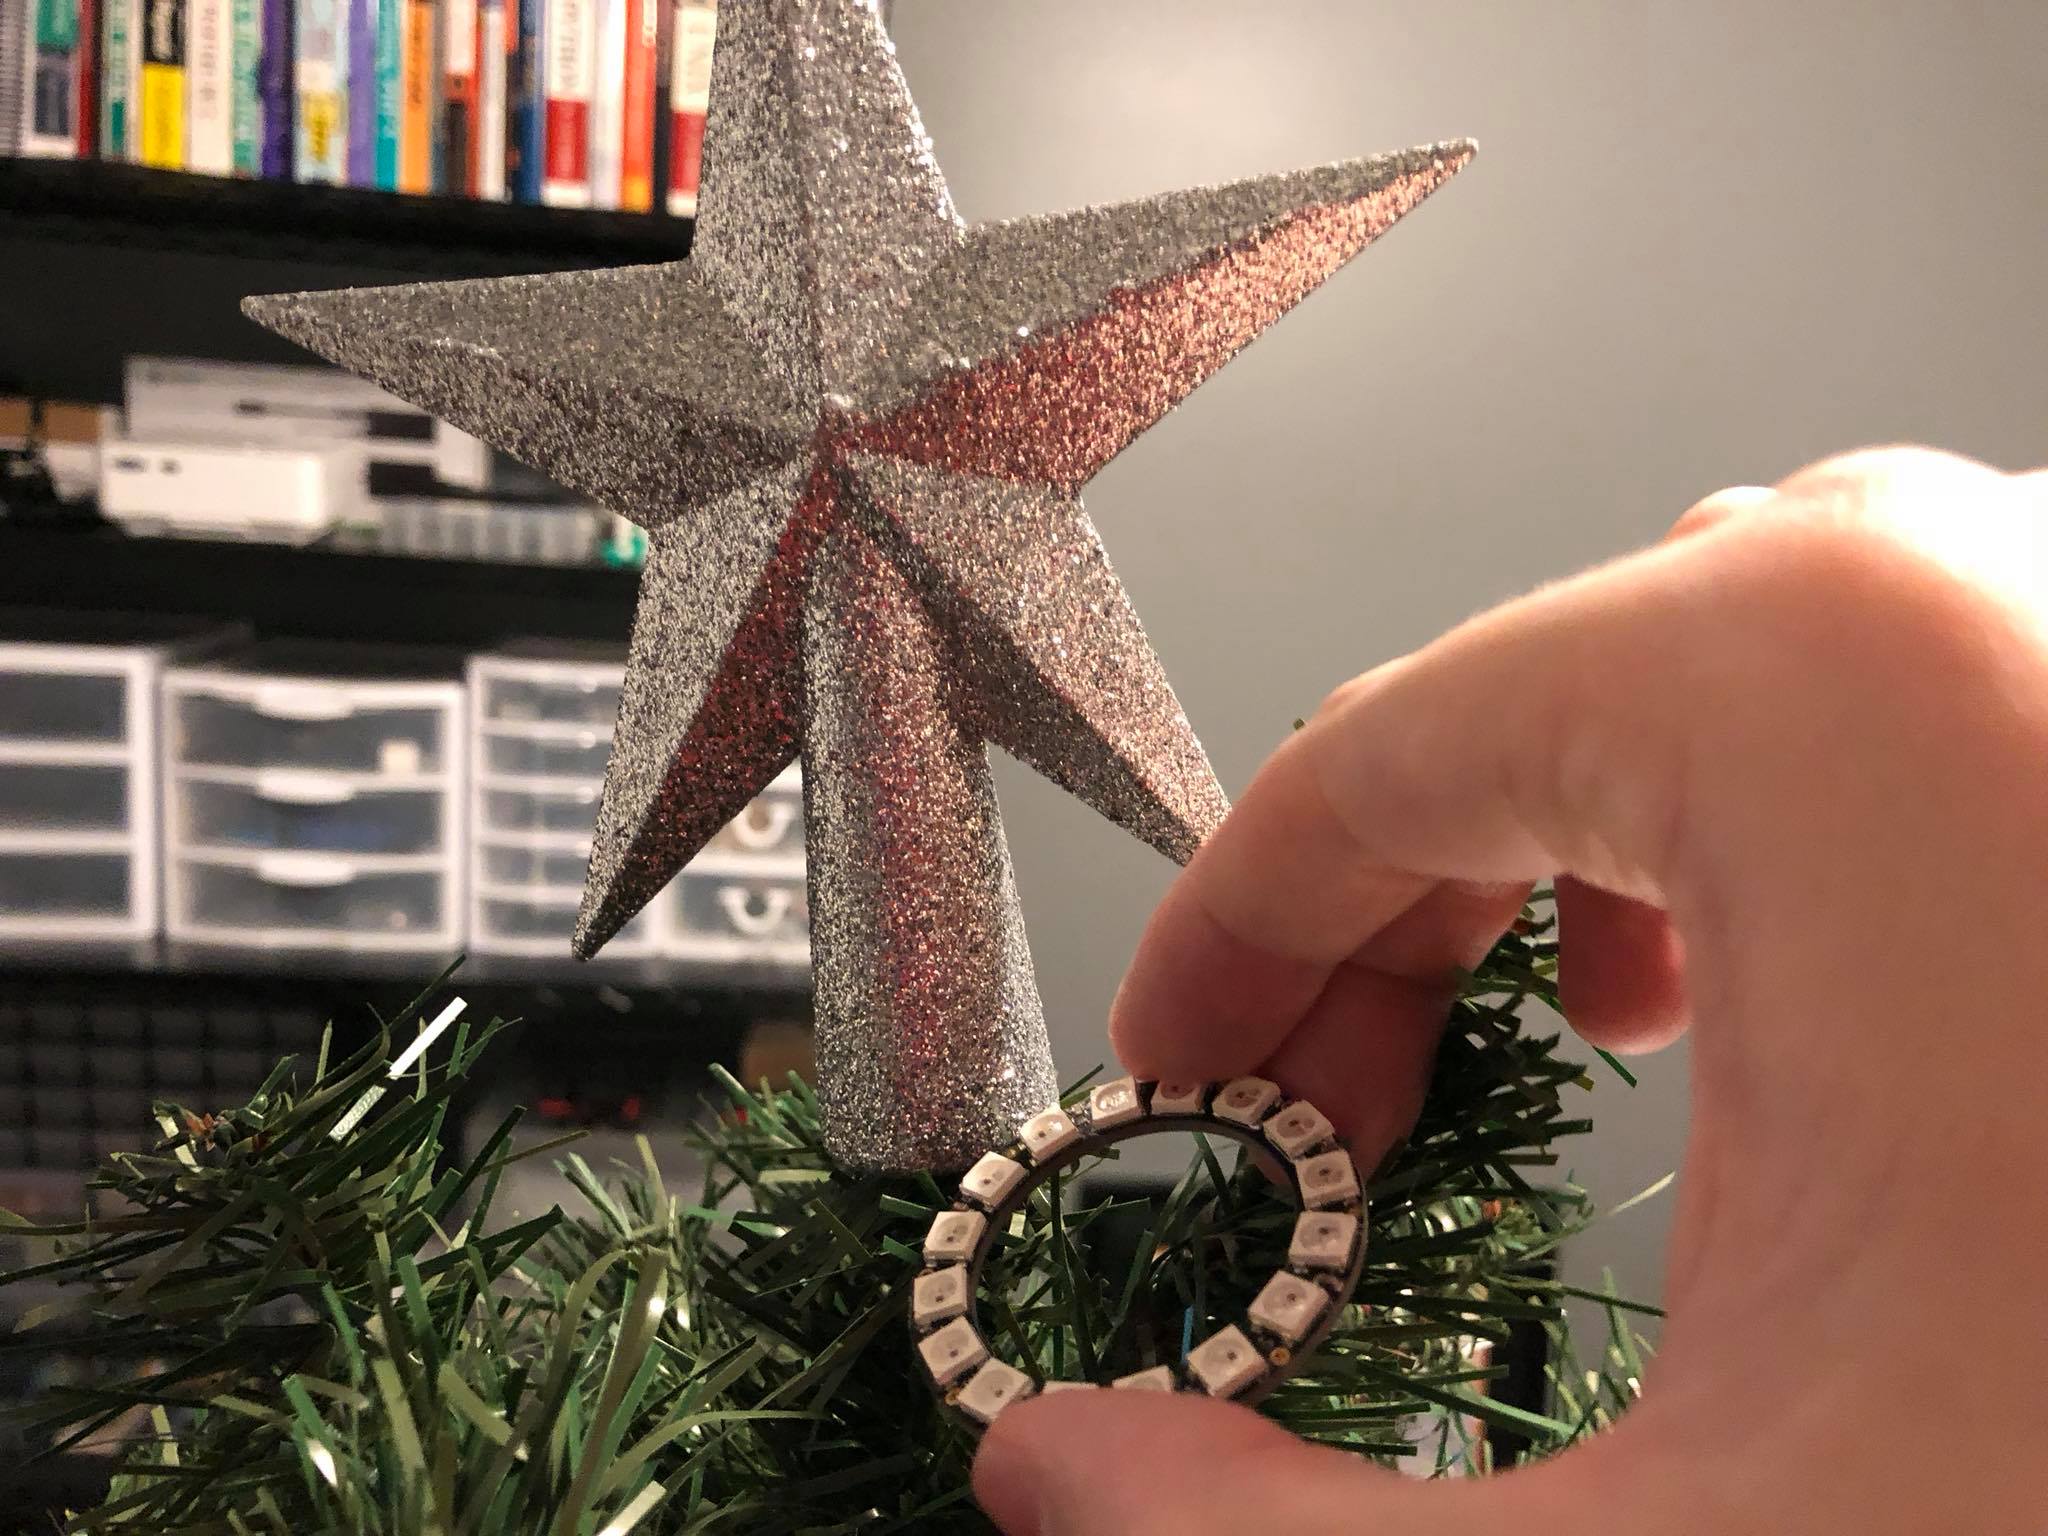
The ring under the star at the top of the tree is the color of winning team. If they’re tied, it’s split.
When the game is finished, the tree is the color of the team that won.
Software
I used Golang for the software since I primarily write code in another language and want to get better at it. It makes use of various interfaces to aid in testing and abstration:
The Fetcher interface gets the latest game state from a data source
The Player interface plays audio at the given path
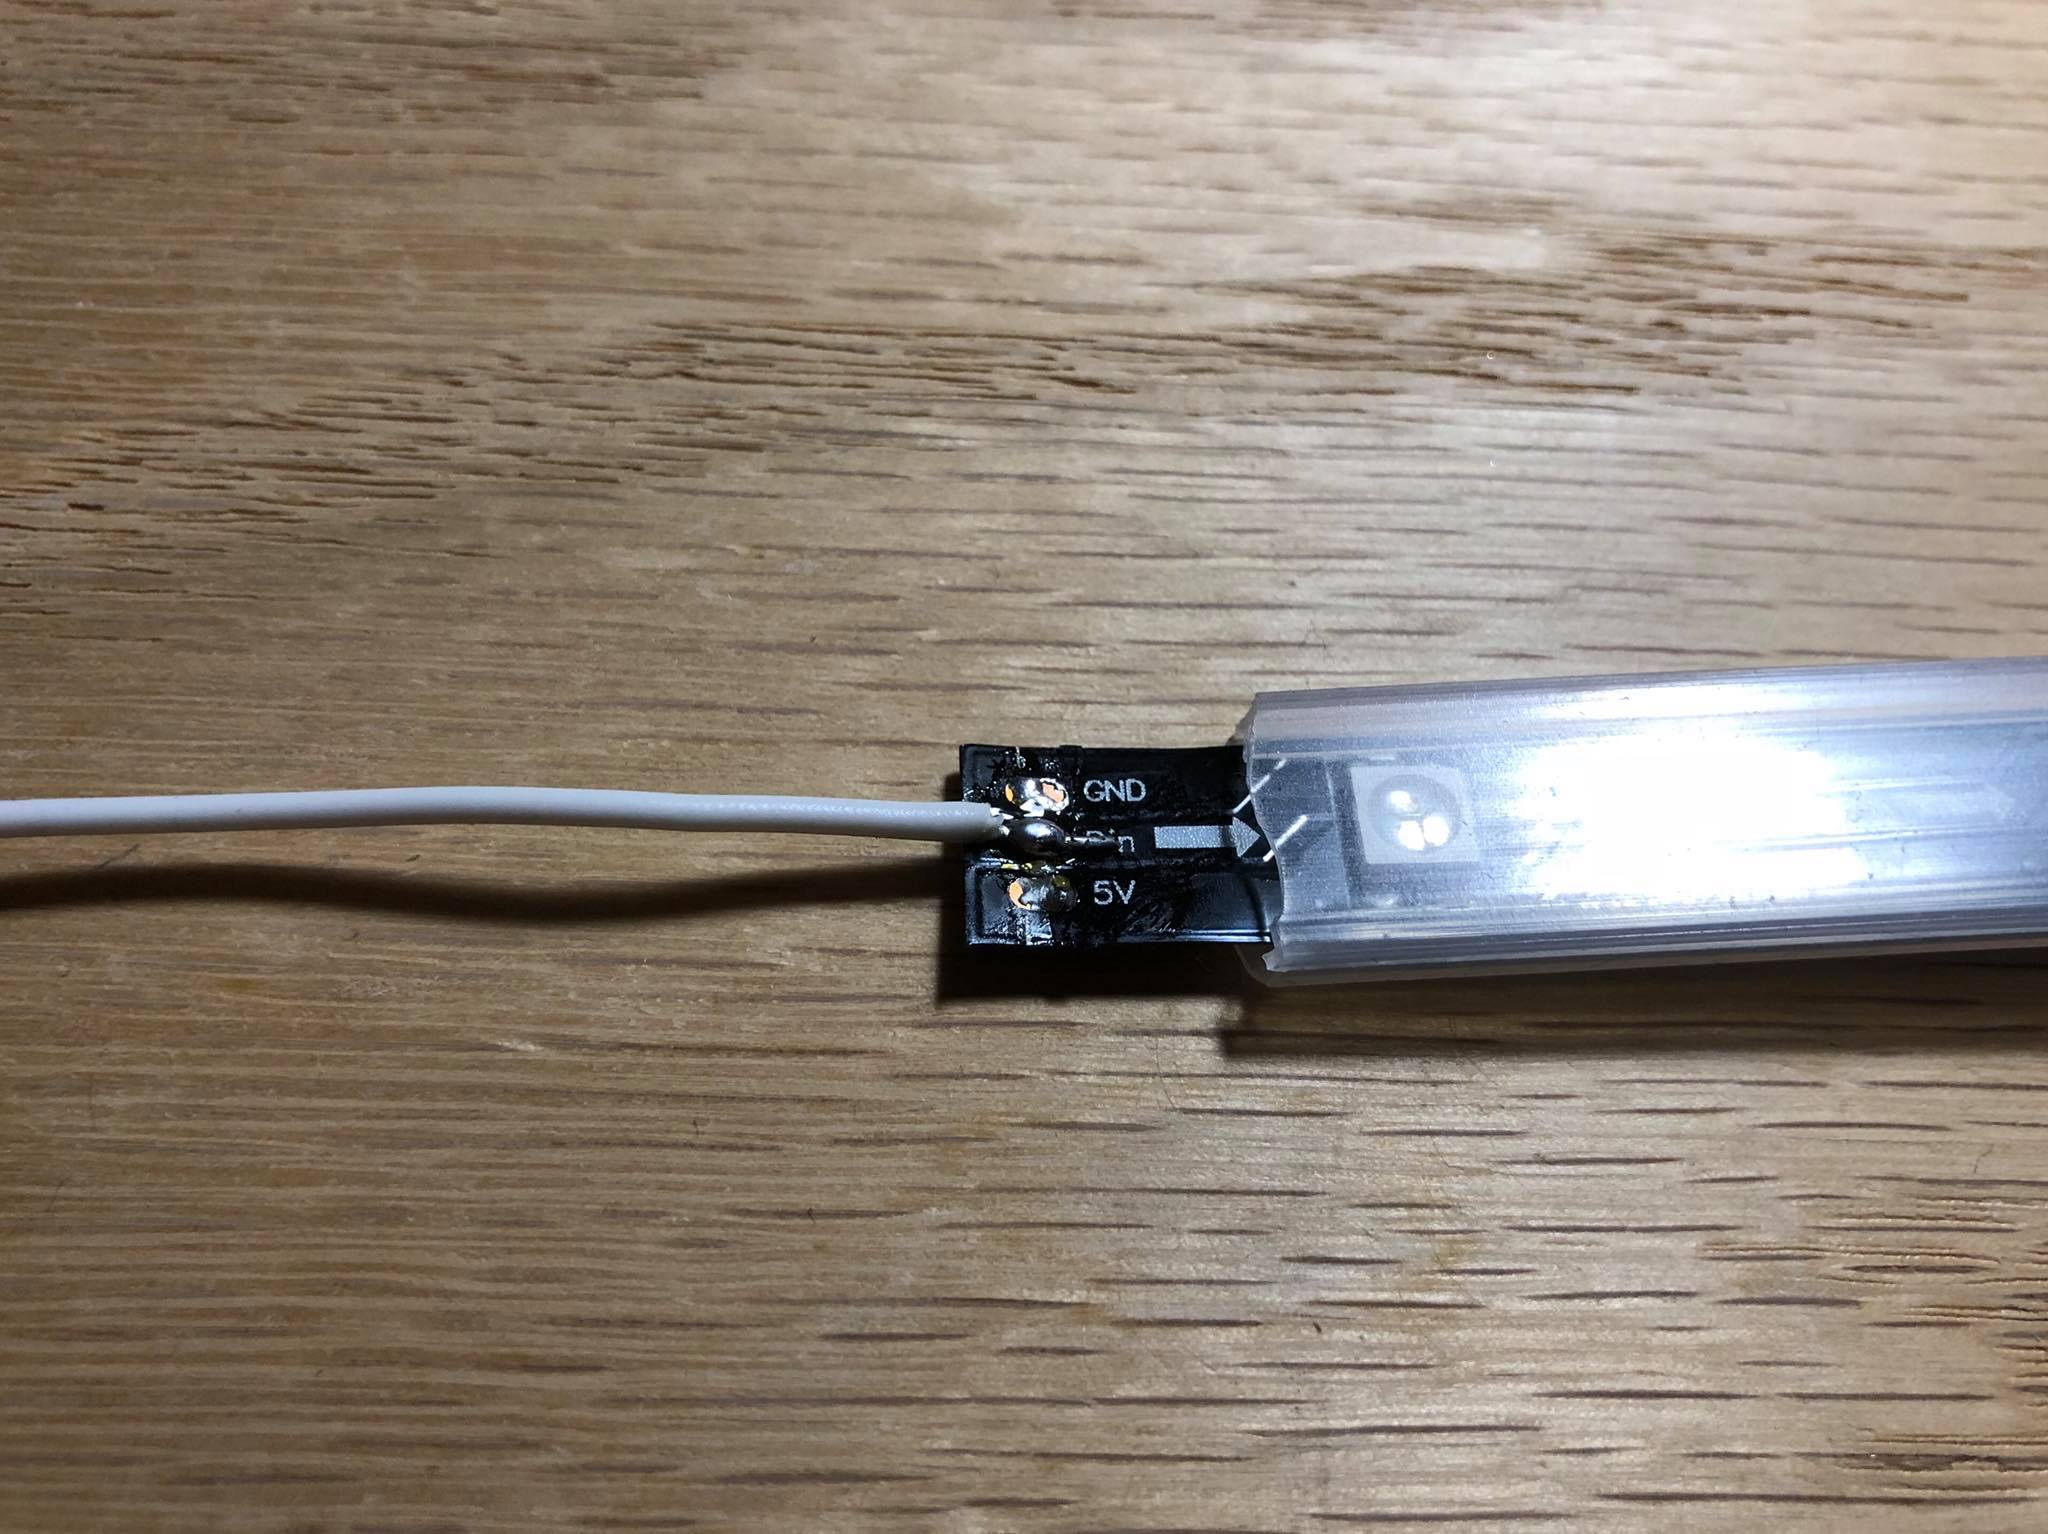
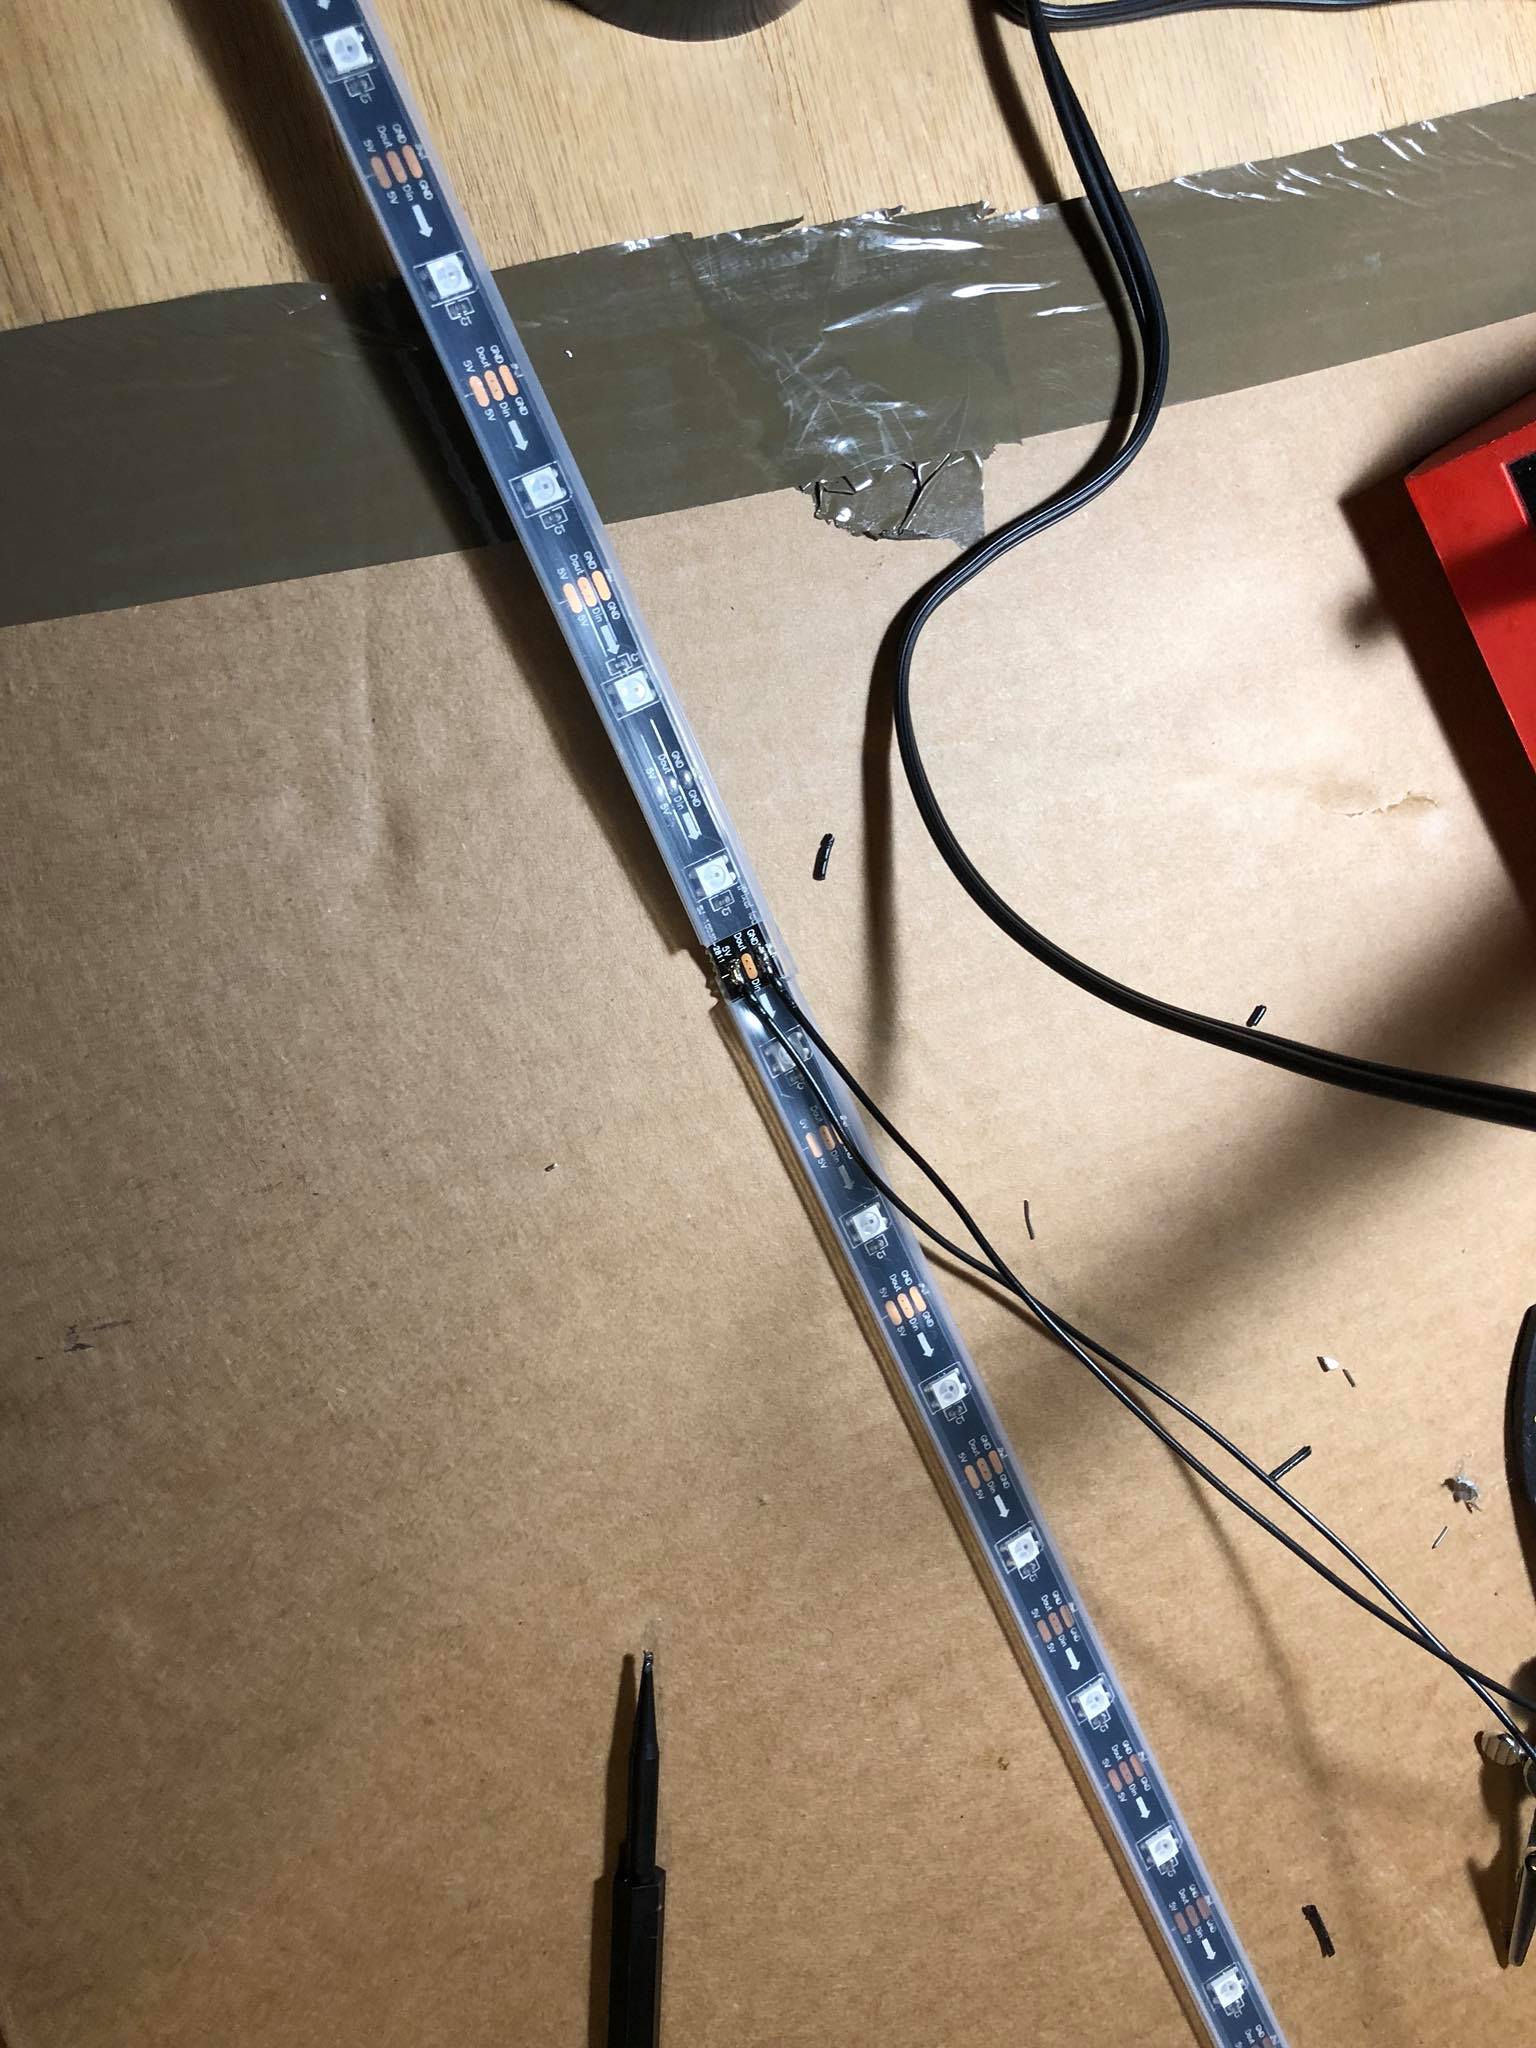
The Illuminator interface controls a light source (in this case the LED tree)
The source code for a local data fetcher is included in this repo only. The remote fetcher I built may or may not have used an API meant for this sort of consumption. It simply fetched from a remote data source, unmarshalled a JSON data structure, and supplied what the Fetcher interface needed.
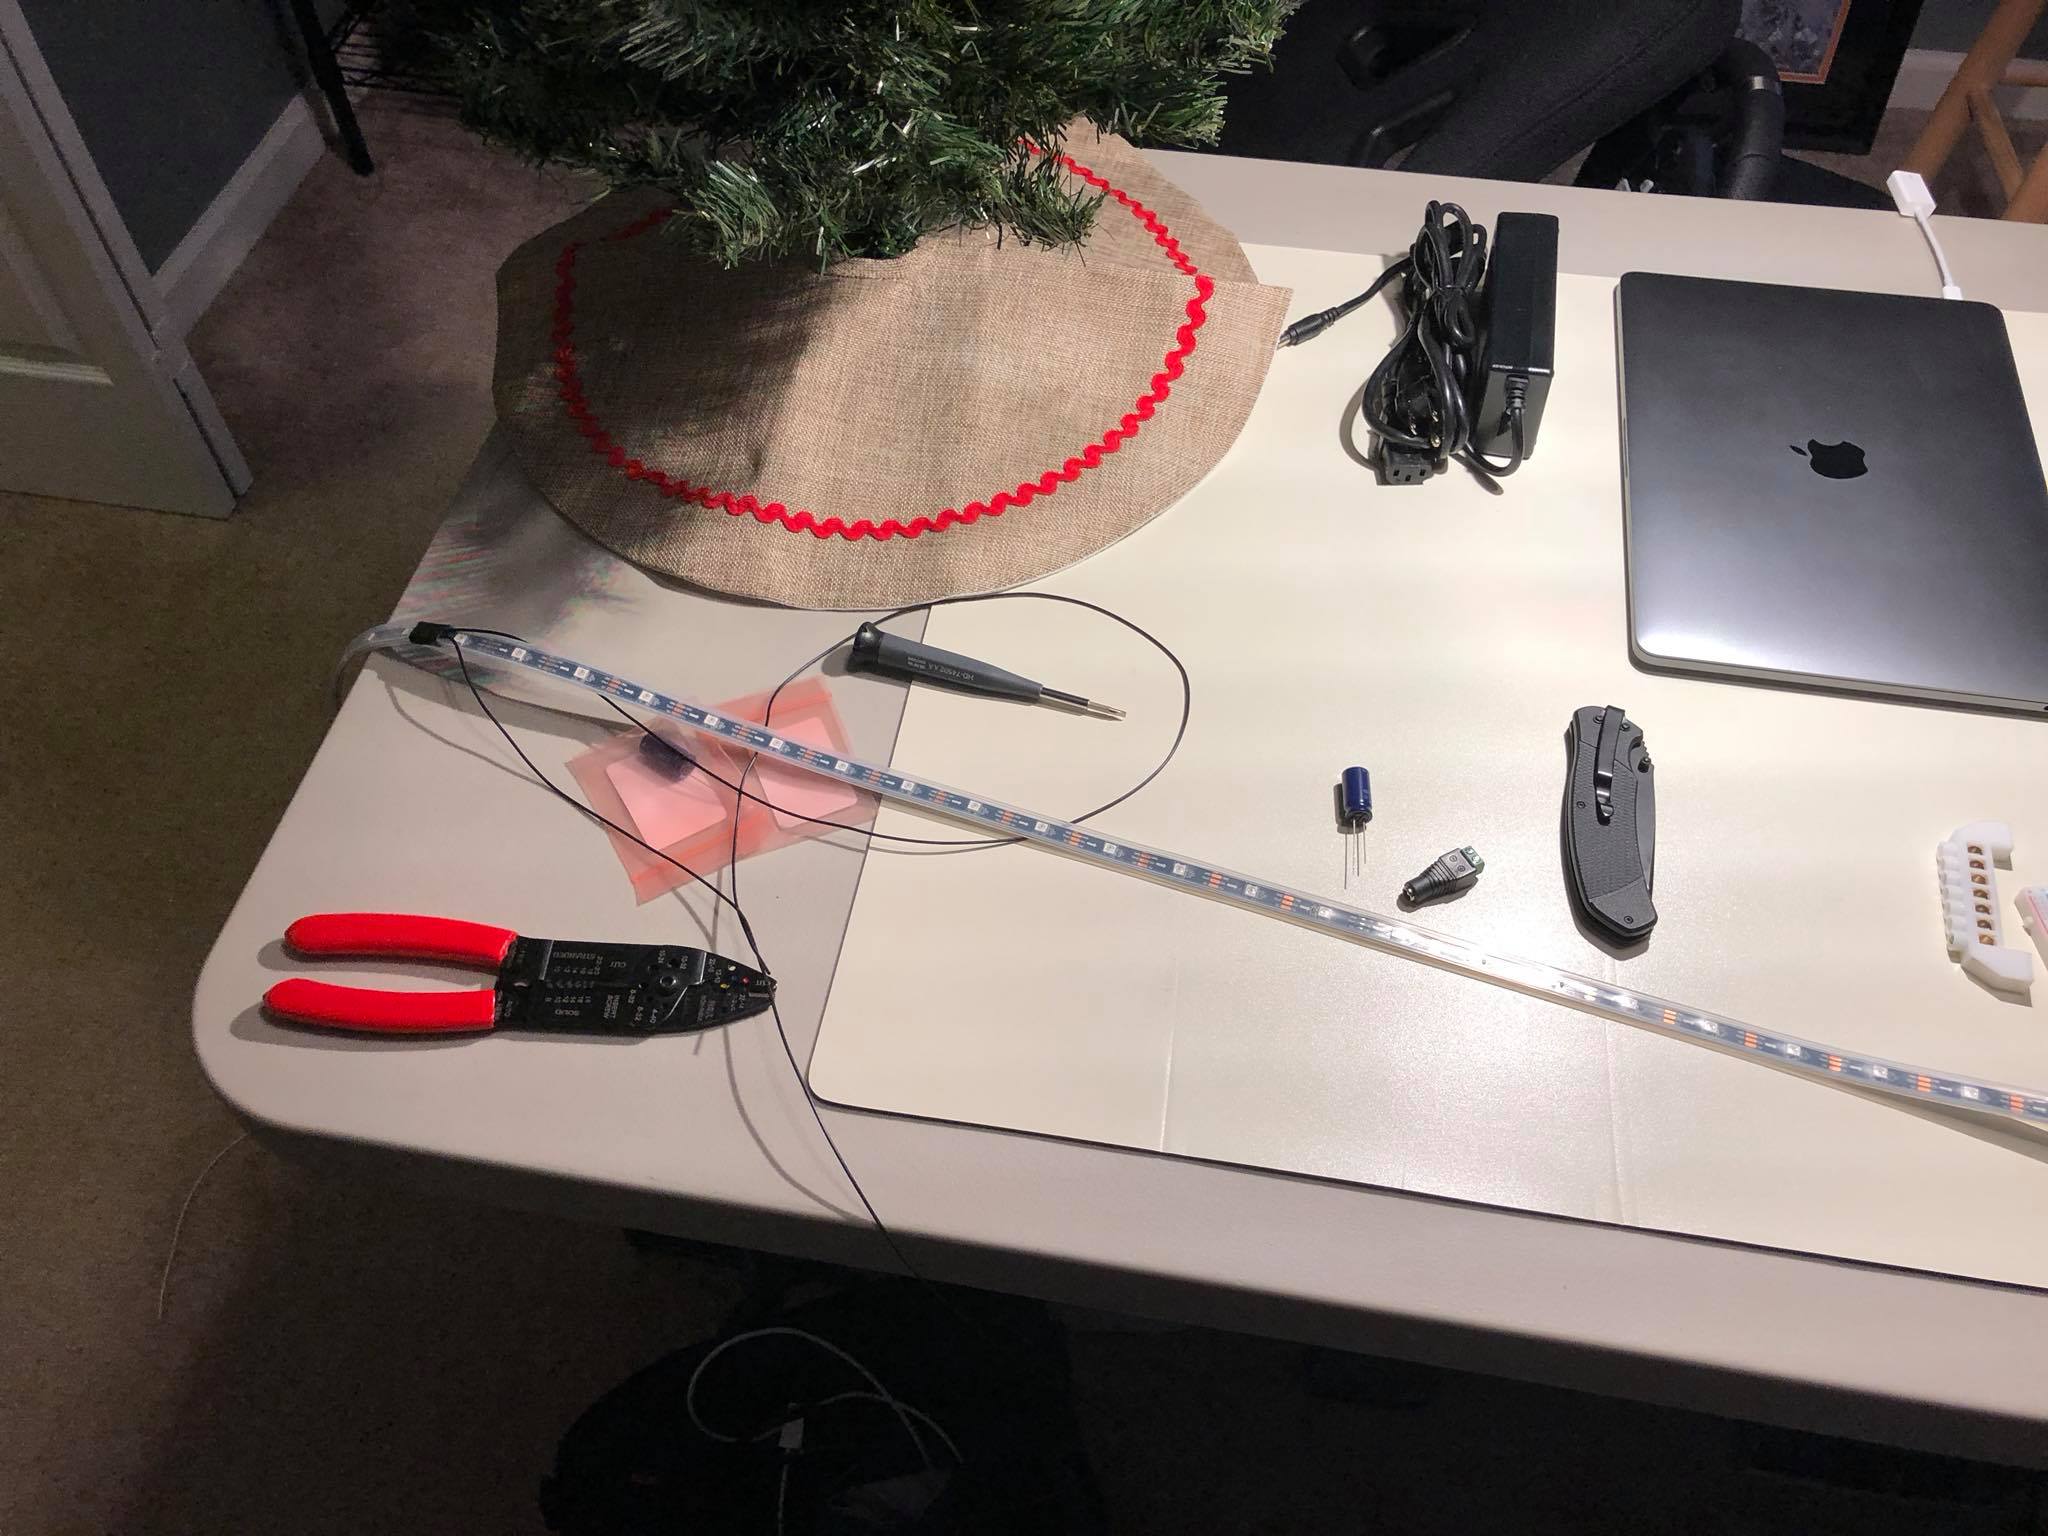
The code runs on a Raspberry Pi and communicates with the MCU via serial. An iHome IBT63 speaker is used to play audio from the Raspberry Pi. I didn’t use the Bluetooth connection and instead used the shared power and audio connector, plugging one end into the RPi’s stereo jack and the other into the USB port.
I cross-compiled from my Mac using the rpi.sh script in the executable’s directory.
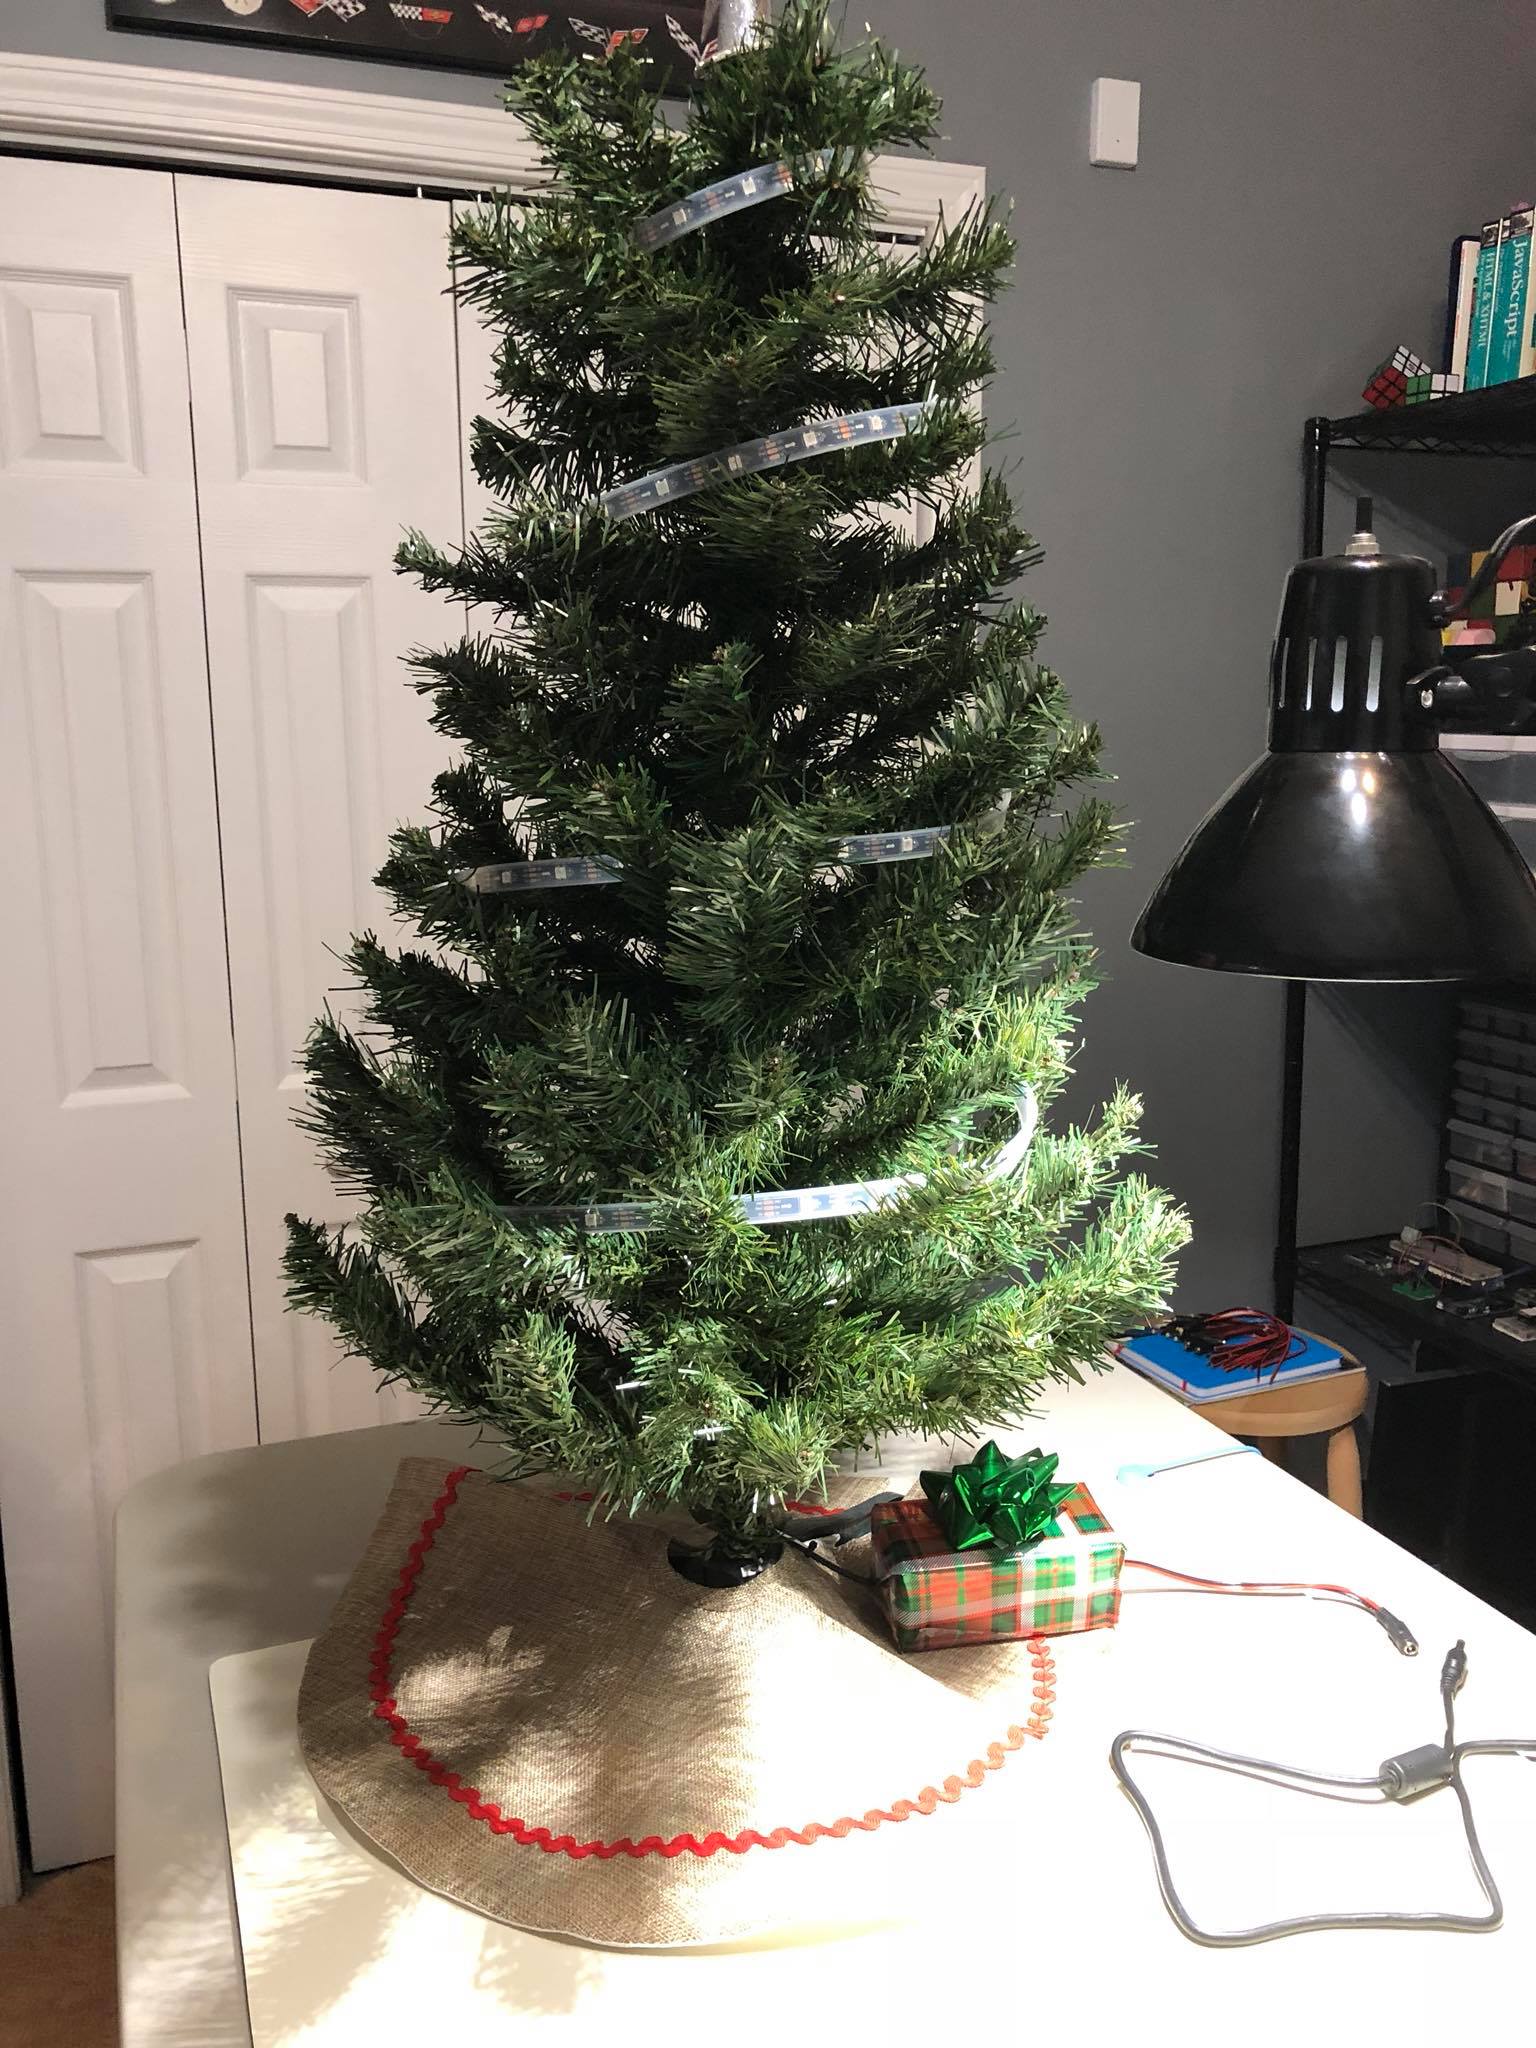
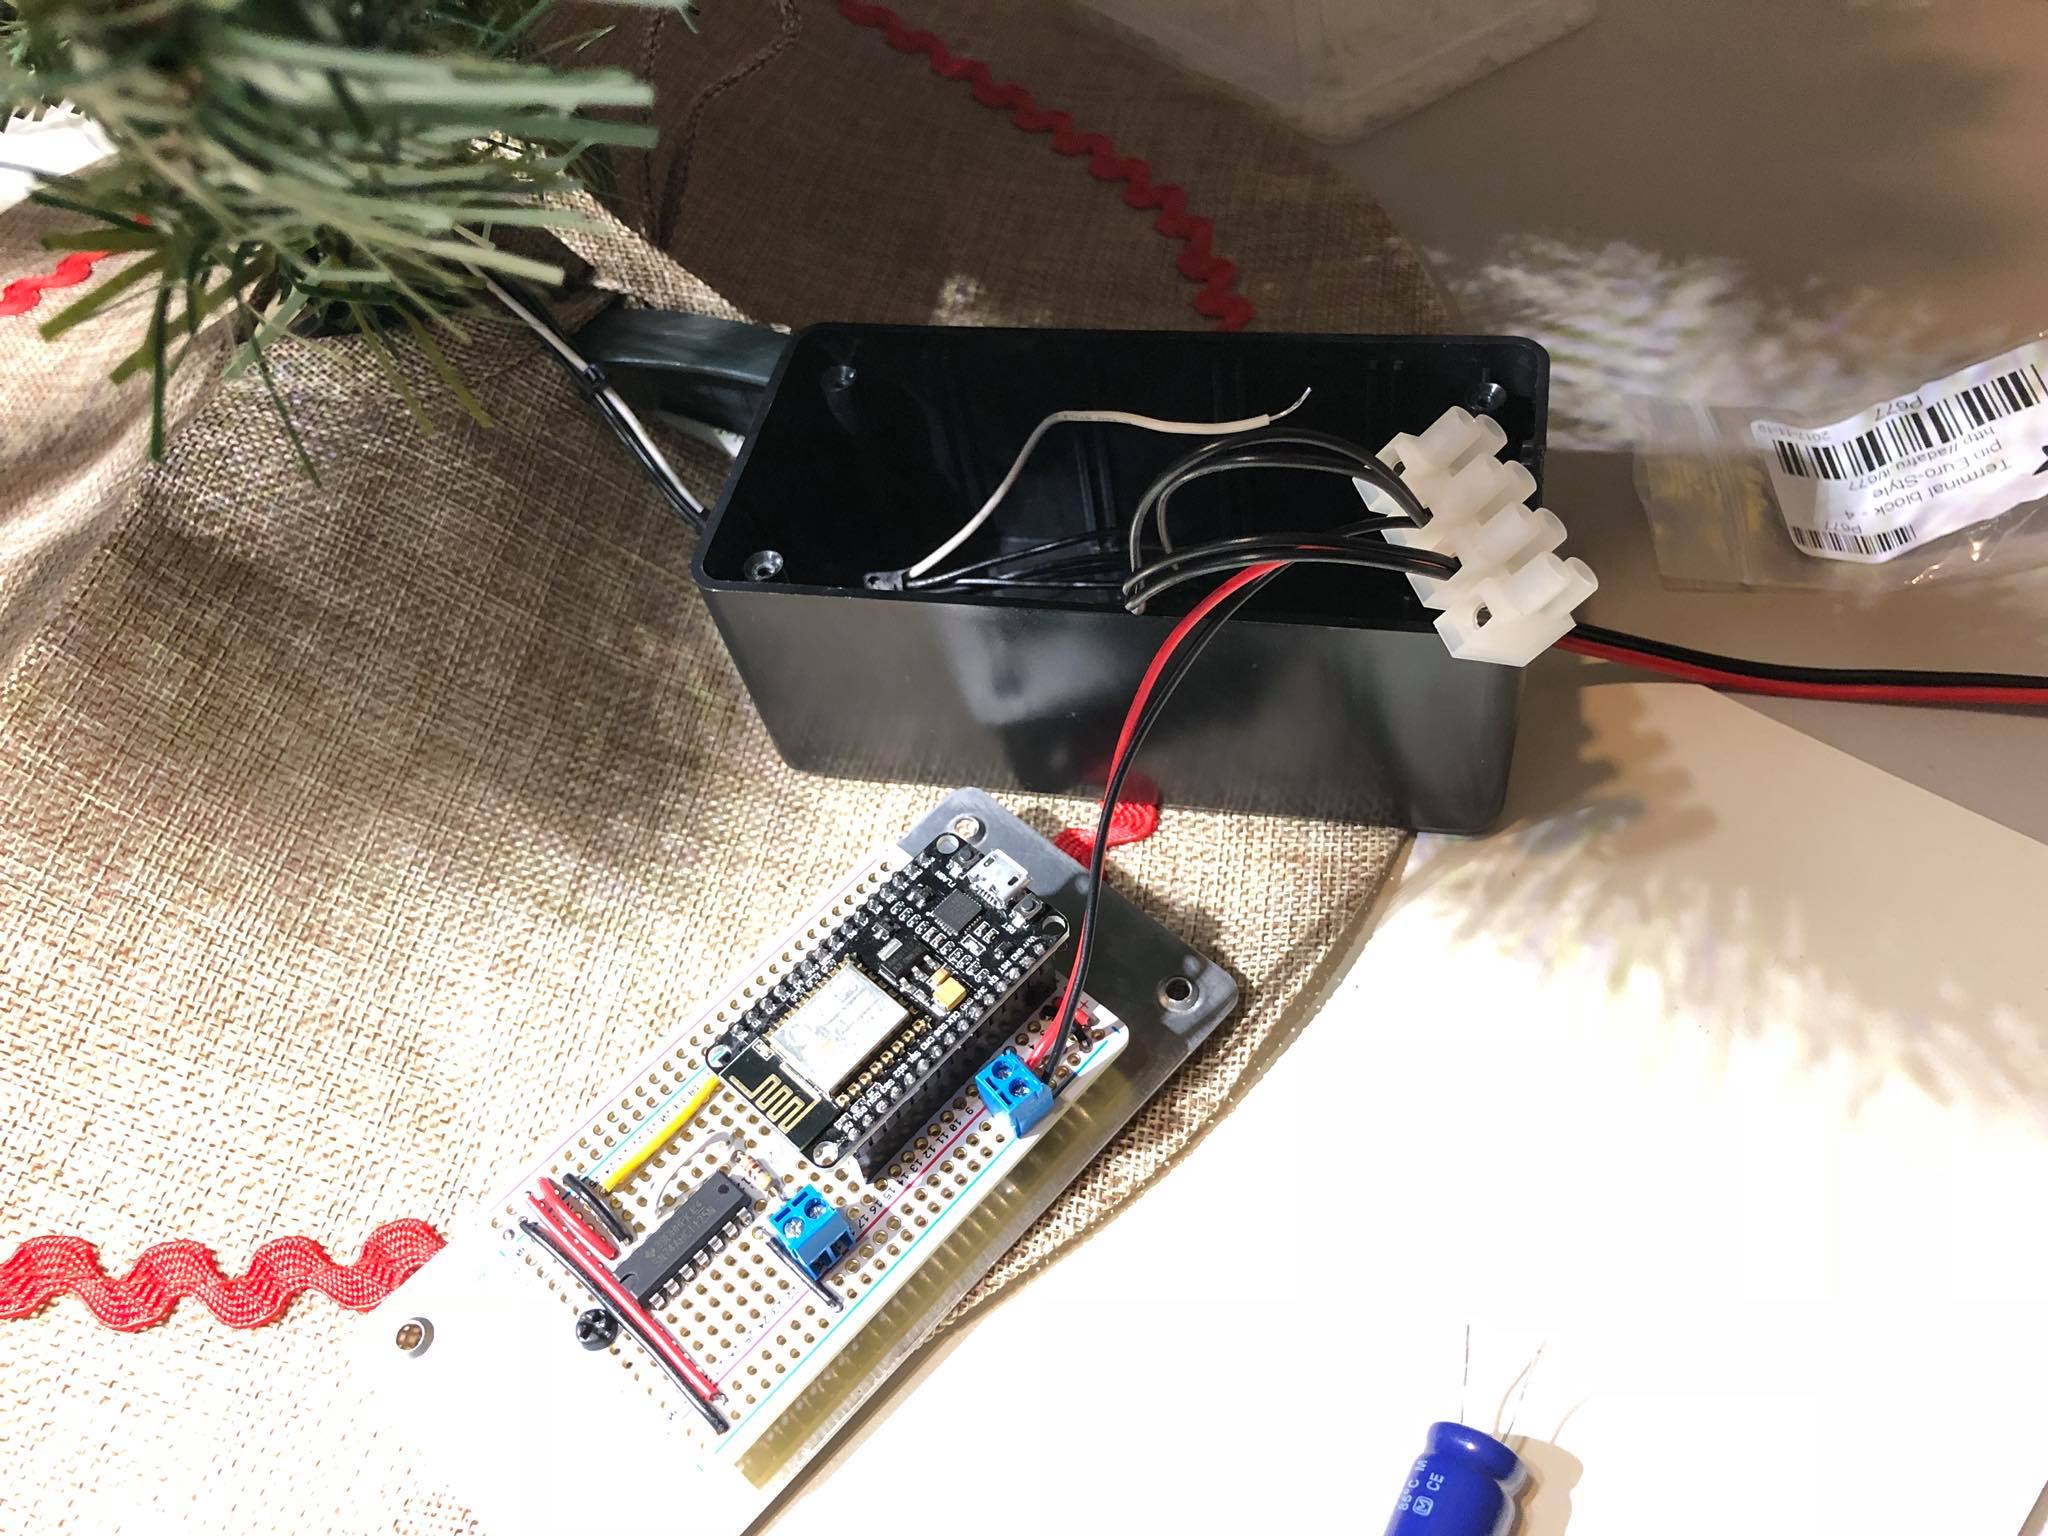
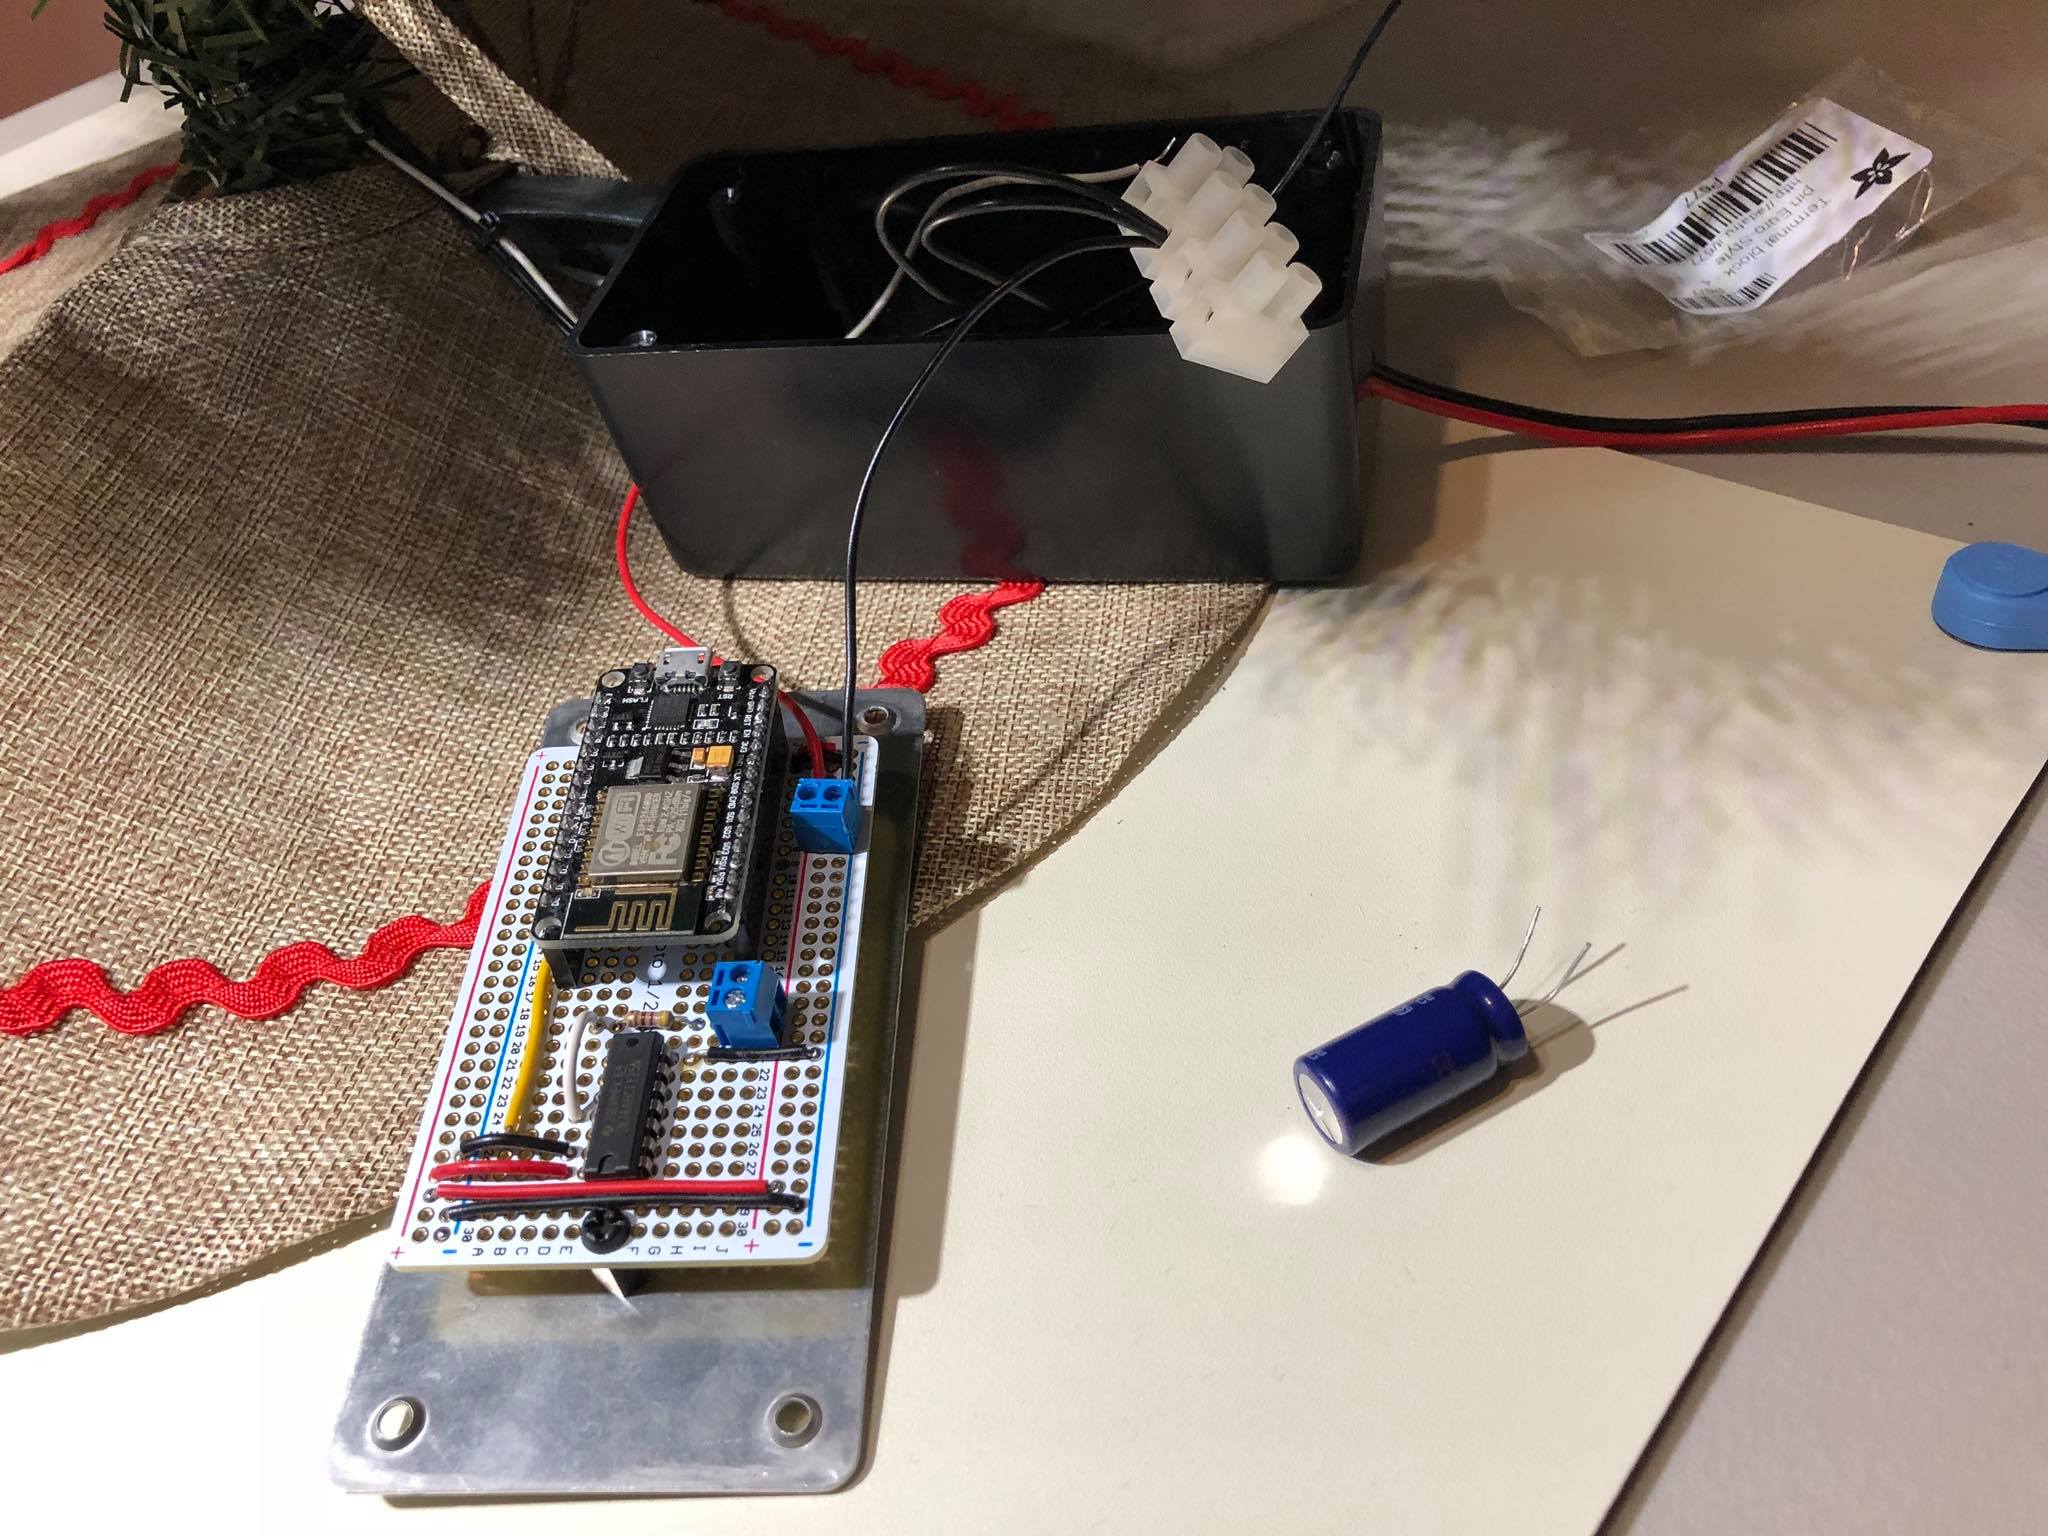
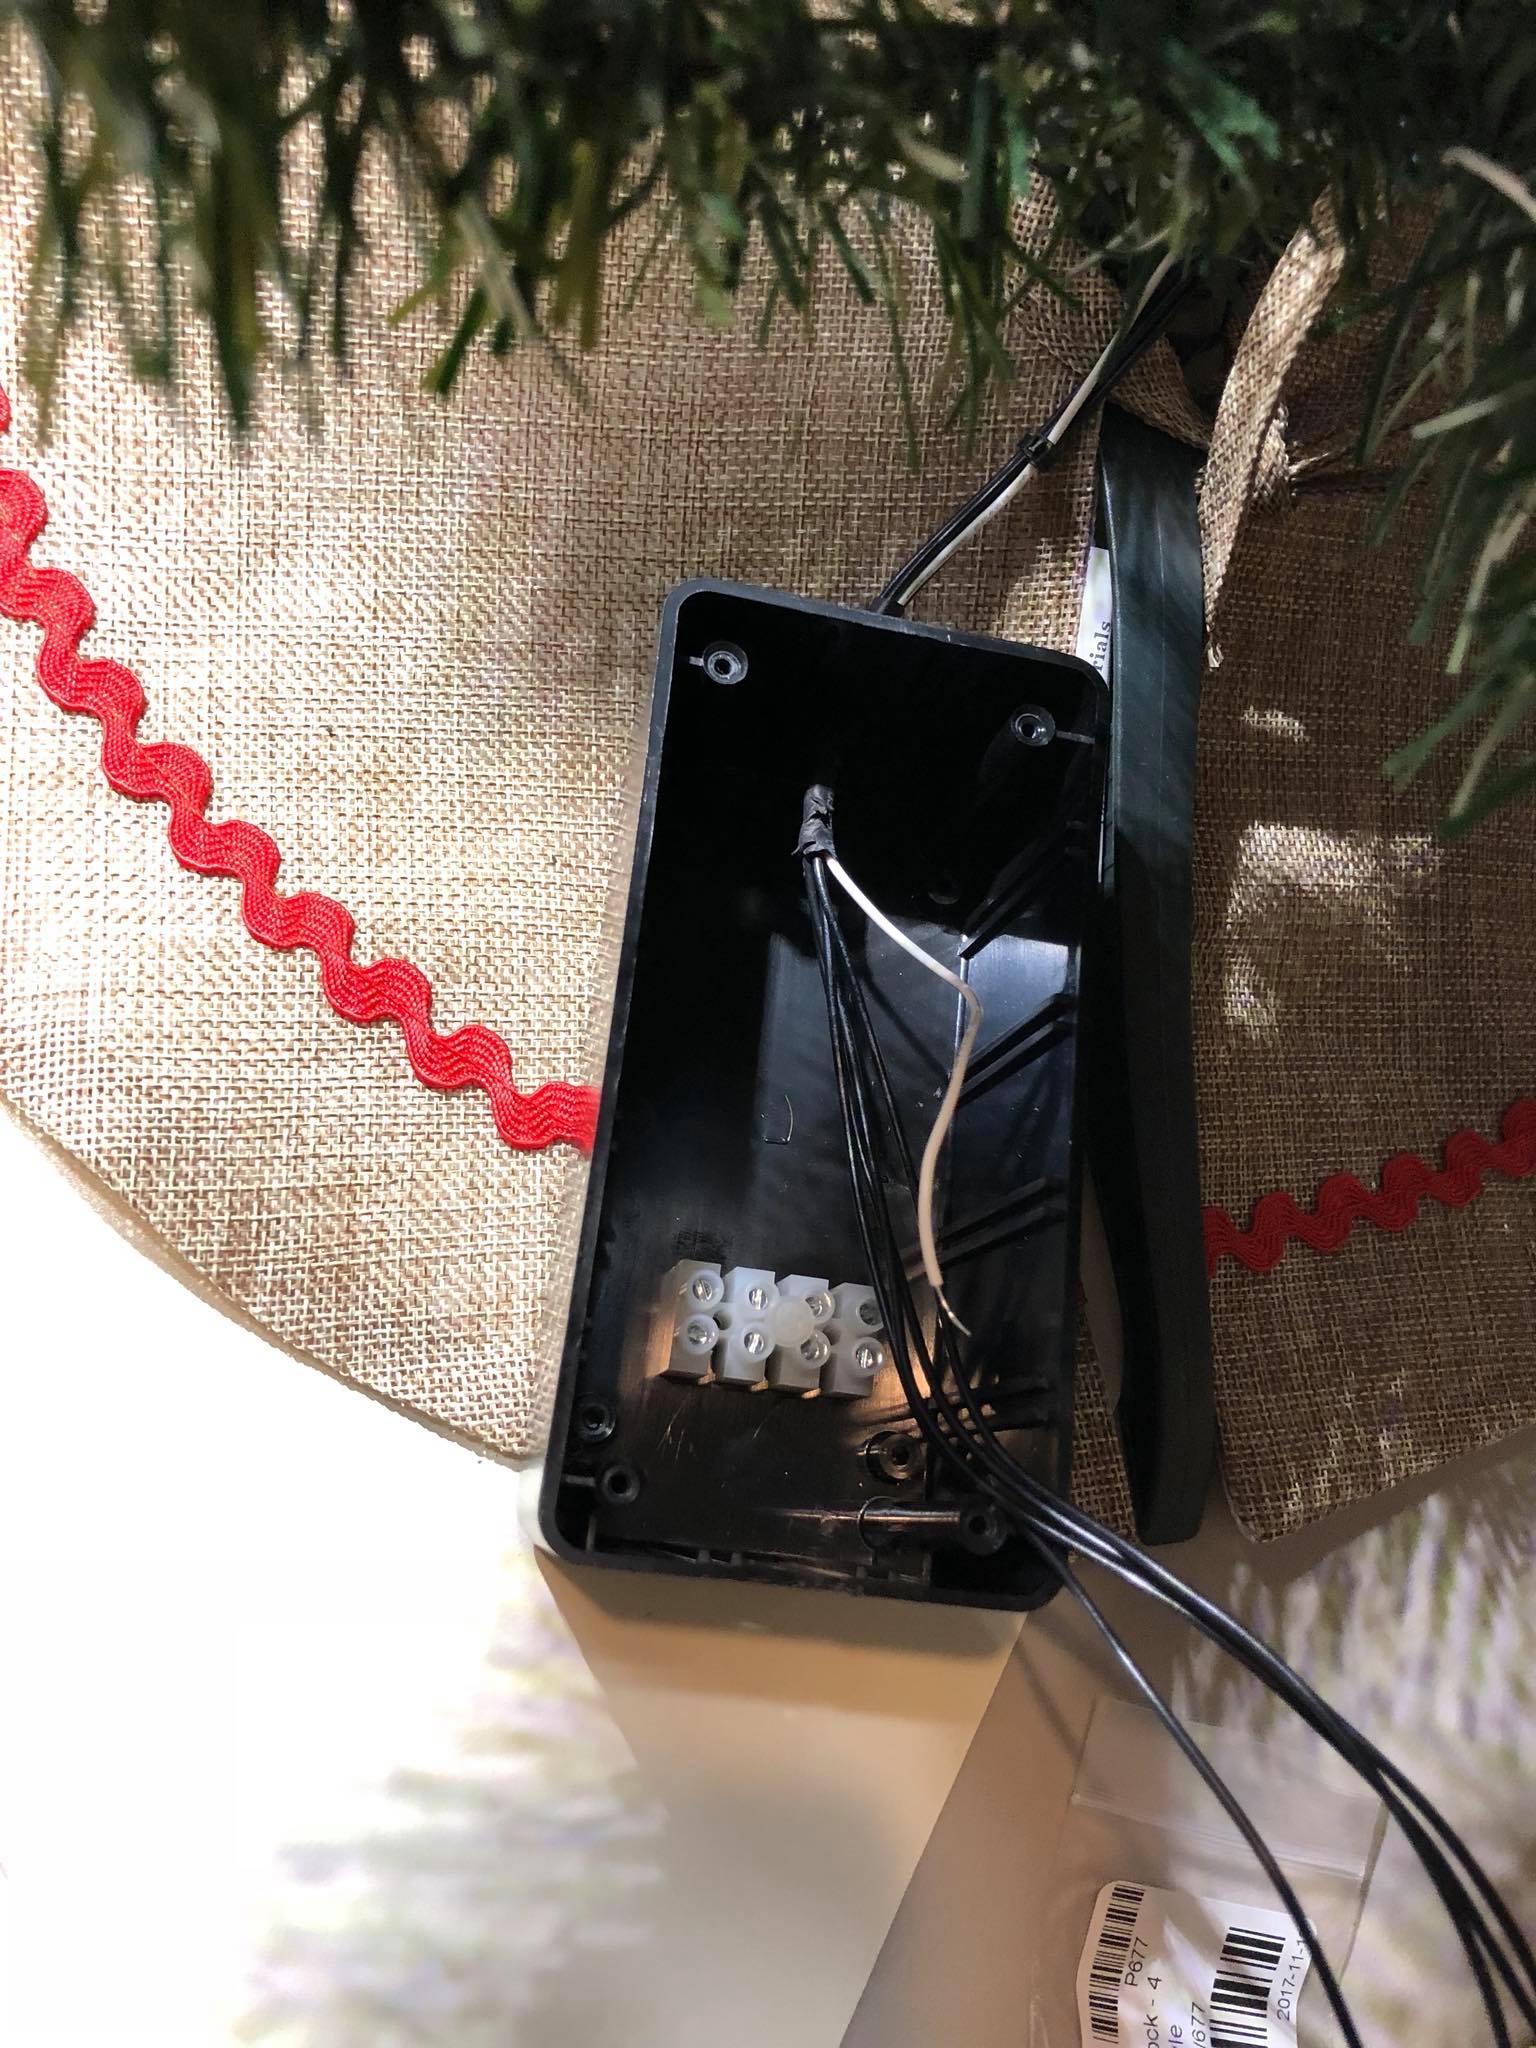
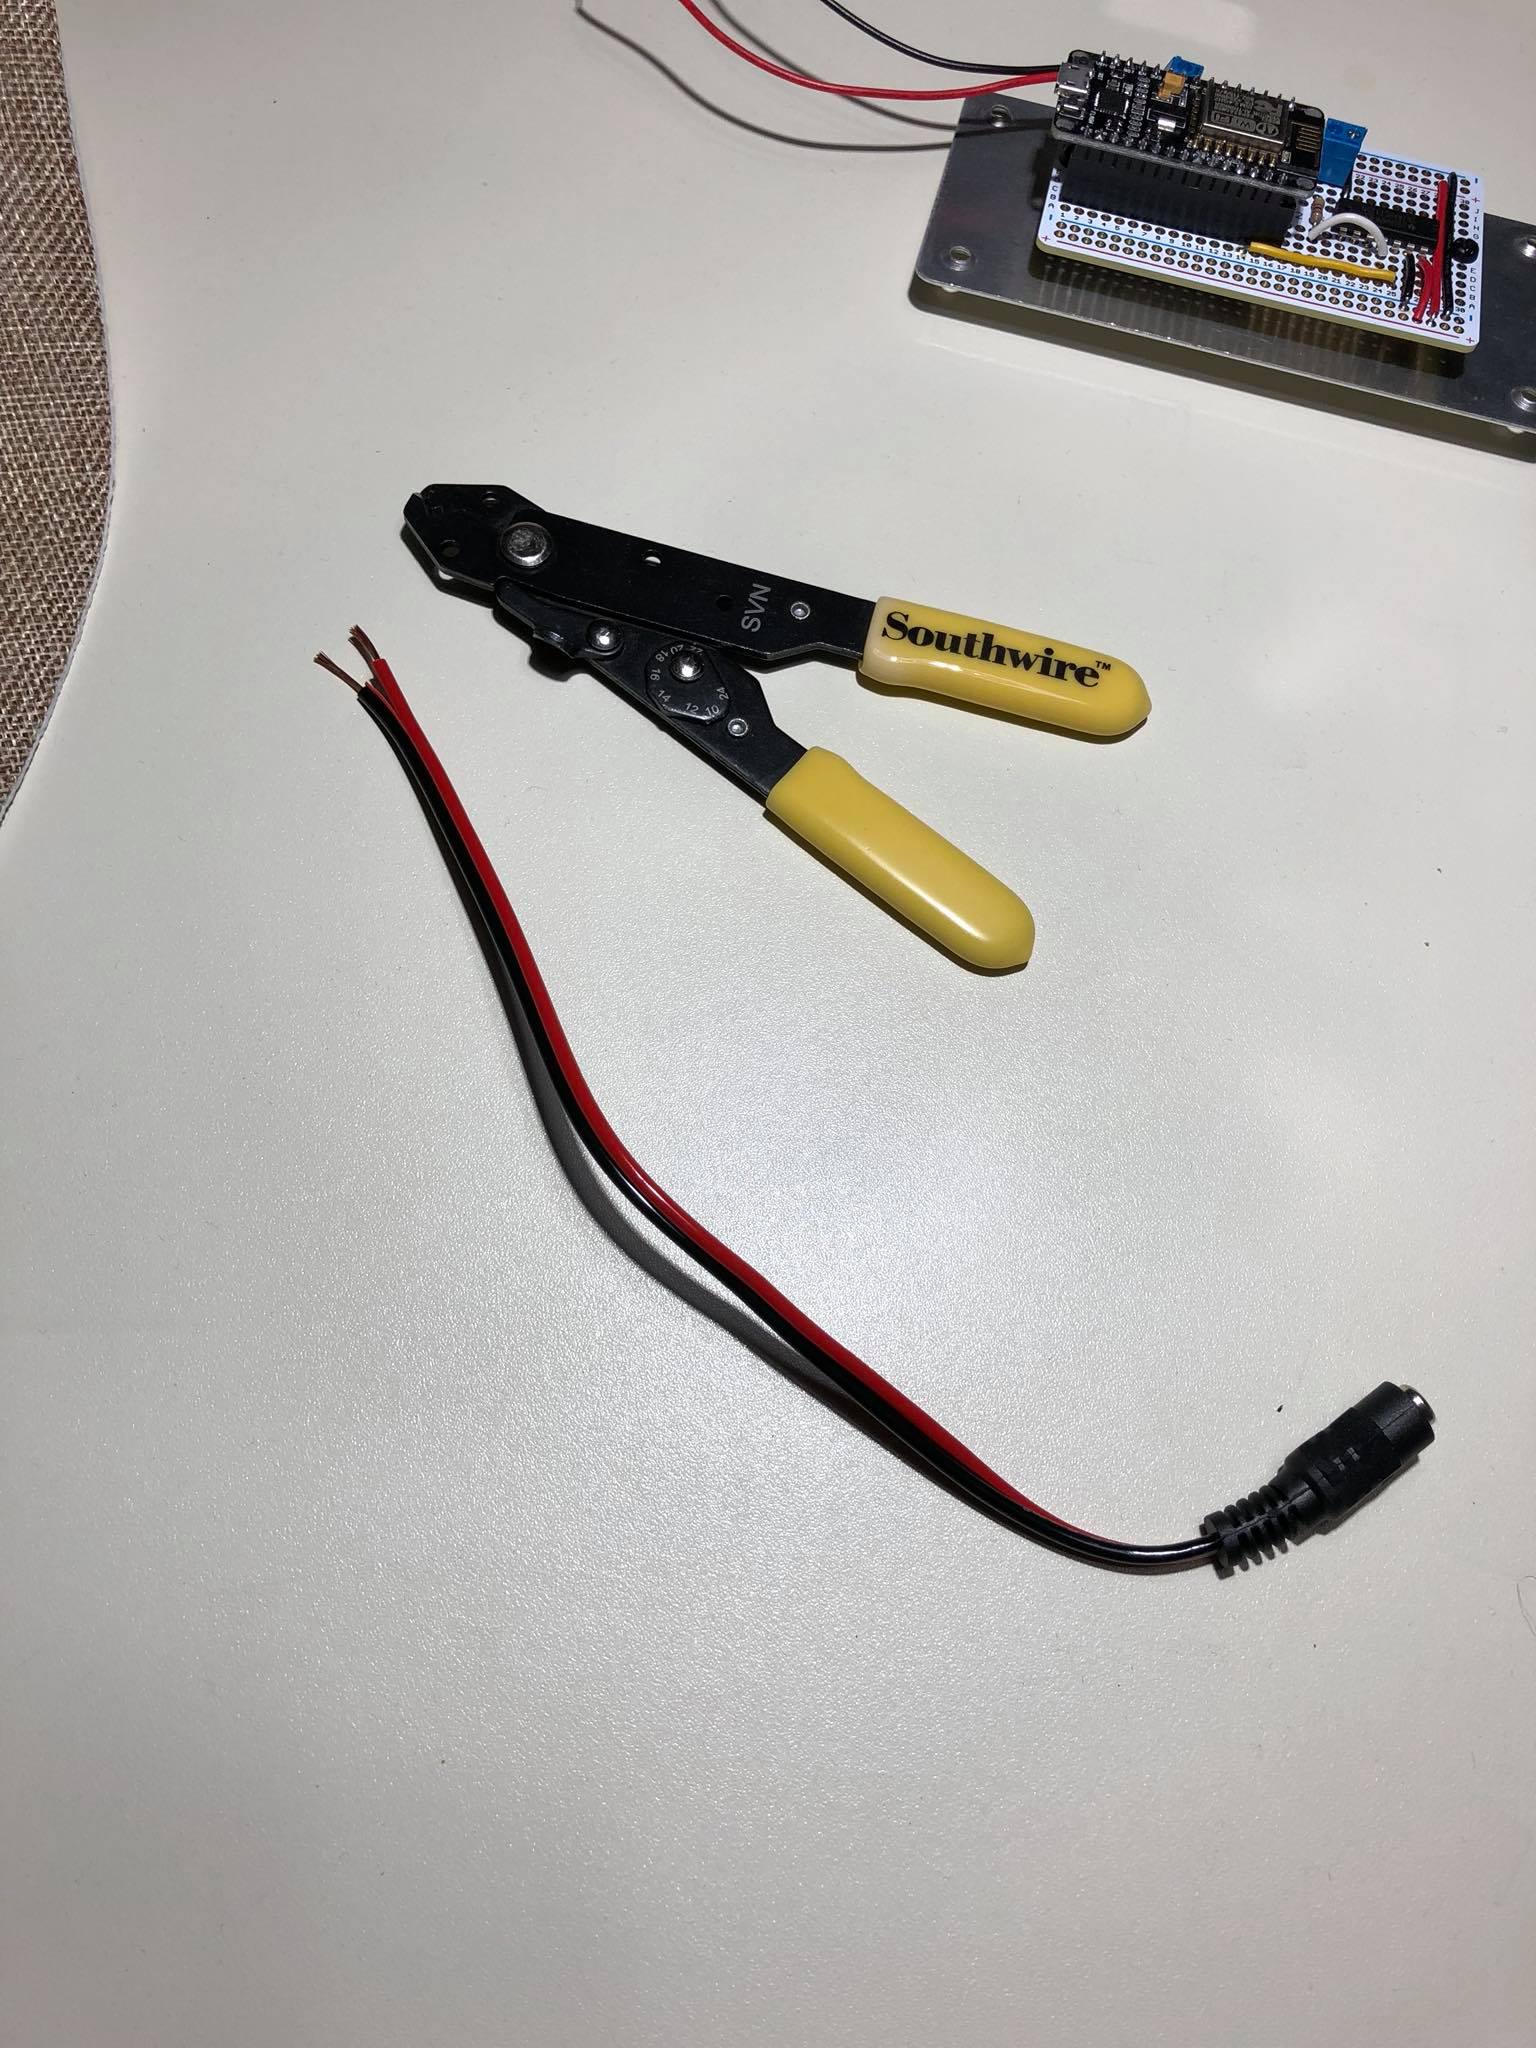
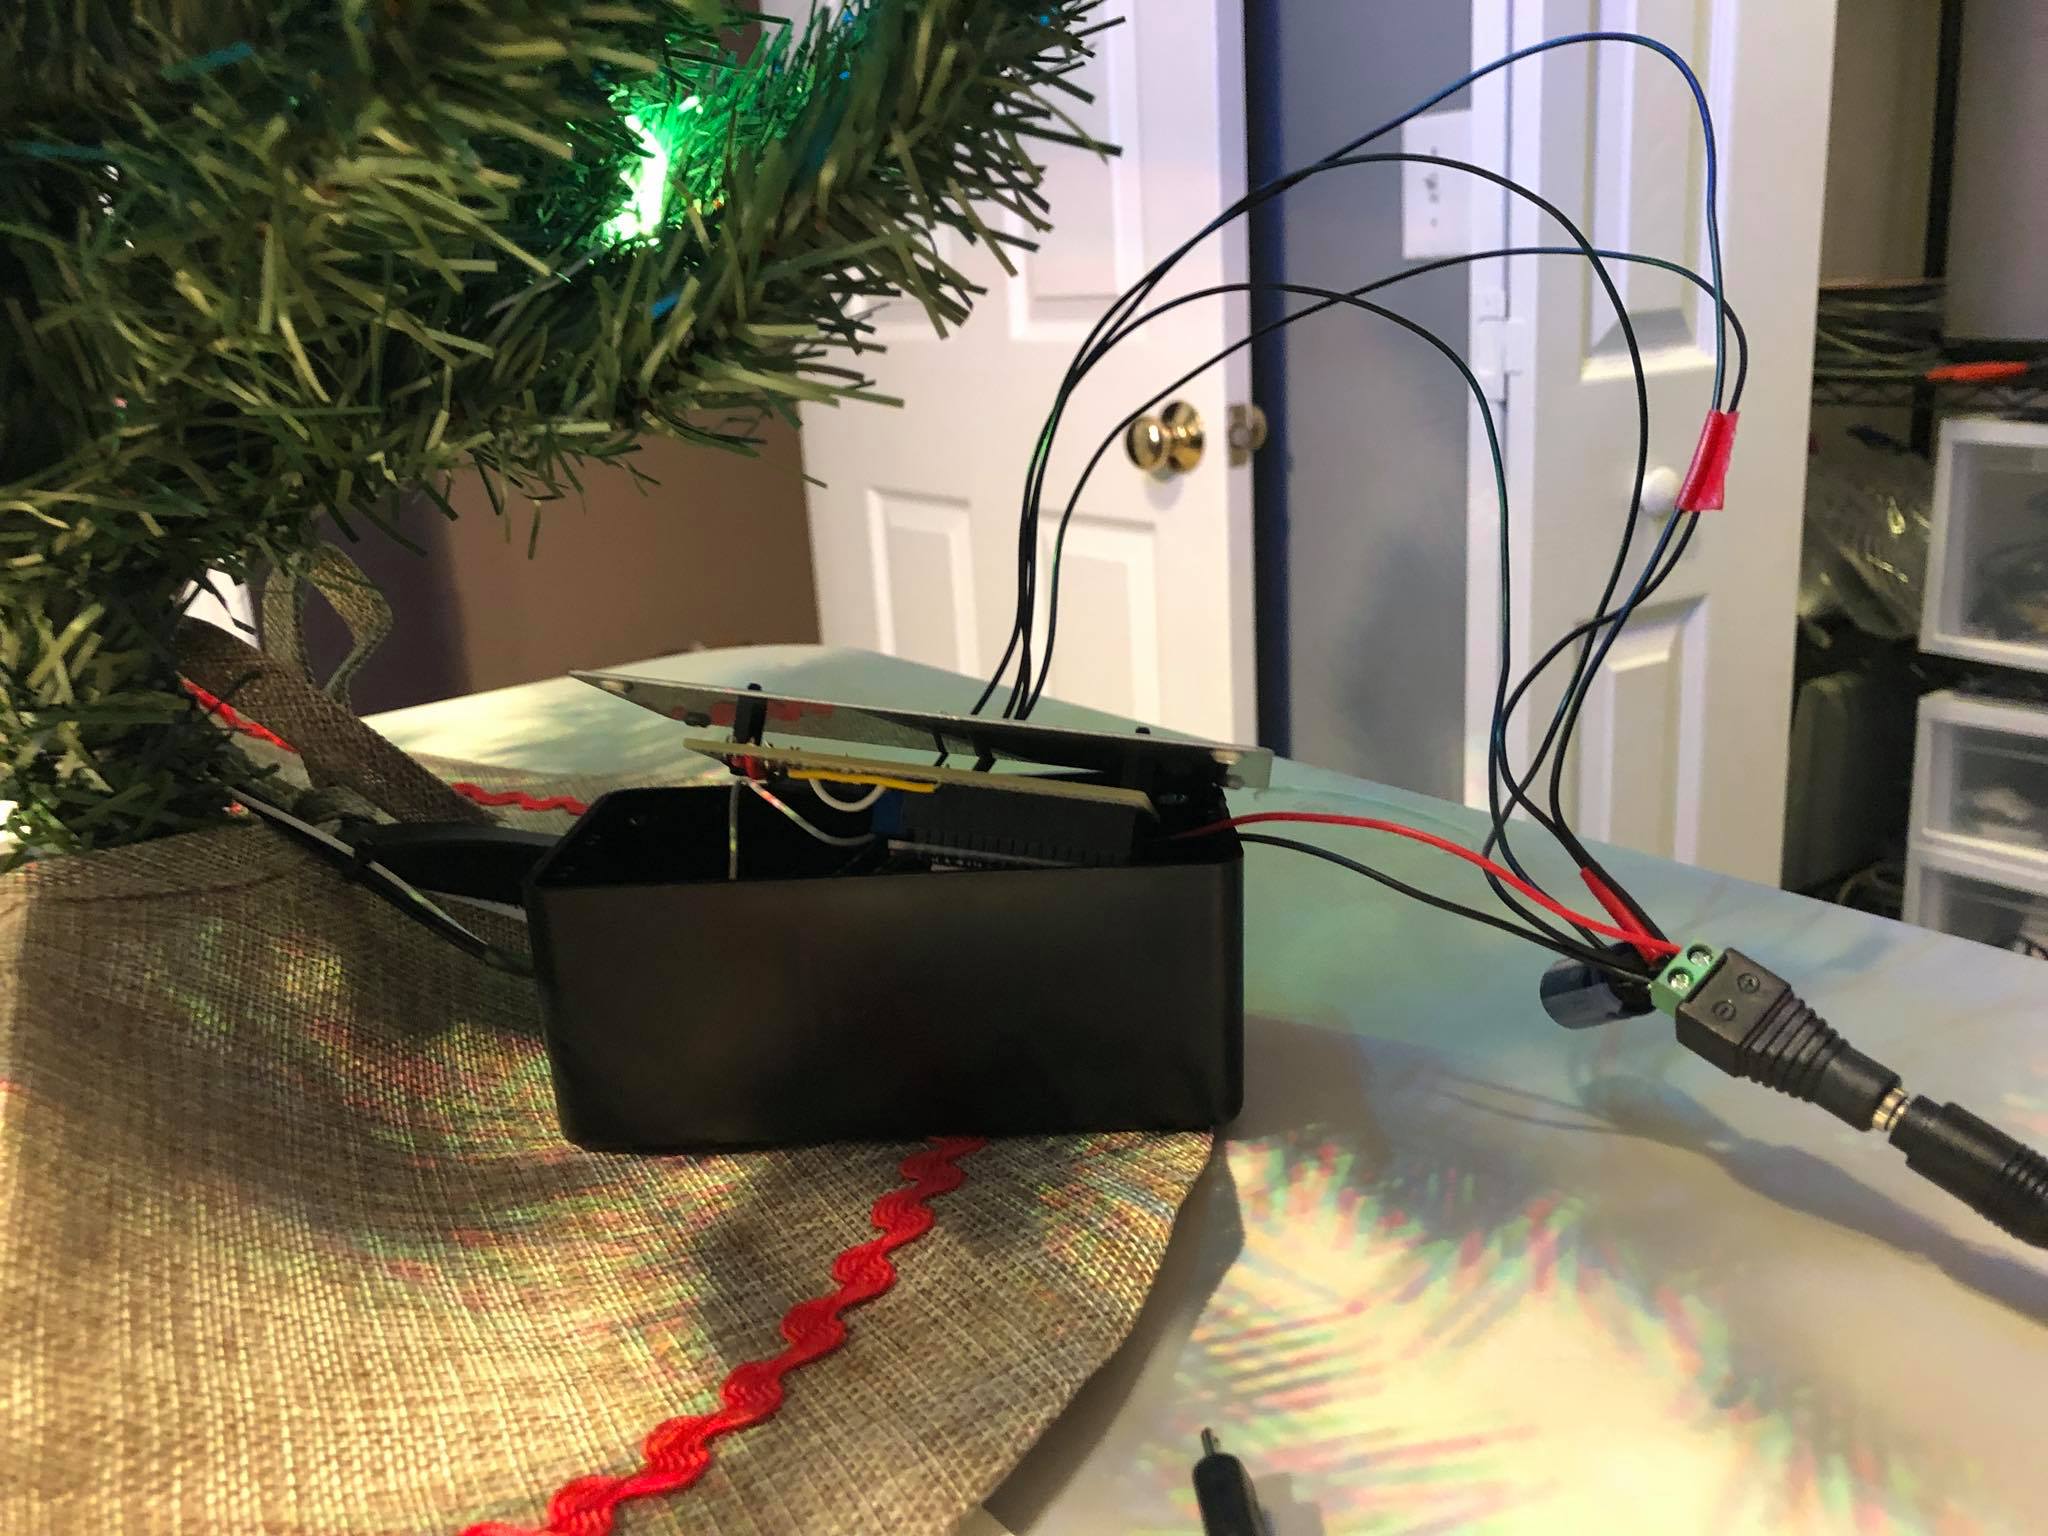
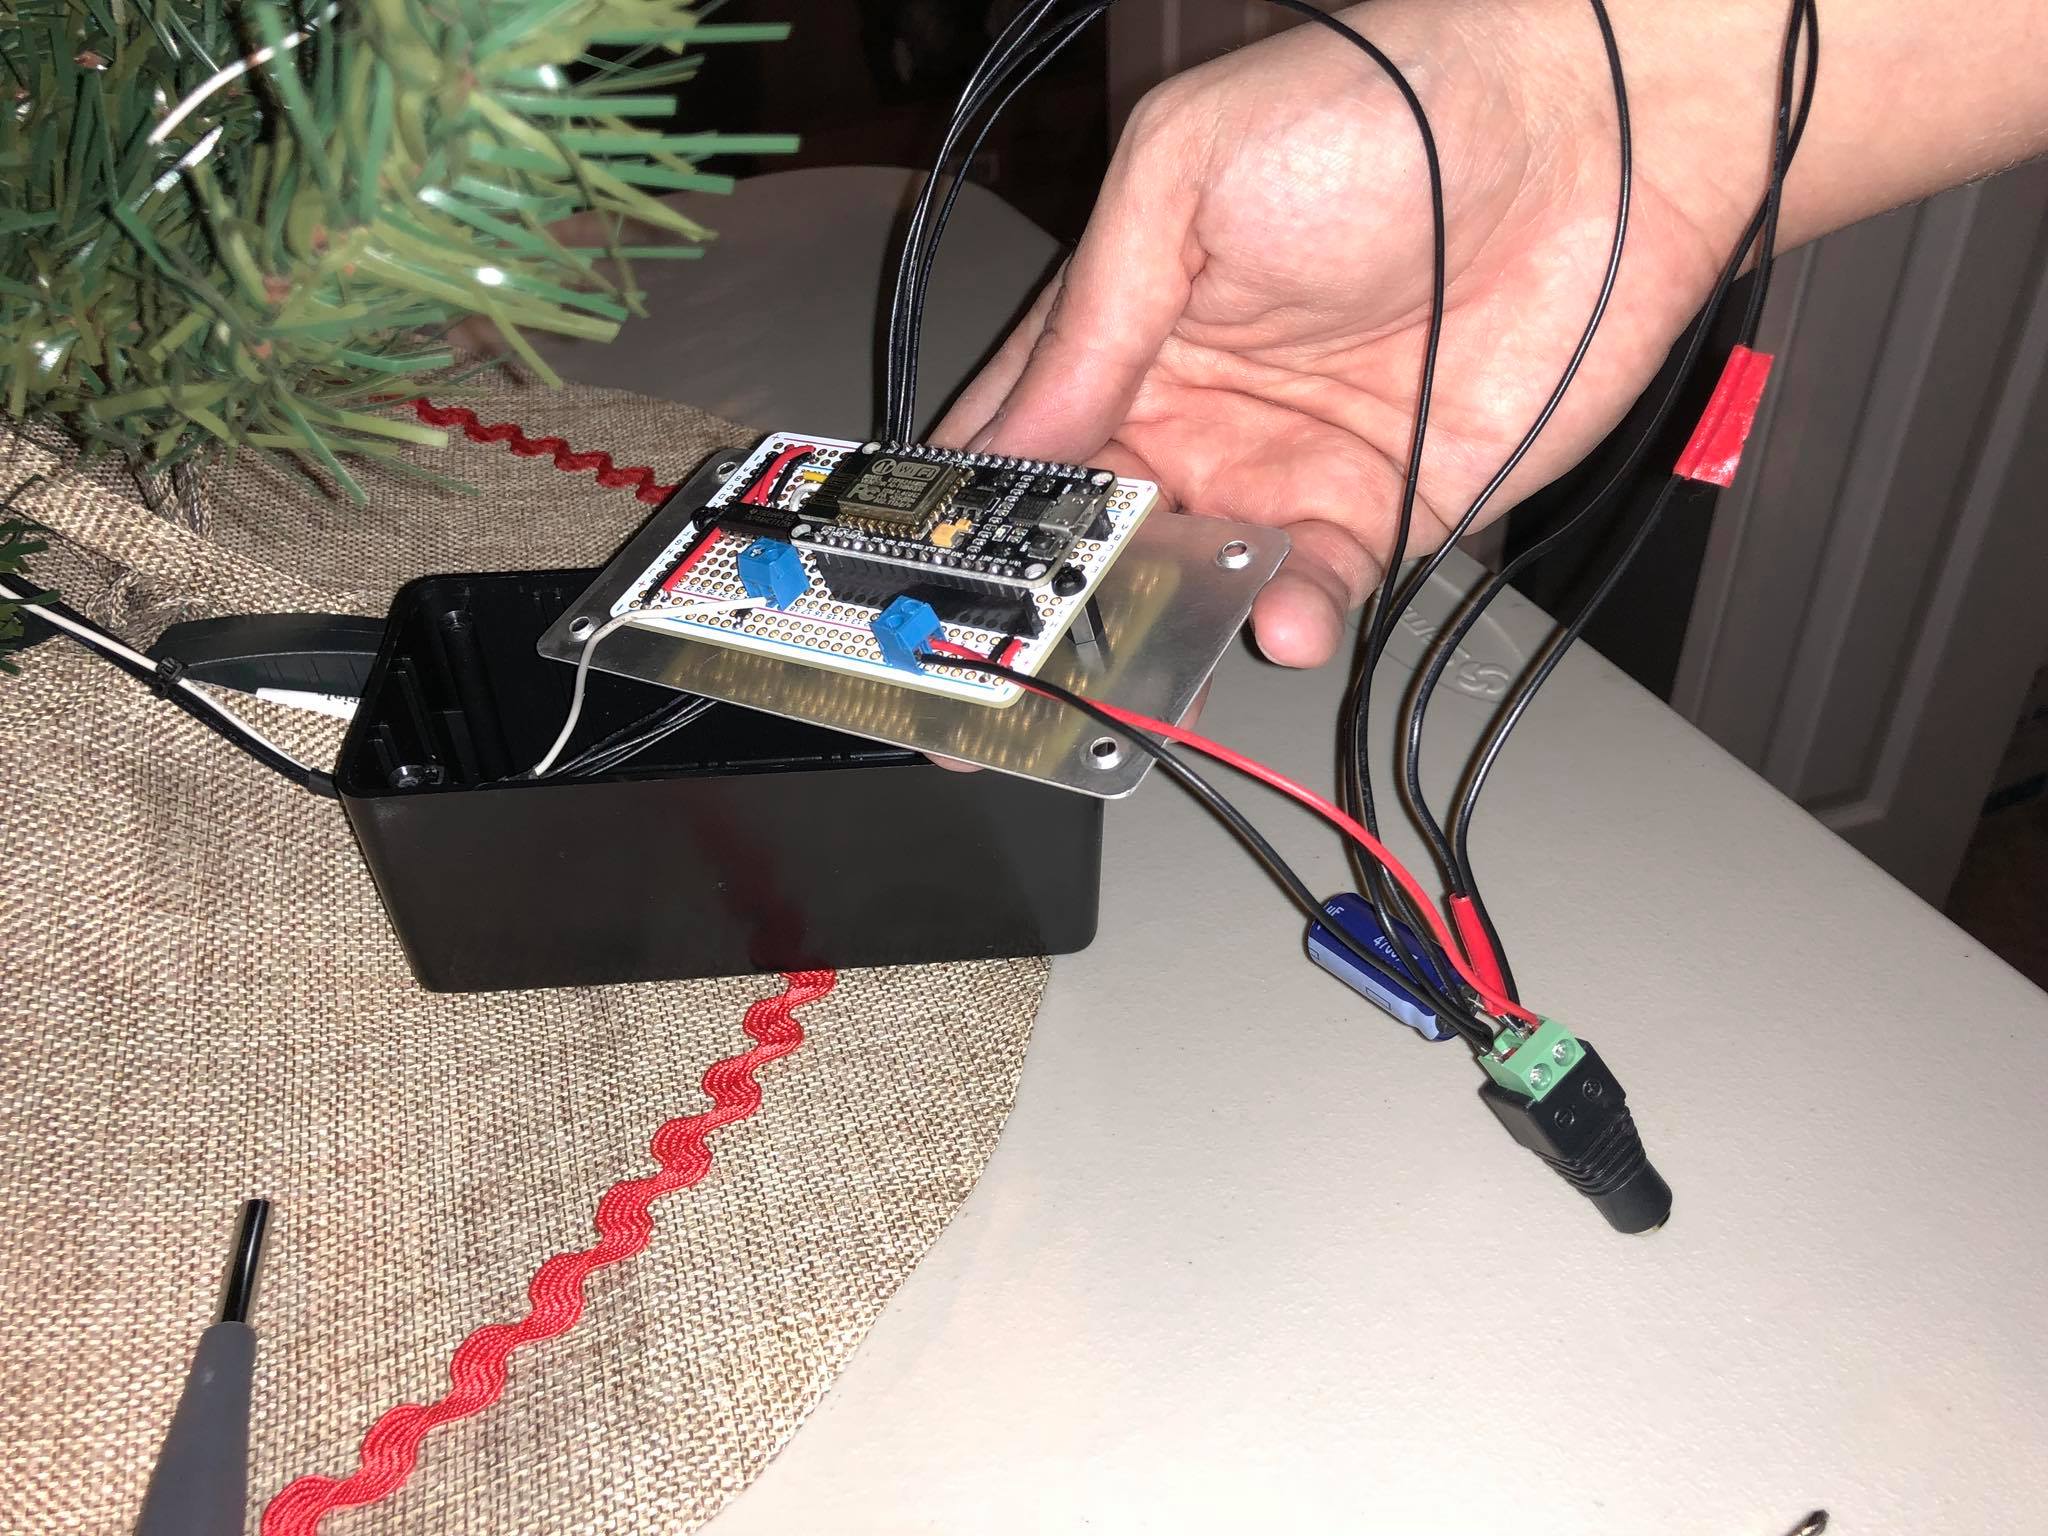
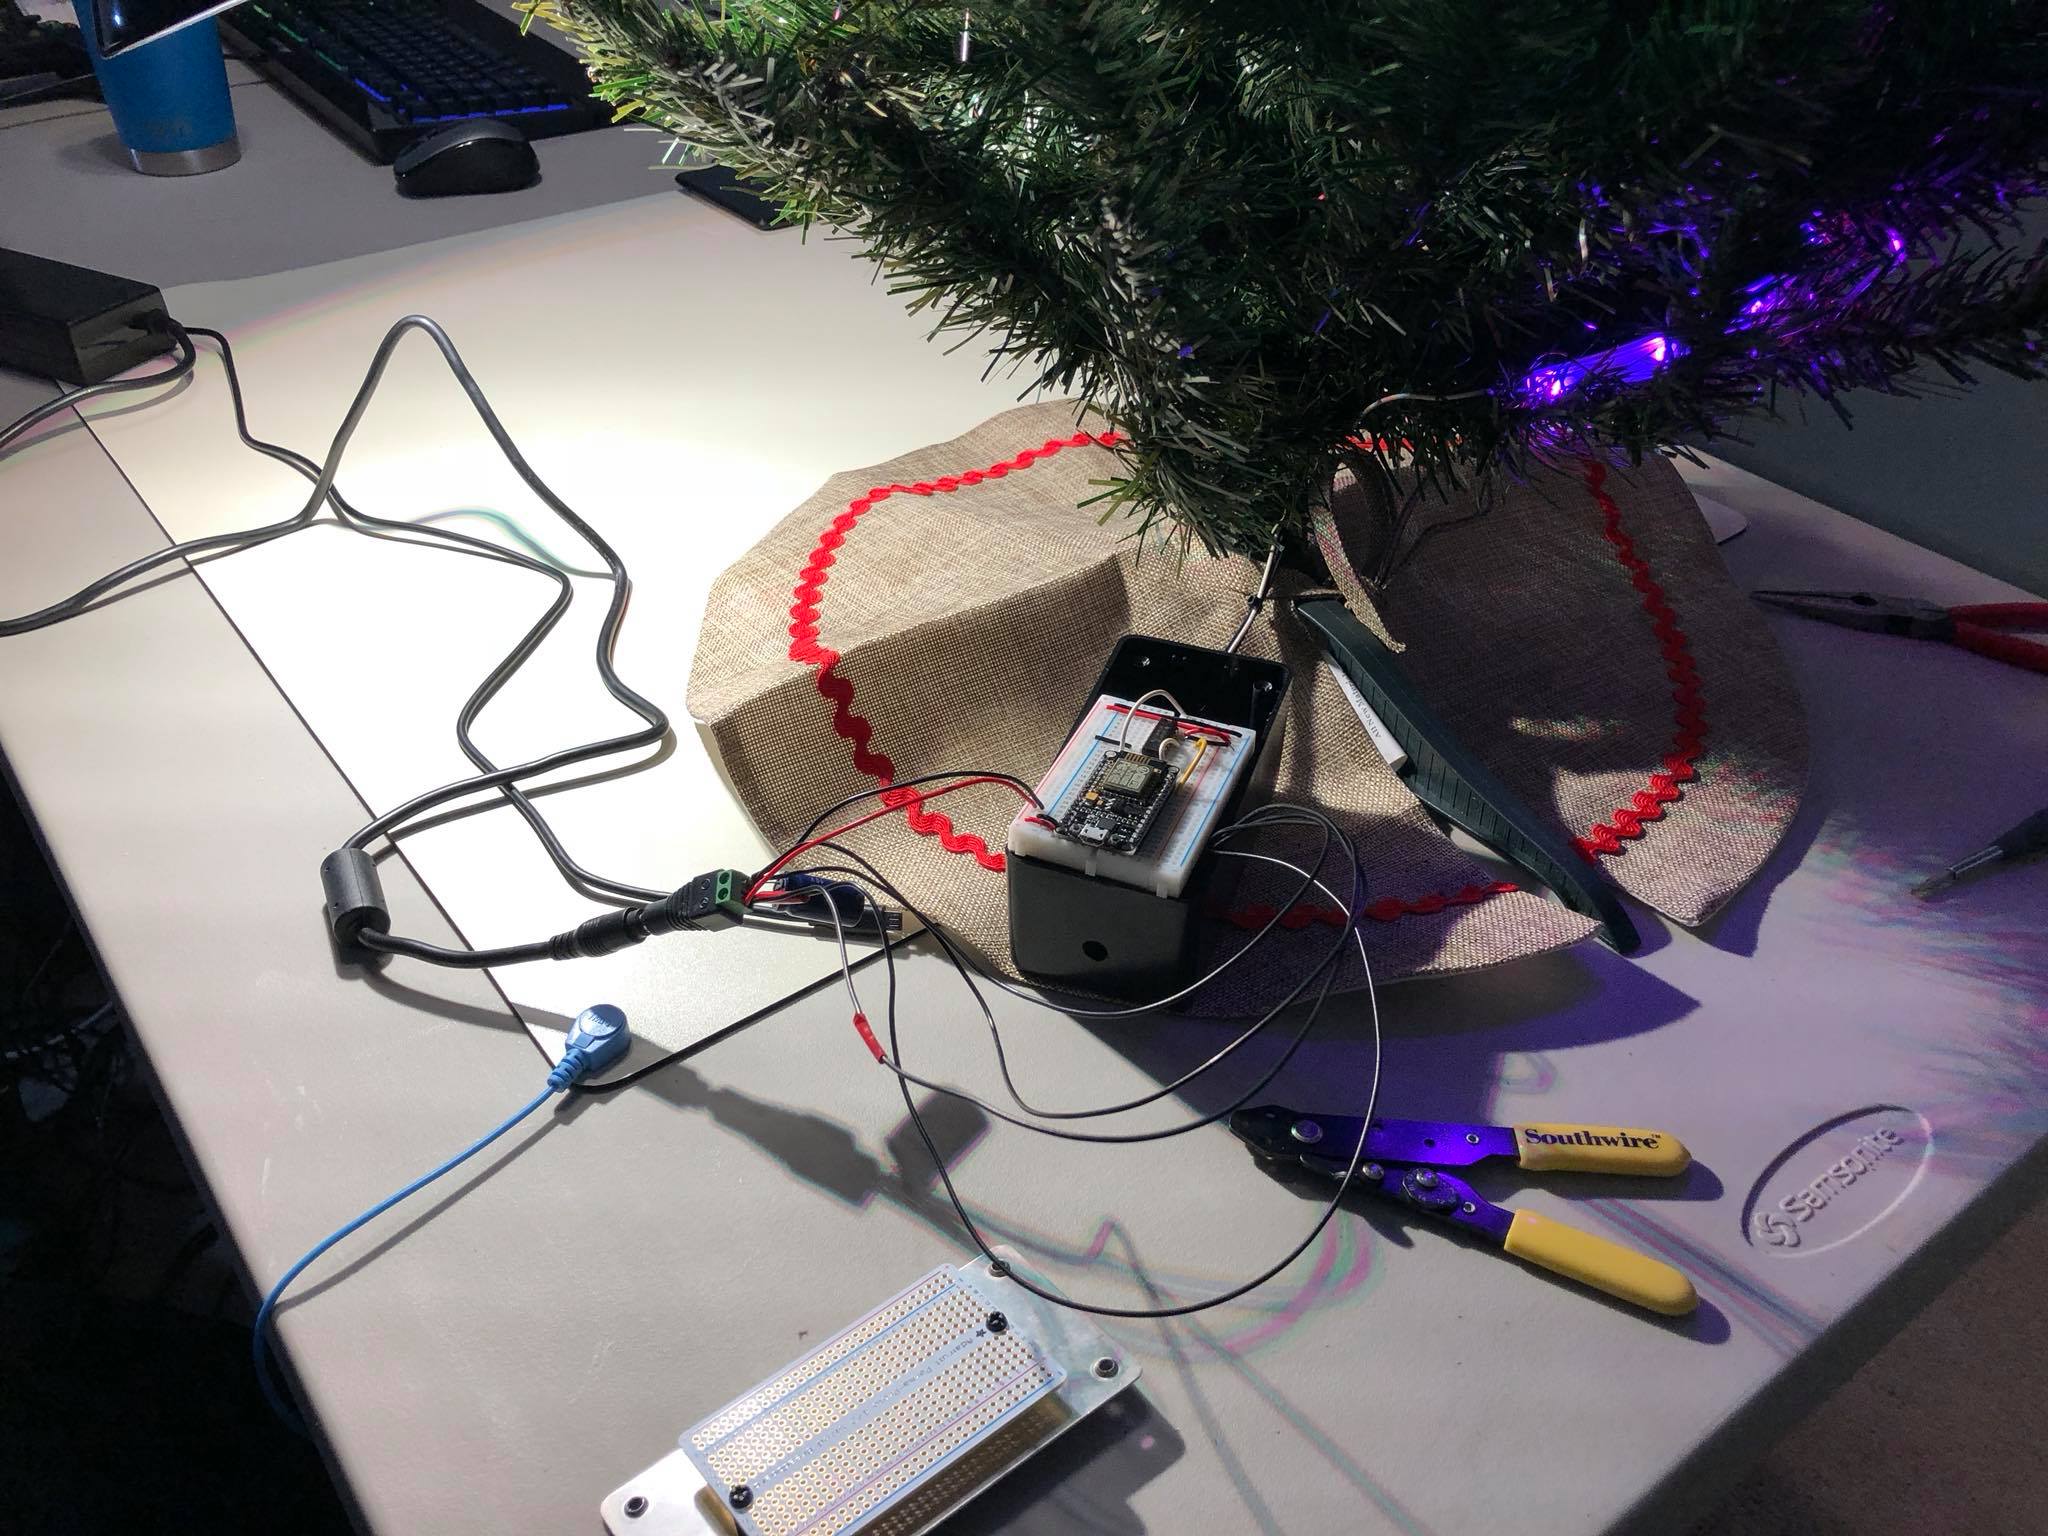
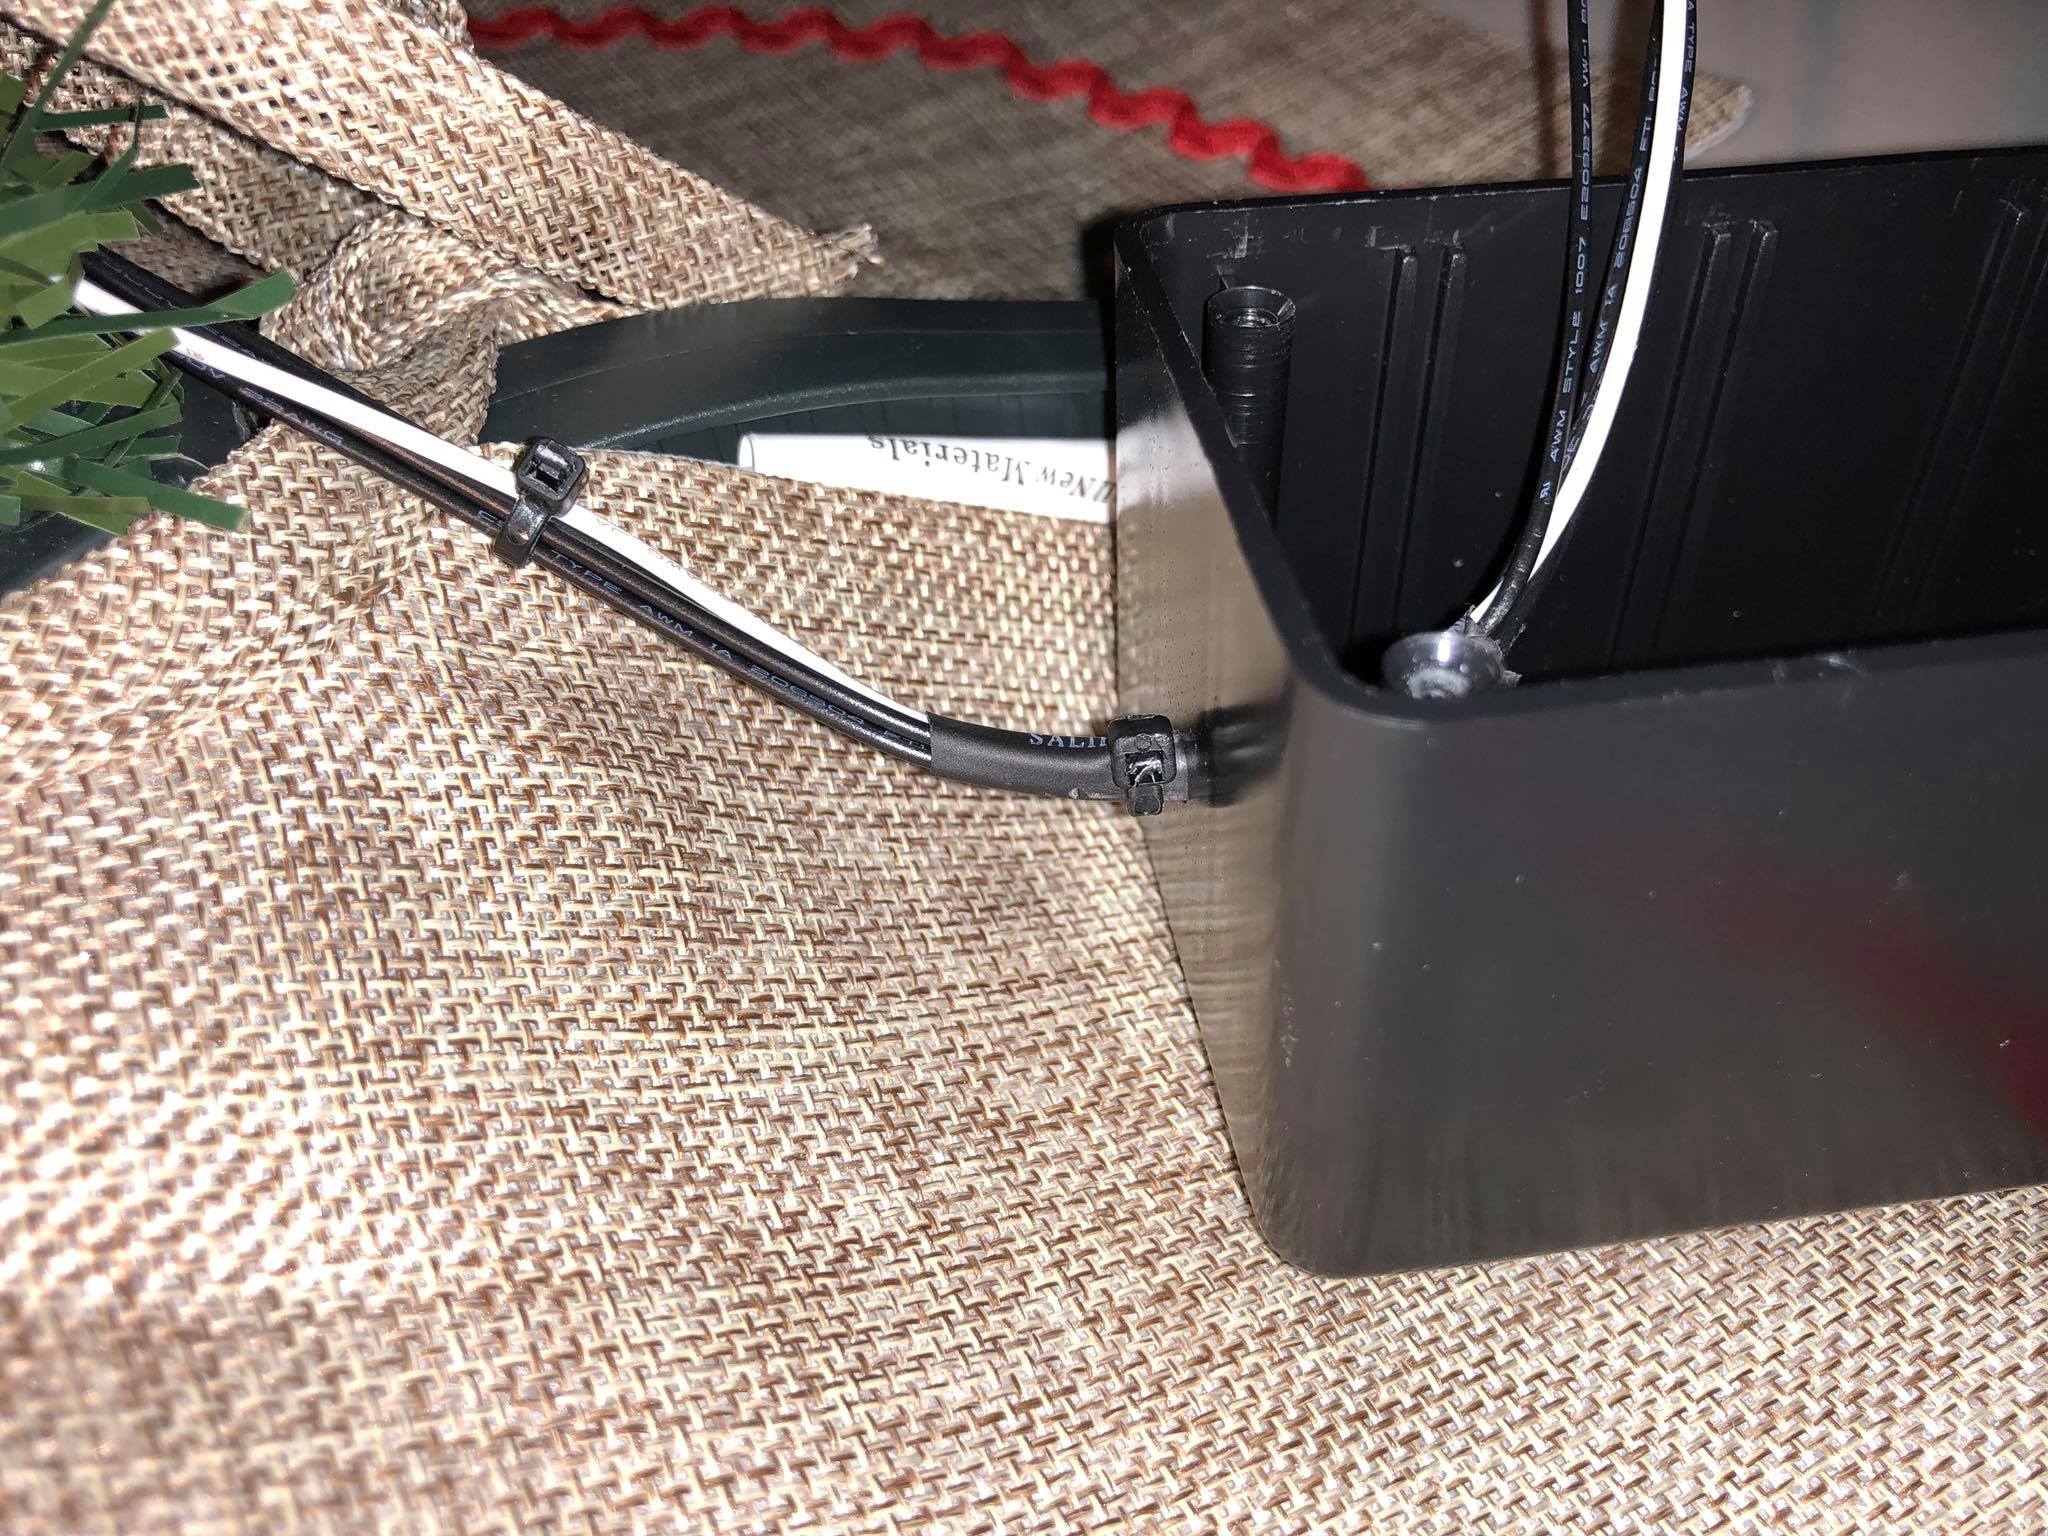
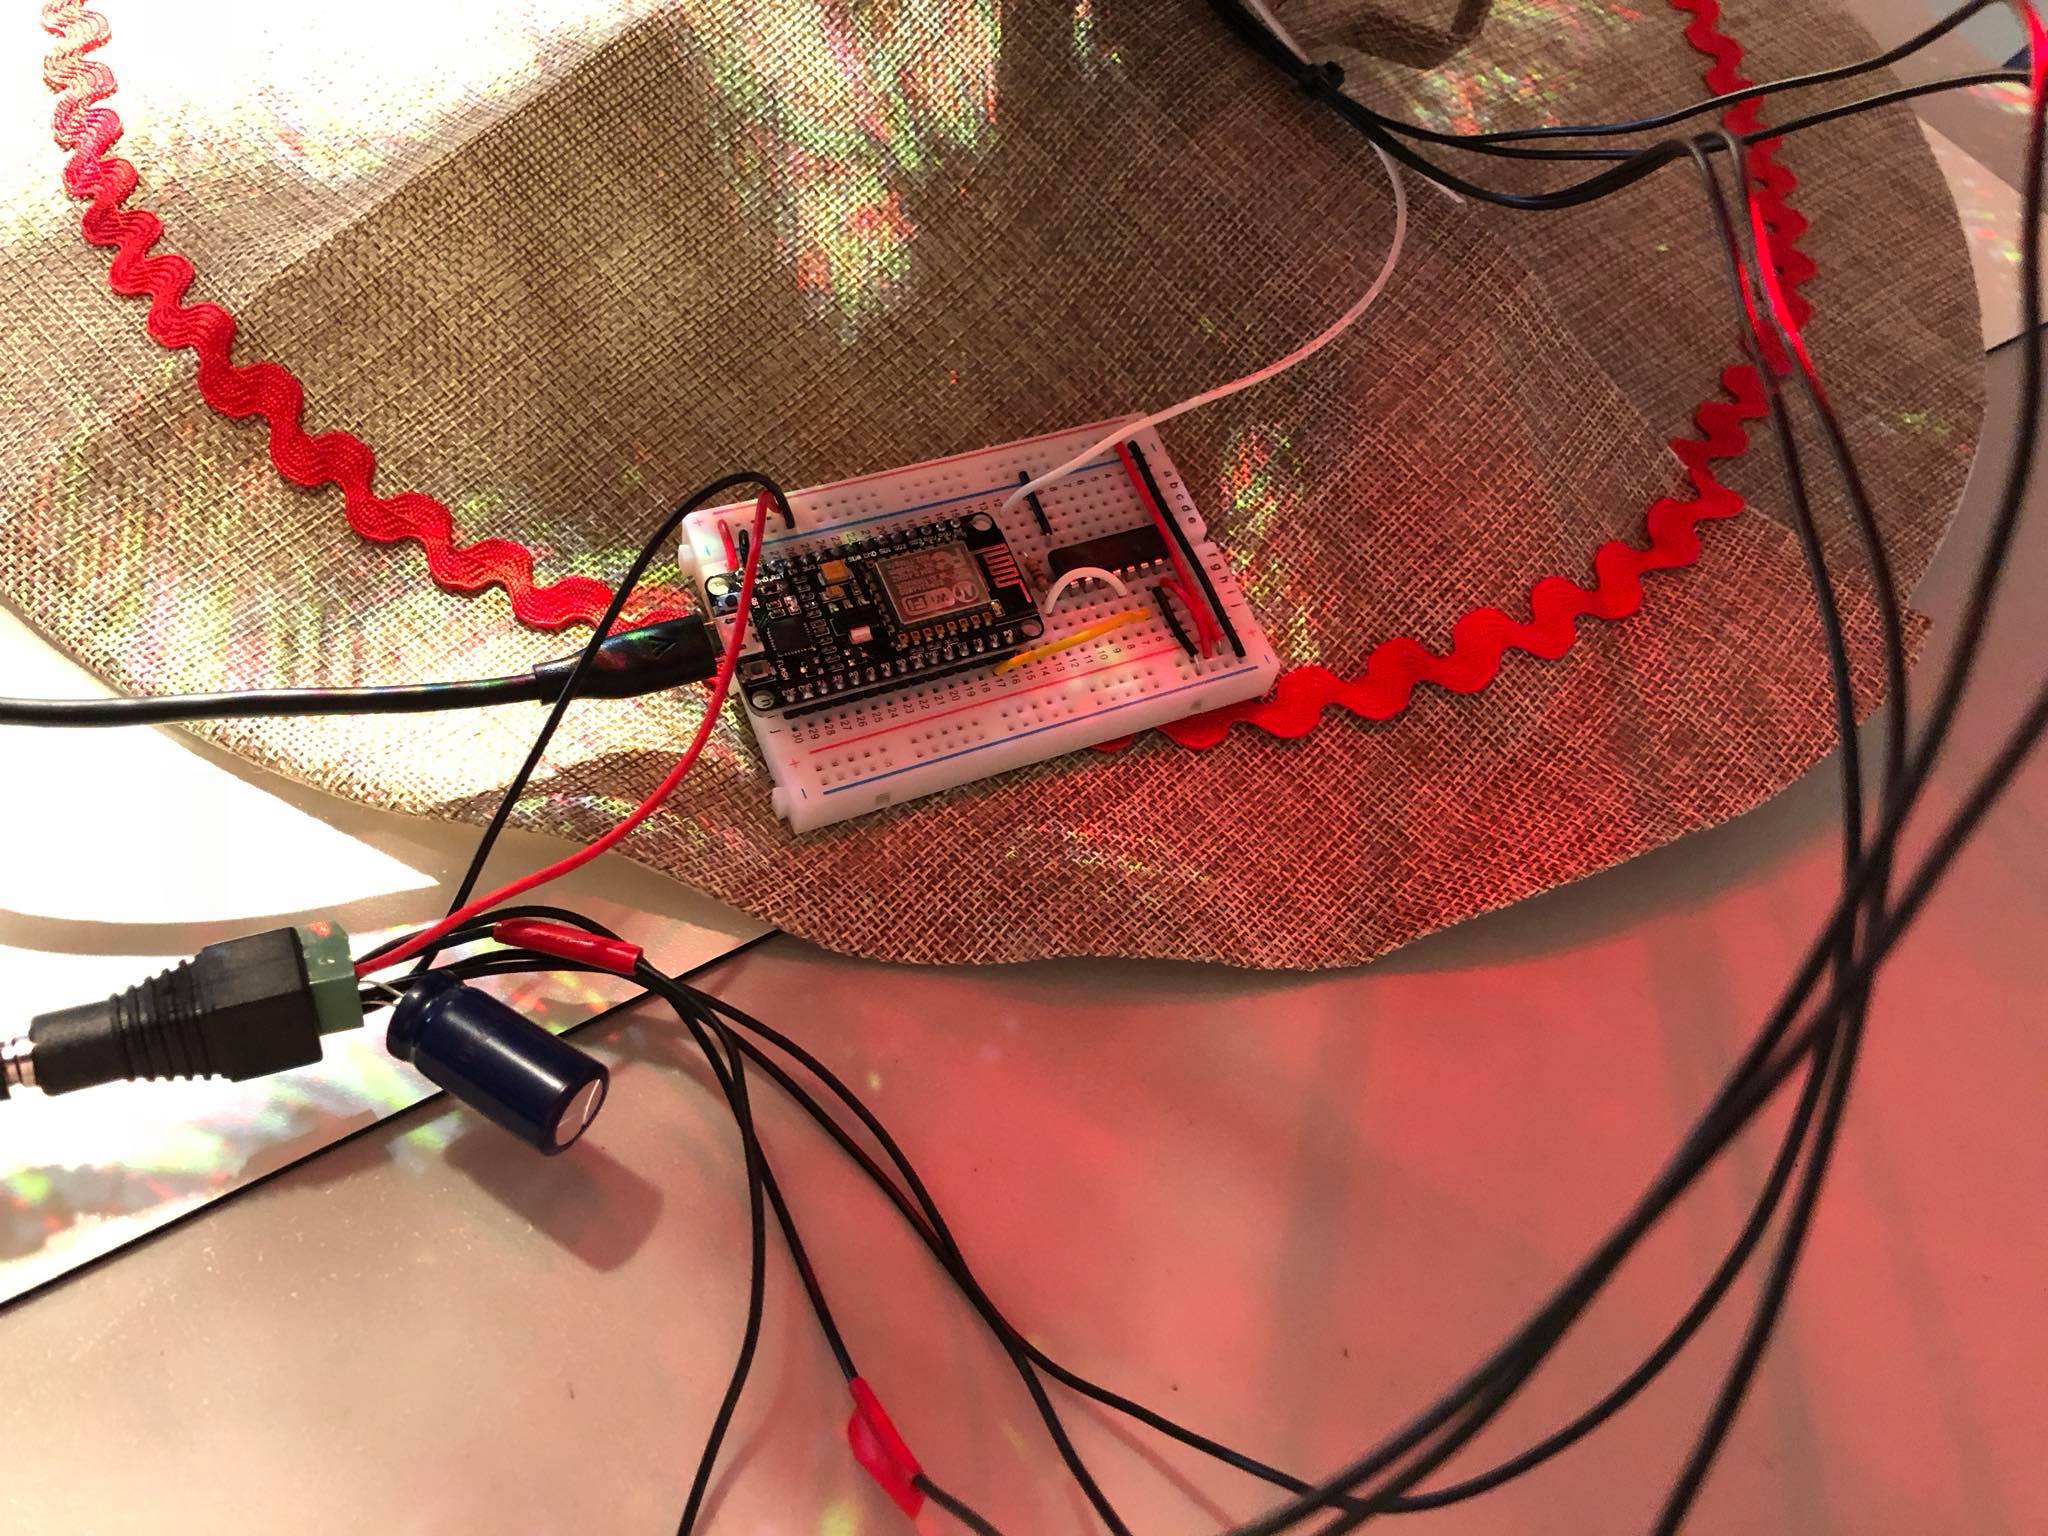
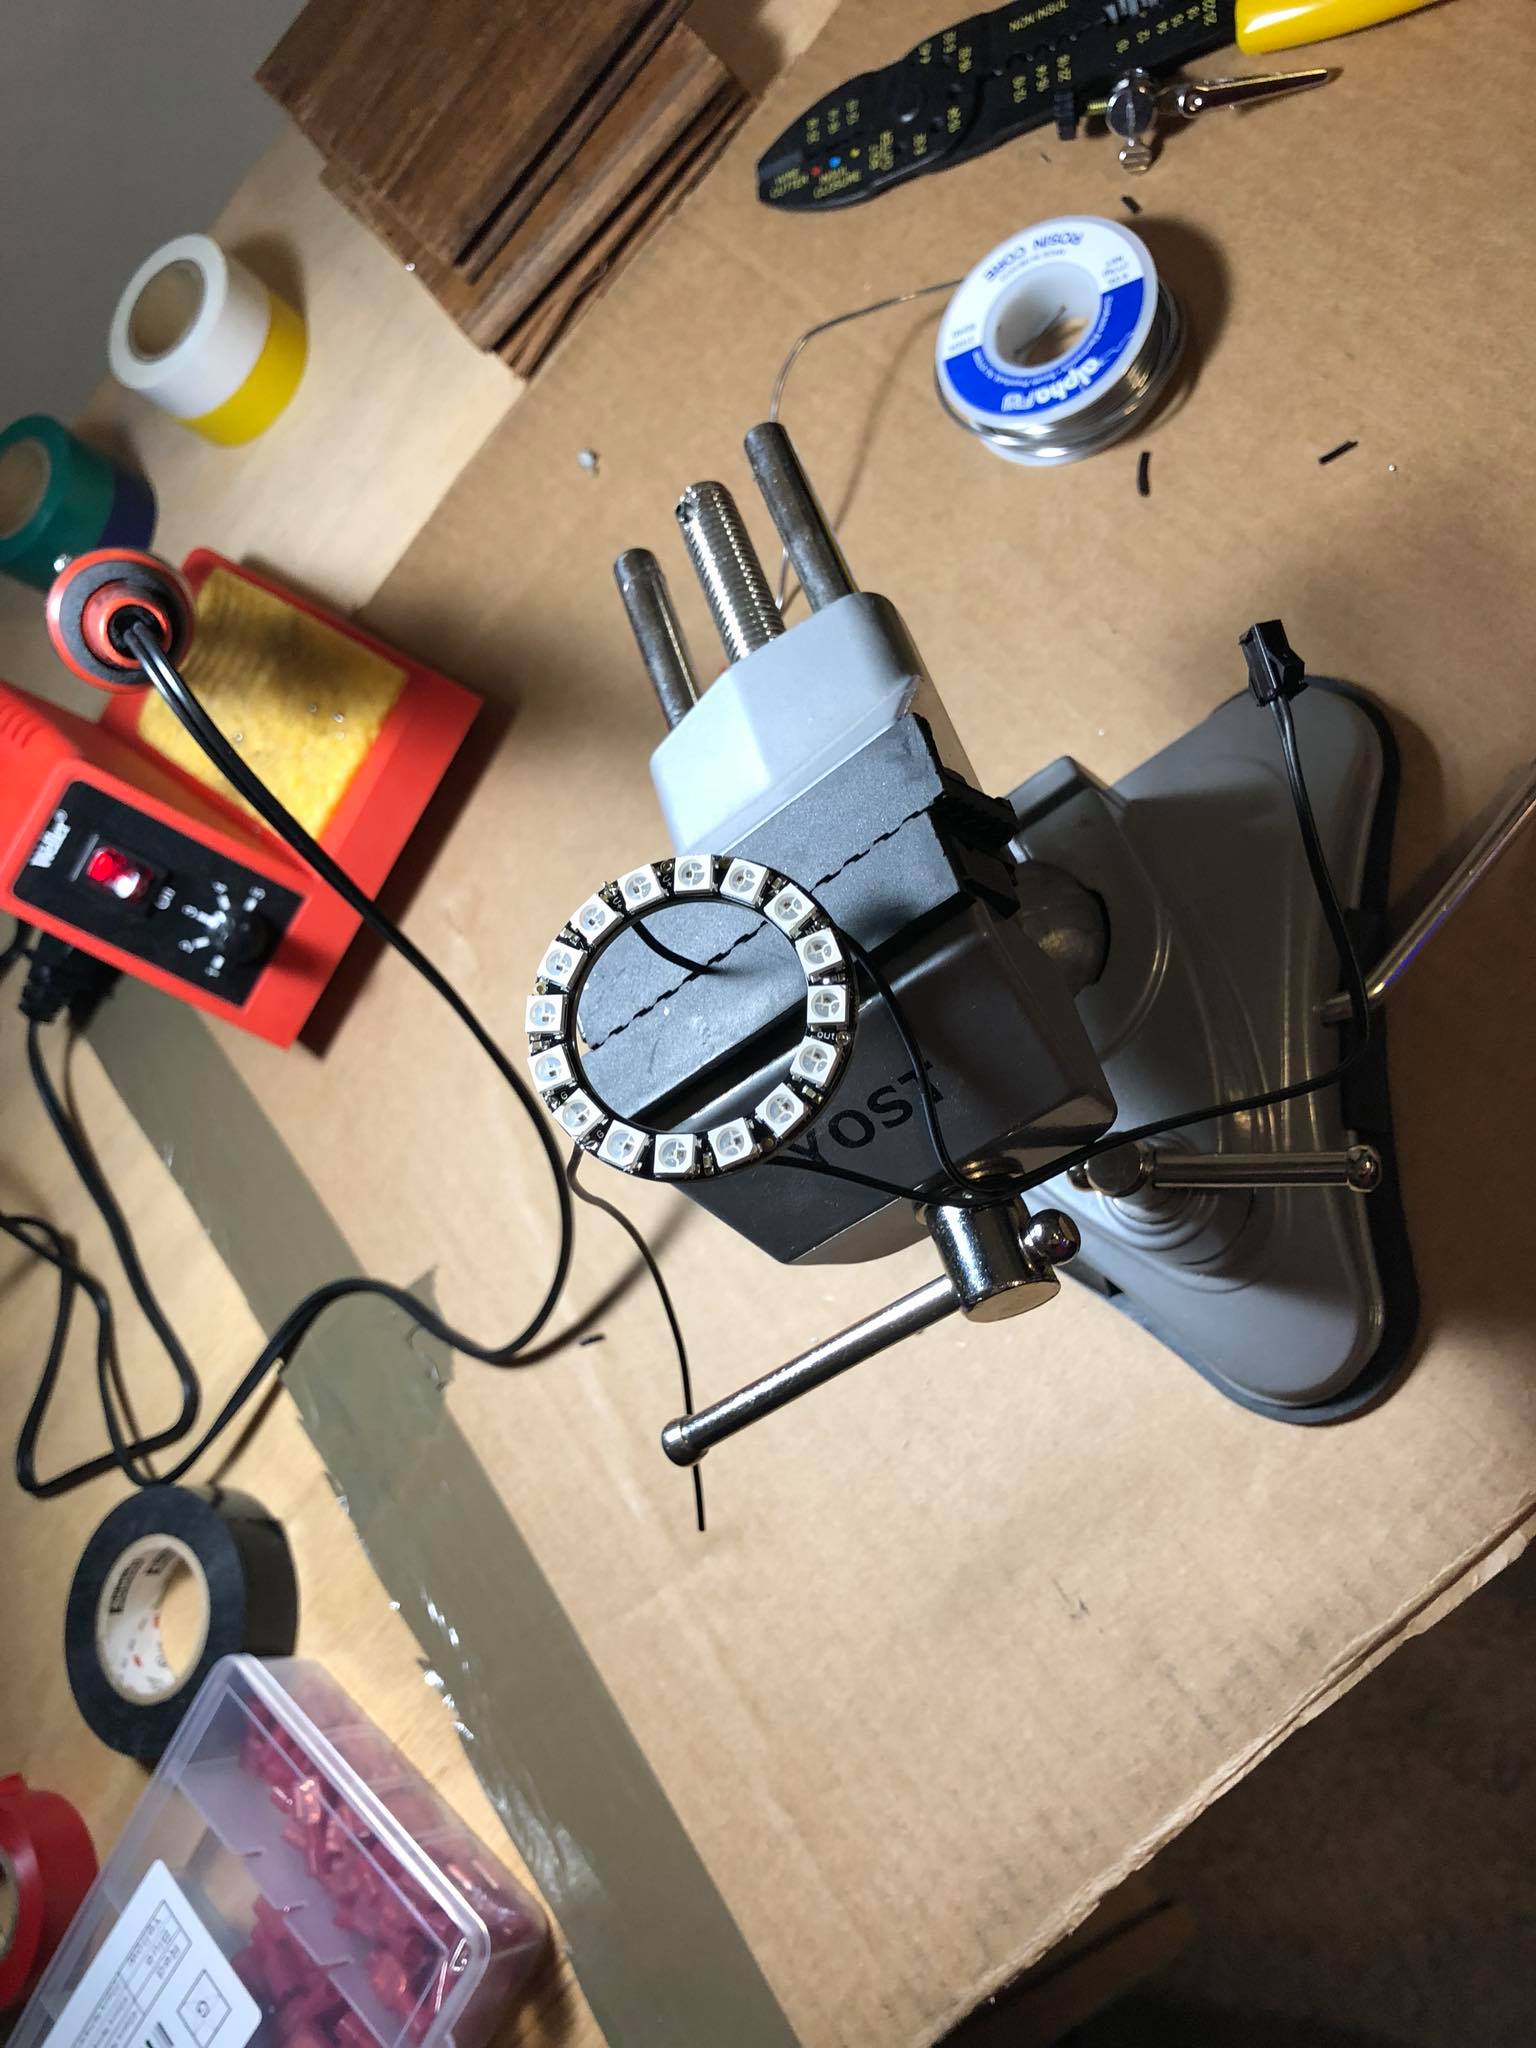
Wired up and runningWith the project box wrapped up like a presentThe housing for the NodeMCUTwo sets of power strands come from the NeoPixels into the box. Both + and – are black to stay concealed.Wiring up the barrel connectorNodeMCU is attached to headersSoldering up the inline powerSoldering quick disconnects on the ring